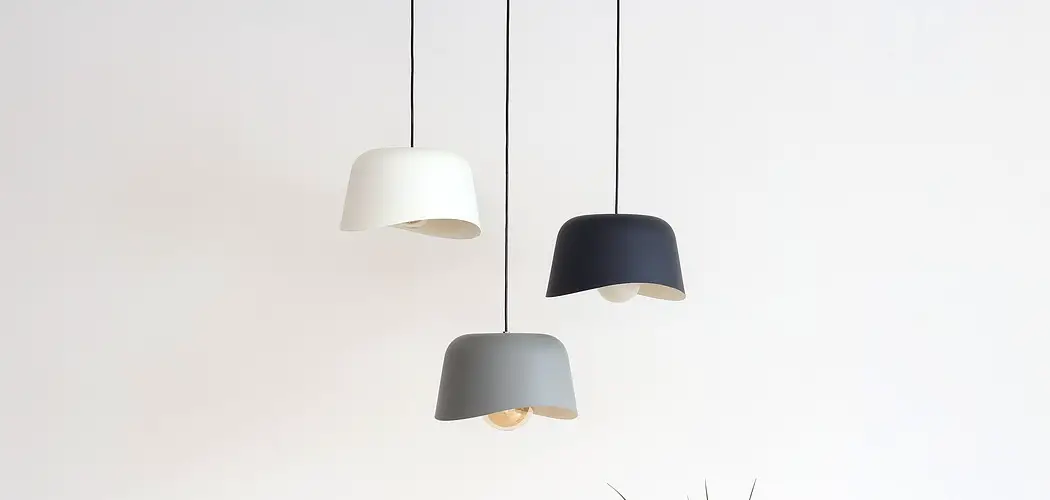
If you have ever tried to hang a pendant light, you know it can be tricky to get it straight. One little mistake, and your light is crooked, ruining the effect you were hoping for. But don’t worry, we’re here to help. This article will discuss how to make pendant light hang straight. Just follow these simple steps, and you’ll have your light hanging perfectly in no time!
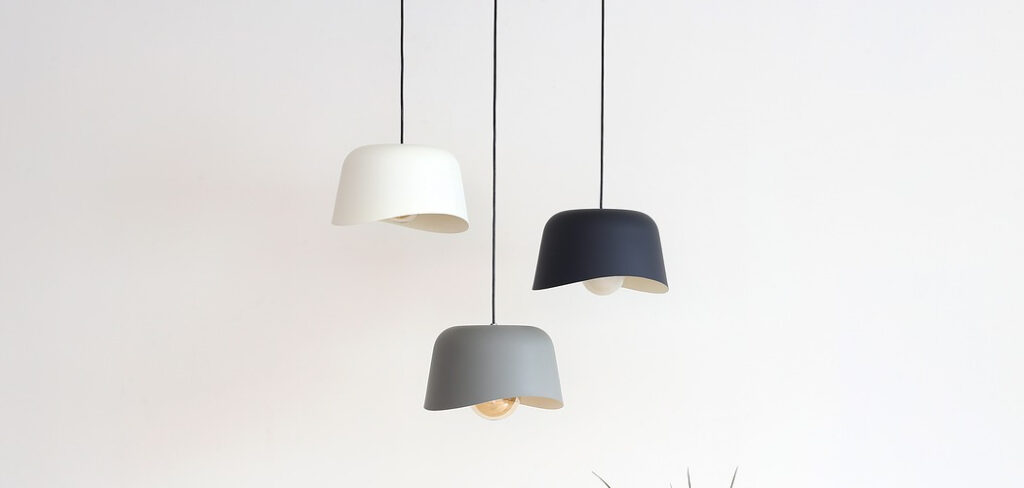
Pendant lights are a great way to add light and interest to a room, but they can be tricky if you’ve never hung one before. How straight your pendant is (or isn’t) will ruin the effect of your lighting! Many people try to hang their pendants with string and plumb bob or a hanging light socket, which is messy and time-consuming.
Summary: Ensuring that a pendant light hangs straight is essential for achieving a polished, professional appearance in your interior design. Pendant lights, which are suspended from the ceiling by cords or chains, can sometimes hang crooked or off-balance due to uneven weight distribution or installation issues. Addressing these issues will not only improve the overall aesthetics of the light fixture but also maintain the integrity of the electrical connections and prolong the life of the pendant light.
To make a pendant light hang straight, first, inspect the fixture for any visible signs of uneven weight distribution, such as a heavy lampshade or irregularly shaped components. If the issue is related to weight, consider balancing the fixture by adjusting the placement of components or adding counterweights as needed. Next, examine the cord or chain for any twists or kinks that may be causing the pendant light to hang crookedly. Gently straighten the cord or chain, and ensure that it is evenly suspended from the ceiling canopy or mounting bracket.
If the pendant light is still not hanging straight, check the ceiling attachment point to confirm that the mounting hardware and electrical connections are secure and correctly aligned. If necessary, adjust the mounting hardware or reposition the pendant light on the ceiling to achieve a balanced, straight appearance. With careful attention to detail and a thorough assessment of the fixture and its components, you can ensure that your pendant light hangs straight and enhances the overall appeal of your space.
A Step by Step Guide on How to Make Pendant Light Hang Straight
Step 1: Determine How Straight Your Pendants Need to Hang
Before you can determine how straight your pendant light needs to hang, you need to know the height you want it hung. This is important because it will not look right if your pendant hangs too high or too low on the ceiling. For example, if you are looking for a hip and modern feel in your dining room, hanging pendants closer to eye level would be best. On the other hand, lower-hanging pendants may be more appropriate if you are looking for a casual family-dinner vibe.
Step 2: Prepare for Installation
Once you have determined how straight your pendants need to hang, you will want to prepare for installation by gathering all the necessary tools, including a measuring tape, pencil, electrical tape, screwdriver, ladder or step stool, paintbrush or foam brush, screw eyes, and picture wire.
Step 3: Use Ladder or Step Stool
It is best to have someone help you when you are hanging pendants so that they will hang straight. If you don’t have anyone to help you, you can use a ladder or step stool to help you.
To hang pendants from the ceiling, first stand on a ladder or stool at the desired height. Then, using a measuring tape, measure the distance from the ceiling to where you are standing. Finally, use a flashlight to help position the pendants at the correct height.
Step 4: Finding the Studs in Your Wall
There are a few ways to find studs in your wall without a stud finder, but using one definitely makes the job a lot easier and prevents any accidental drywall damage. If you don’t have a stud finder, you can try using an awl or a nail to find the studs by gently tapping on the wall until you hear a solid sound.
Another method is to use a small piece of strong adhesive tape to stick onto the wall and then slowly pull it off until you feel it catch on something solid – that’s probably a stud!
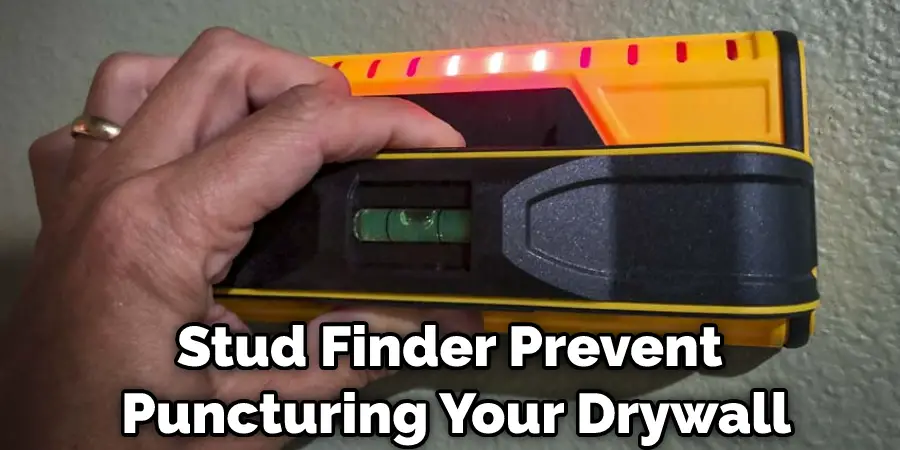
If you hear a sound that resembles hitting metal, then there is probably a joist behind that area of your wall. You can also try tapping along the wall with a hammer until you feel or hear something solid to indicate beams are running behind it. Another method that is not as accurate but can still give you an idea of where the studs are located is to check the area horizontally every 16 inches.
If your wall feels solid, it’s likely that the studs are there. This method also makes it easier to hang pendant lights straight, as you won’t have to move any furniture out of the way.
Step 5: Marking Your Studs
Now that you have located your studs, it’s time to mark them. Using a pencil and measuring tape, carefully observe the centers of each stud where you plan on hanging your pendants. Be sure to consider any obstacles such as furniture or other obstructions that may get in the way.
Step 6: Measuring How Straight You Need Your Pendants to Hang
Now that you have marked your studs, it’s time to measure how straight your pendants need to hang. Use a measuring tape and chalk line to mark all four corners of the pendant light fixture onto the wall. How well they align depends on what look you are going for in your space. For example, if you want a modern feel with a touch of glamour, then your pendants should be nearly touching at the top and bottom, where they meet the center beam.
On the other hand, if you’re looking for a softer feel with a more casual vibe, consider hanging your beams from opposite corners instead of opposing sides. This will make them appear further apart when viewed from below or above. Whatever look floats your boat is totally up to you; make sure they look nice and even from all angles.
Step 7: Marking the How Long You Want Your Pendants Hung
Use your measuring tape to mark a line down your desired length for your pendant light. How long you want the pendents hung also depends on what look you’re going for in your space. For example, if you have a wide-open floor plan that makes the room feel bigger, hanging them lower will help create a more subtle touch. This helps add depth to a smaller space by making it appear taller. However, if you don’t want it to appear low, hang them closer to eye level or above.

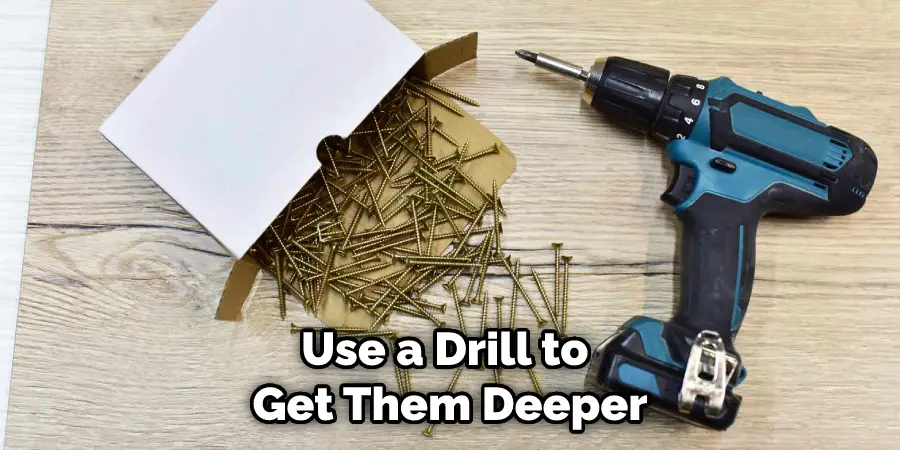
Step 8: Drilling Holes in the Ceiling
This step is more complicated because you have to ensure that your holes are placed correctly. First, mark where your pendants will hang from the ceiling with chalk. If you’re hanging multiple pendants together, it’s best to hang them along the center beam to look evenly spaced out. The center point of your first pendant should be lined up with the center of one side stud, and then mark where each pendant would go on either side of your first line down from the ceiling.
After marking all four corners using a measuring tape and chalk, use a drill or screwdriver to create pilot holes into each corner. This will prevent any splitting when you insert your screws later on.
Step 9: Hanging Your Pendants
Now that you’ve created pilot holes, it’s time to insert your screws. Make sure the screws are not longer than the stud’s width and screw them in, ensuring they’re secure before inserting another. If necessary, use a drill to get them deeper into the wall until all four corners are tightly secured to the studs. How many screws you need will depend on where you plan on hanging your pendants from.
You can always add more if one becomes loose over time and starts sagging; it never hurts to be too safe with your measurements!
Step 10: Stringing Your Pendants
Now that you have your pendants hung, all it’s left to do is string them up and add lightbulbs. It’s best to choose a dimmable lightbulb so you can control the level of light. How many lights you will need depends on how much space your fixture needs to fill with light, but we usually recommend using at least 40 watts per 100 square feet of room.
A good rule of thumb is one 40 watt bulb per 6 feet of hanging wire if you plan on hanging all four corners together or two 20 watt bulbs for every 8-10 feet instead if they are spread out across both sides of your pendant light fixture.
Before adding the bulbs, it helps to use a step ladder to make sure the bulbs are at equal height from each other. If they aren’t, you can constantly adjust them by loosening or tightening the wire that attaches them to the fixture itself. How much slack you should leave depends on how high or low you want to hang your pendants from. Generally speaking, though, it’s best to have enough slack to hang right below where your center beam meets the wall for cohesiveness in design.
Step 11: Maintain and Enjoy

After everything is up, all you have left is to enjoy your new pendant light(s)! How often it requires maintenance depends on the material they are made out of. If they are painted, stained, or lacquered, make sure to wipe them down with a damp cloth and mild soap (no harsh chemicals) every month.
If you want to go beyond that, it’s best to use some rubbing alcohol on a cotton ball and rub it in small circles until the surface is clean. After that, dry off any excess moisture using another clean cotton cloth before taking a step back to admire your work! These steps will help in how to make pendant light hang straight.
You Can Check It Out to: Hang Lights From Soffit
Precautions
- Do not spray or coat the surface of light with any product that emits an odor, such as lacquer. Instead, use only stainless steel polish that does not emit an odor.
- Make sure that the pendant light hangs straight before hanging anything from it. Do not depend on this article to ensure your light hangs completely level.
- Ensure the pendant lamp is securely fastened to the ceiling box before applying any pressure or weight. Also, make sure there are no loose screws, nuts, bolts, etc.

You Can Check It Out to: Light a Shed Without Electricity
Frequently Asked Questions
Where Should Pendant Lights Be Hung Over Island?
Pendant lights should be hung over the island where they will provide light and add a touch of elegance to your home. The best place for this is typically near an entrance or in a hallway since it will be visible from multiple angles. Be sure to pick out the right type of pendant light that matches your style and décor, and remember to install it properly so that it looks beautiful and enhances your home instead of detracting from it.
What Is the Latest Trend in Kitchen Lighting?
These lights offer many benefits over traditional incandescent or fluorescent bulbs, including long life, low energy consumption, and reduced environmental impact.
In addition to these benefits, LED Kitchen Lights also have a variety of colors that can perfectly match your culinary needs. You can choose from warm tones like orange or yellow for added warmth during cooking or cool whites for brighter illumination. And if you’re looking to save even more on your power bill, then go with a high-quality eco-friendly option like LEDsource’s ENERGY STAR Certified lamps.
There are a variety of other options available when it comes to kitchen lighting as well; so don’t hesitate to experiment with different styles until you find something that works best for you!
Should I Put a Pendant Light Over Kitchen Sink?
If you like the look of a pendant light over your kitchen sink, then do so! Just be sure that the fixture is adequately illuminated and designed for installation above a waterline.
What Is Trending in Lighting?
In this article, we’ll be discussing some of the most popular lighting trends currently being pursued by designers and architects. Ready to see what’s hot?
1. High-contrast lighting – This style of lighting is often used to create an intense or dramatic effect. It can be used in various settings, such as retail stores, commercial spaces, and restaurants.
2. Geometric light fixtures – These fixtures are often inspired by natural forms or structures, such as circles, triangles, and stars. They can add a modern and sophisticated look to any room in your home or office.
3. Low-key lighting – This style is often used to create a relaxing or soothing effect. It can be used in various settings, such as bedrooms, living rooms, and kitchens.
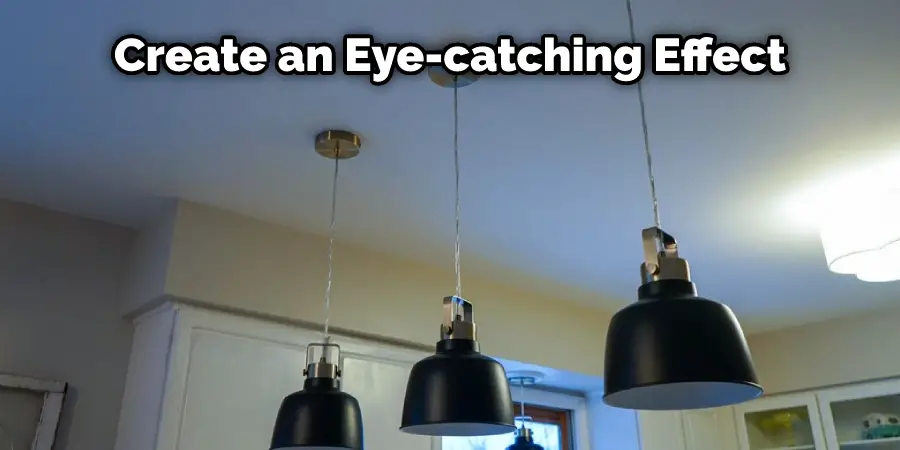
4. Color-blocking lighting – This style is often used to create an eye-catching effect. It involves using different colors of light together to create a multicolored effect.
Conclusion
So there you have it- a foolproof way to make sure your pendant light hangs perfectly straight every time. With just a few simple steps on how to make pendant light hang straight, you can avoid the hassle and frustration of dealing with a crooked light fixture. Follow these steps and enjoy beautifully illuminated spaces without any crooked lighting drama.