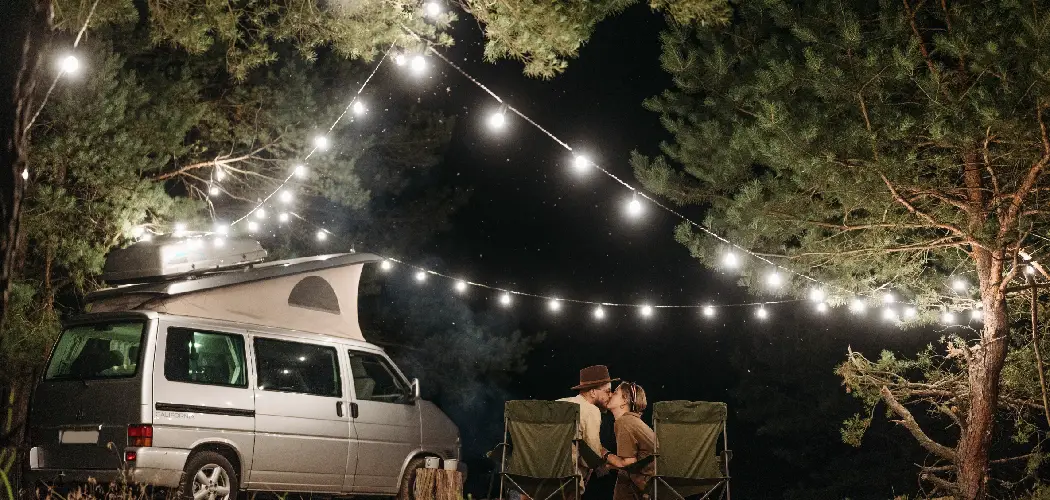
Do you have an RV and love to decorate it for the holidays? Hanging lights on your awning can add a festive flair to your campsite and make it feel especially homey. Not only does hanging lights in this manner create a beautiful illuminated effect, but it also serves as another form of decoration to spruce up any outdoor space.
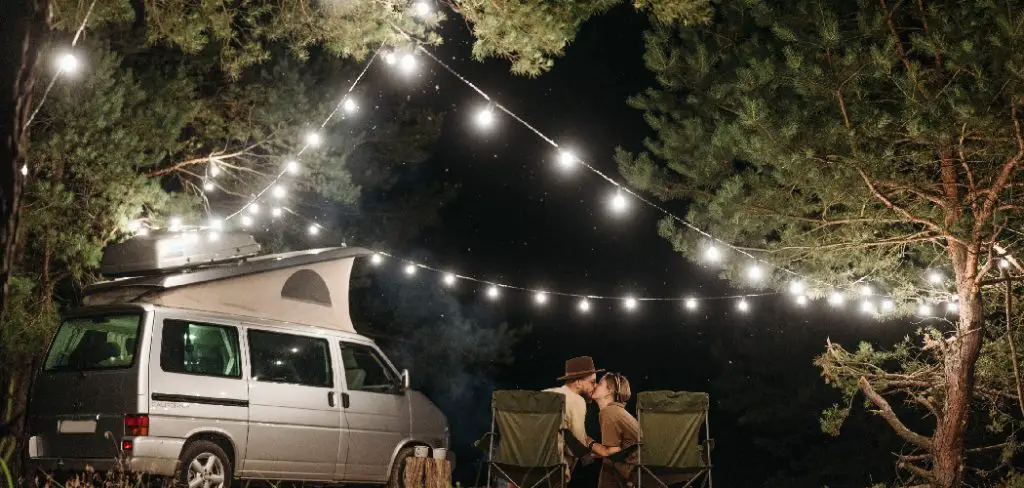
But if you’re new to RV living or just need help figuring out where to start, learning how to hang these special lights correctly can be tricky. Instead of getting tangled up in all the instructions and details around hanging holiday or decorative lights along the sides of your awning, this blog post will show you exactly how to hang lights on RV awning!
Let’s look at some simple strategies for safely attaching light strands that will ensure they stay nice and secure throughout your trip.
What Will You Need?
Before you can start hanging lights on your awning, you’ll need the followings:
- Outdoor string lights
- Hooks
- Zip ties
- A ladder or step stool
- Duct tape (optional)
- Snug fit clips
Once you have all the supplies, it’s time to start.
10 Easy Steps on How to Hang Lights on RV Awning
Step 1: Measure and Hang Hooks
The first step is to measure and hang your hooks. Depending on the size of your awning, you can determine how many hooks you need and where they should be placed. Generally, it’s best to space the hooks out evenly but if needed, have a few extra handy just in case!
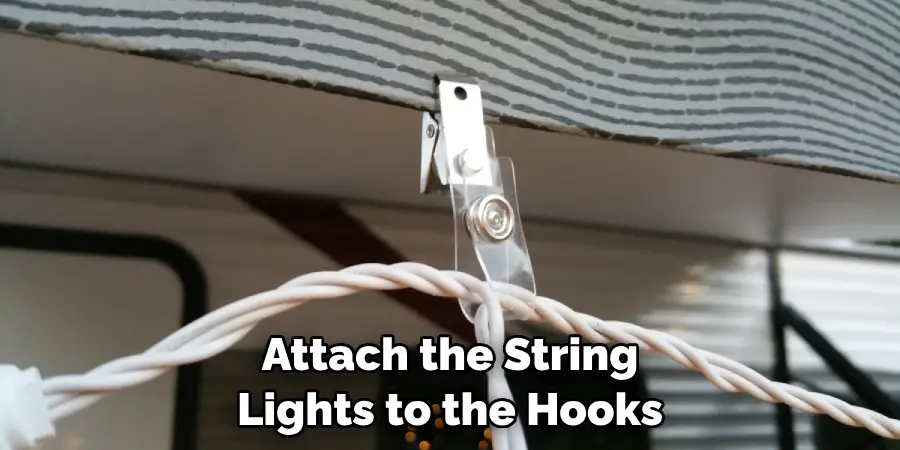
Step 2: Attach String Lights to Hooks
Next, attach the string lights to the hooks by using zip ties or wire. This will ensure that your lights are secure and won’t come loose wity wind or movement. You can also use duct tape to help secure the wire if needed.
Step 3 : Hang Lights from Hooks
Once you have attached the string lights to the hooks, it’s time to start hanging them up! Start by connecting the lights to the hooks, then slowly and gently lower them down. Try to keep the strings of lights relatively straight so they look nice when you’re finished.
Step 4: Secure Lights with Snug Fit Clips
If your string lights don’t fit snugly against the awning, use snug fit clips or other clips that won’t leave a residue. This will help keep the lights secure and prevent them from loosening or slipping off the awning. Be careful not to over-tighten the clips, as they may damage your awning fabric.
Step 5: Secure Lights with Duct Tape (optional)
If you need an extra layer of security, use duct tape to attach the strings of lights to the awning. Make sure that no part of the tape is visible when you are done; otherwise, it could damage your RV’s exterior. Otherwise, keep the tape covered with extra string lights for an even more secure fit.
Step 6 : Check Lights for Proper Installation
Once you have secured the lights in place, do a quick check to make sure everything looks correct before turning them on. Look for any loose wires or frayed strands and adjust accordingly. If everything looks good, you can move on to the next step.
Step 7: Plug in and Test the Lights
Now that the lights are secured, plug them in and test that they are working correctly. Make sure to check multiple outlets if necessary, just to make sure all of your hard work paid off! Additionally, it may be helpful to unplug the lights when you’re not using them to prolong their life.
Step 8: Leave Room for Ventilation
When you’re finished hanging up the lights, be sure to leave some room around each light strand for proper ventilation. This is especially important when using LED or other energy-efficient bulbs. Another tip is to make sure the bulbs aren’t too close together, as this can cause them to overheat.
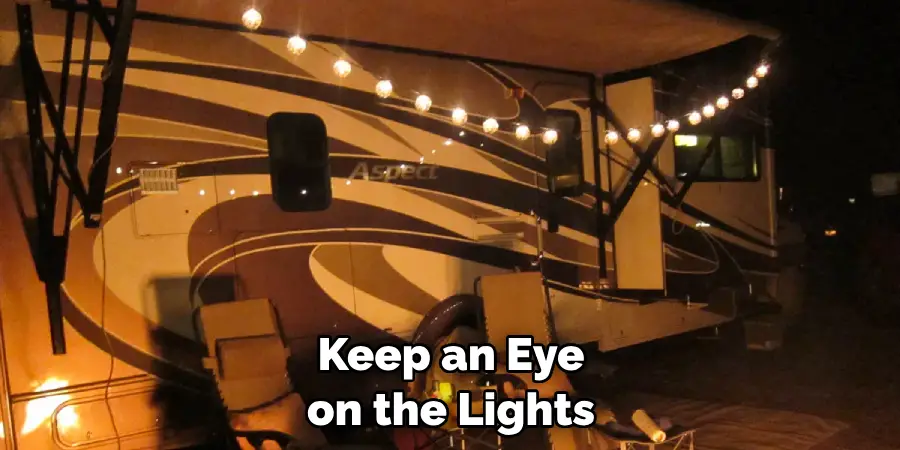
Step 9: Monitor Lights Regularly
While you enjoy your festive decorations, remember to keep an eye on the lights and ensure they’re still secure throughout your trip. If any of the wires become loose or frayed, replace them immediately! Don’t forget to turn them off when you’re not around.
Step 10: Enjoy Your Decorations!
Once your RV is decorated with festive lights, all that’s left to do is enjoy them! Have fun, and don’t forget to take lots of pictures of your new holiday decorations. Remember, safety comes first!
With these easy steps, you can now safely and securely hang lights on RV awning without any fuss or mess. From measuring and hanging the hooks to checking for proper installation, following these tips will ensure that your RV looks beautiful for many seasons to come!
5 Additional Tips and Tricks
- Use zip ties to secure the lights to the awning arms or struts. This will make sure that the lights stay in place even when you’re on the road.
- Use shrink wrap or plastic tubing to protect the wires and create a waterproof seal.
- Make sure that the lights are not too close together, as this can cause them to overheat and fail prematurely.
- When checking for proper installation, look for loose wires or frayed strands and make adjustments accordingly.
- Always unplug your string lights when you’re not using them in order to prolong their life span.
Following these tips will help you maintain your RV’s festive decorations for years to come! Enjoy your holiday decorating, and don’t forget to stay safe!
5 Things You Should Avoid
- Avoid using screws or nails to hang the lights as these can cause damage to the awning fabric.
- Don’t use too much duct tape; otherwise, it may leave a residue on your RV’s exterior.
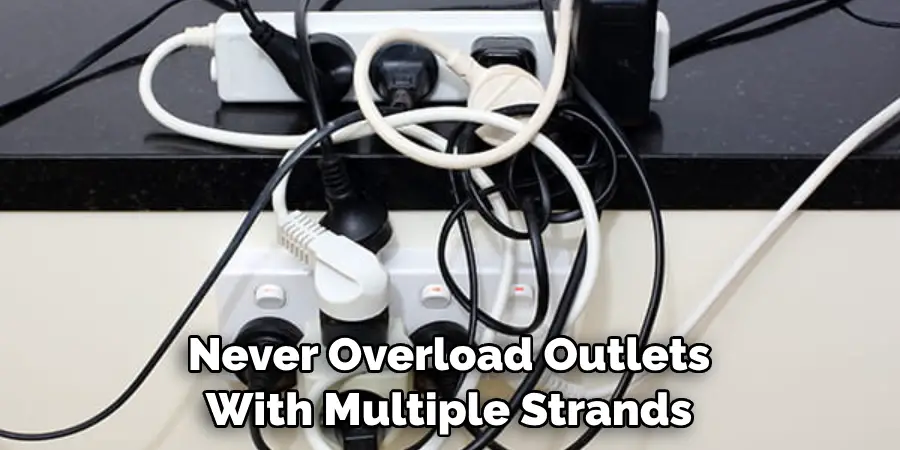
- Never overload outlets with multiple strands of lights as this can cause an electrical hazard.
- Don’t forget to leave room for ventilation around each light strand in order to prevent them from overheating.
- Avoid using any type of adhesive, as this could ruin your awning fabric and paint job!
With these tips in mind, you should now feel confident in safely and securely hanging holiday lights on your RV awning. Have fun and enjoy the festive season!
Do RV Lights Run Off Battery?
Yes, you can run your RV lights off a battery. You’ll need to purchase a deep cycle battery and an appropriate power inverter to convert the DC current of the battery into AC current that your lights can use. Make sure that you follow all safety precautions when working with electricity in order to avoid any potential hazards or risks.
Additionally, it’s important to check the wattage of your light bulbs before connecting them to the battery as too much wattage can cause damage or even catch fire. With proper installation and maintenance, running your RV lights off a battery is a convenient option for those who don’t have access to an electrical hookup!
Will Regular Lights Work in RV?
Yes, regular lights can work in an RV. However, you will need to make sure that they are compatible with the voltage and watt of the RV’s electrical system.
Additionally, if your RV has a lower wattage than traditional homes, then you may need to buy light bulbs with lower wattages for them to be safe and effective.
Finally, it is important to check for any signs of fraying or damage on any wiring before using regular lights in your RV as faulty wiring can cause potential hazards and risks. With these tips in mind, you should now feel more confident about using regular lights in your RV!
What Color Lights Are in RV?
The color of lights in an RV will depend on the type and style of the RV. Generally speaking, most RVs are equipped with warm white LED light strips or bulbs that emit a softer glow than traditional bright white LEDs.
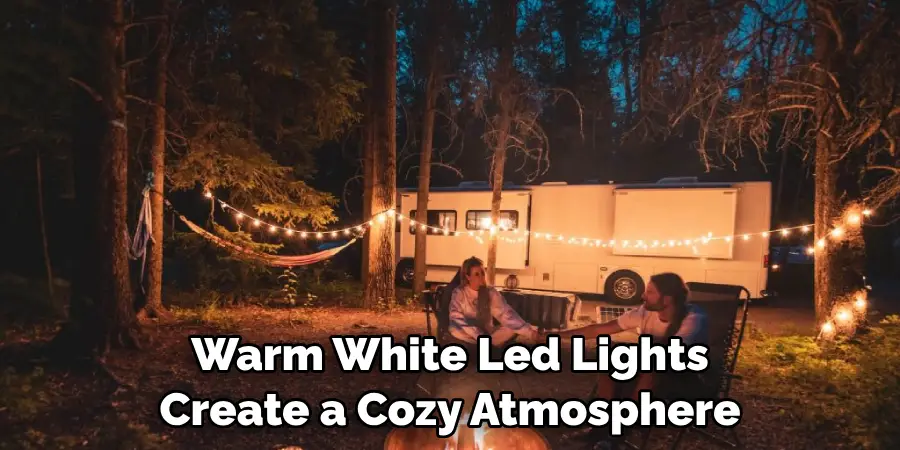
These warm white LED lights create a cozy atmosphere in an RV while providing enough light to make it easy to move around in low-light situations. Additionally, you can find specialized colored LED lights for your RV that can add a touch of fun and whimsy to your home away from home!
Conclusion
Overall, it is important to remember that when it comes to hanging lights along the awning of your RV, security and reliability should be your primary concern. Choose a bracket system sturdy enough to hold up in strong winds and secure the lights with the correct tools to make sure they won’t break away and shred your awning! After setting up the hardware, string up some attractive lighting to put the finishing touches on your decoration design.
With an organized installation plan, you can create an incredible outdoor atmosphere in no time. Whether hosting a party or settling in for a family dinner under the stars, know that you now have the skills and knowledge necessary for successful RV light setup.
Hopefully, the article on how to hang lights on RV awning was helpful. Thanks for reading.