Whether you’re looking to add some extra light for tailgating or want to see better when backing up, installing a tailgate light bar is a quick and easy way to do it. Follow these simple steps, and you’ll have your new light bar installed. So read on and learn how to hardwire a tailgate light bar like a pro.
Summary: Firstly, you’ll need to find a light bar that’s compatible with your vehicle. You can either buy a pre-made light bar or build your own. Next, you’ll need to determine where you want the light bar to be mounted. You can mount it on the tailgate itself or on the back of the truck. Finally, you’ll need to wire the light bar to your vehicle.
Why Hardwire a Tailgate Light Bar?
There are a few reasons why you might want to hardwire a tailgate light bar. Perhaps you need more light for tailgating, or you want to be able to see better when backing up. Whatever the reason, hardwiring your light bar is a quick and easy way to do it.
Required Materials
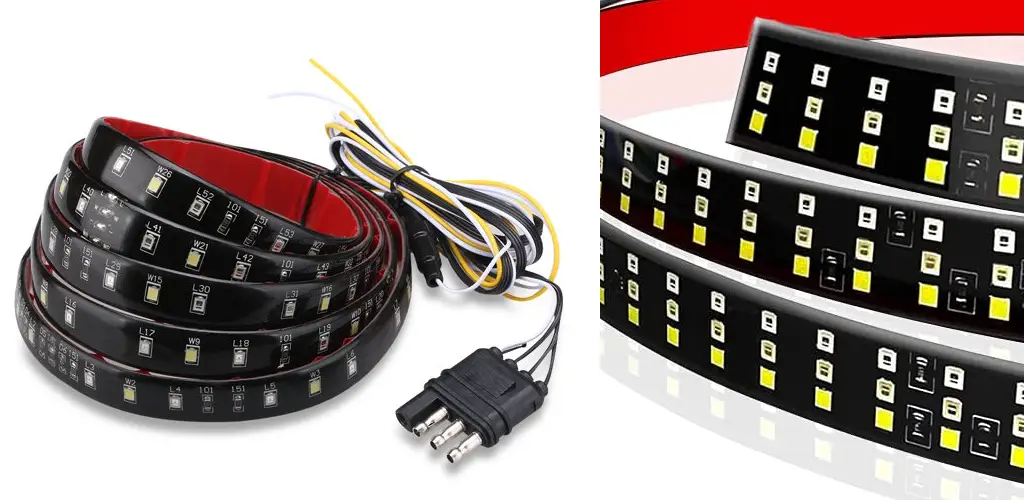
- Tailgate light bar
- Wiring kit
- Drill
- Screwdriver
- Pliers
- Wire cutters
How to Hardwire a Tailgate Light Bar Step by Step Guide
Step 1: Get a Light Bar
The first step is to get a light bar. You can find many different types and styles of light bars. It is important to choose one that fits your needs and wants.
Step 2: Cut Off the Power to Your Car
Before you start working on the wiring for your light bar, it’s important to cut off the power to your car. This can be done by turning off the ignition or disconnecting the battery.
Step 3: Choose a Light Bar that is Compatible with your Vehicle’s Make and Model
When choosing a light bar for your vehicle, it is important to make sure that the light bar is compatible with your vehicle’s make and model. With so many different light bars on the market, it is important to do your research to find one that will work well with your car or truck.
If you are unsure of what type of light bar to choose, you can always ask a sales representative at your local auto parts store for help.
Step 4: Choose Your Location
Now that you have your light bar, it’s time to choose a location to install it. Most people install their light bars on the back of their vehicle, near the tailgate. This is a great location because it’s easily visible and provides extra safety lighting when driving at night.
If you don’t want to install your light bar on the back of your vehicle, you can also install it on the roof. Just make sure it’s in a location where it will be safely visible to other drivers.

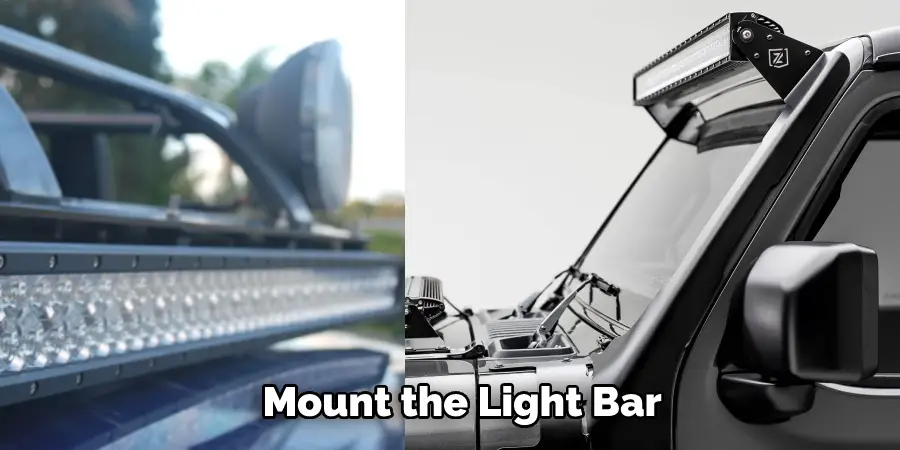
Step 5: Mount the Light Bar
Now that you have your light bar, it’s time to mount it! This will vary depending on the light bar you have, so check the instructions that come with your kit. You’ll want to mount the light bar as close to the tailgate as possible. You may also need to drill holes in the tailgate to secure the light bar.
Step 6: Connect the Wires
With all of the holes drilled, it’s time to start running your wiring. Begin by threading the positive (red) wire from your light bar through one of the side grommets and into the cab of your vehicle. Next, do the same with the negative (black) wire. Once both wires are inside the cab, strip 1/2″ of insulation off each wire using a wire stripper.
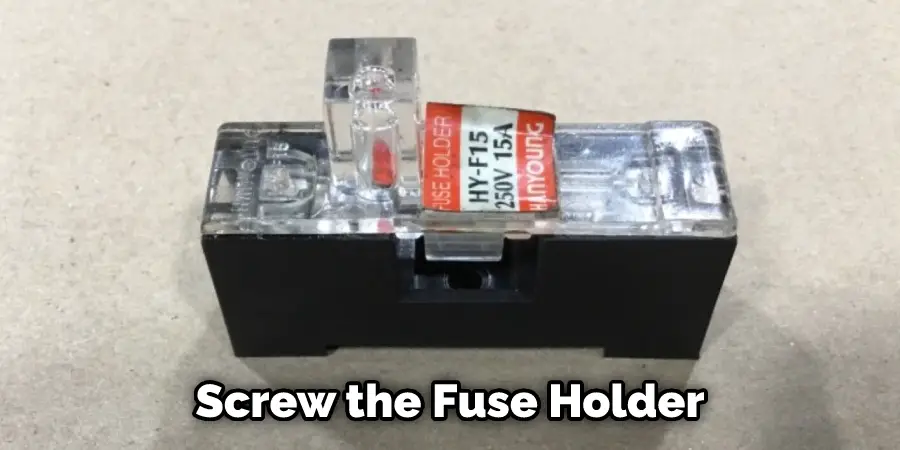
Next, take the positive wire and connect it to the “12V+” terminal on your fuse holder. Then, take the negative wire and connect it to the “GND” terminal on your fuse holder. Once both wires are connected to their respective terminals, screw the fuse holder back together.
Step 7: Route The Wires to The Tailgate
Now that the light bar is installed, it’s time to route the wires. This can be a bit tricky, but with a little patience, you can do it. First, find a spot on the tailgate inside where you can drill a hole large enough to fit the wiring. Then, use a screwdriver to poke a hole through the tailgate seal. Be careful not to damage the seal or the paint on the tailgate.
Next, run the wires from the light bar to the hole you just drilled. Make sure they are long enough to reach. You can always extend them with some extra wire if they’re not. Once the wires are in place, use some electrical tape to keep them from moving around.
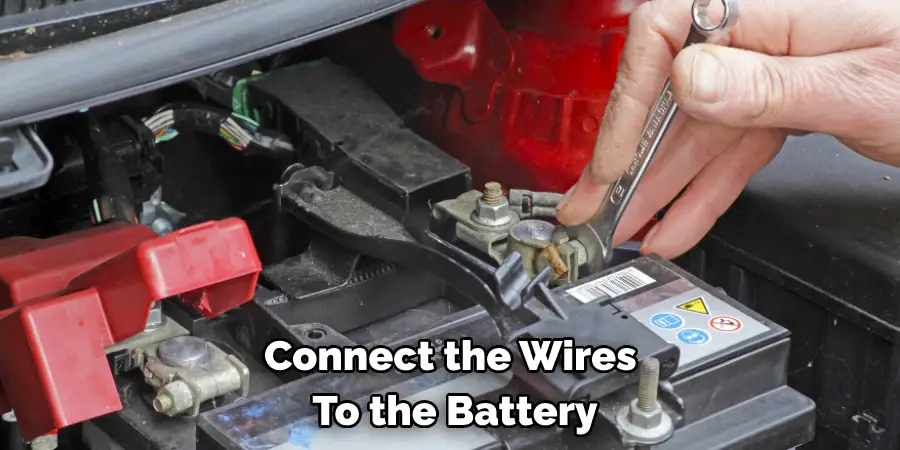
Step 8: Connect the Wires to The Battery
Using the ring terminals, connect the black wire to the battery’s negative (-) terminal and the red wire to the positive (+) terminal. If your light bar has a white wire, it is used for ground and should be connected to a metal surface on the vehicle. Make sure all connections are tight and secure.
Step 9: Put Everything Back Together
Now that you have successfully hardwired your tailgate light bar, it is time to put everything back together. First, screw the brackets into place on the back of your truck. Then, reconnect the battery and test out your new light bar to ensure it is working properly. Finally, pat yourself on the back for a well-done job!
Step 10: Test The Lights
After you have finished installation, it is time to test the lights. Turn on your vehicle and check the tailgate light bar for proper operation. If everything is in order, congrats – you’ve successfully installed a tailgate light bar!
Now that you know how to hardwire a tailgate light bar, it’s time to work! Follow the instructions above, and you’ll be driving safely at night.
How Do You Hook up A Tailgate Light Bar?
If you have a truck or SUV with a towing package, you may want to know how to hardwire a tailgate light bar. Hardwiring your tailgate light bar is not difficult, but it does require some basic knowledge of electrical wiring and soldering.
1. First, you will need to gather the following tools and materials: a soldering iron and solder, wire cutters, wire strippers, electrical tape, a drill, and a 1/4 inch drill bit.
2. Next, you will need to remove the tailgate from your vehicle. To do this, you will need to drill two 1/4 inch holes in the bottom of the tailgate. The first hole will be used to feed the power wire through, and the second hole will be used to attach the light bar bracket.
3. Once the tailgate is removed, you can begin wiring the light bar. The power wire should be attached to the positive terminal on the battery, and the ground wire should be attached to the negative terminal.
4. Next, you will need to drill a hole in the top of the tailgate for the light bar wiring. This hole should be large enough to accommodate the wires but small enough so that it does not allow water or moisture to enter.
5. After the hole is drilled, you can thread the light bar wiring through it and into the cab of your vehicle.
6. Once the wiring is in place, you can begin soldering the connections. The positive wire should be soldered to the positive terminal on the light bar, and the negative wire should be soldered to the negative terminal.
7. Once the connections are made, you can wrap them in electrical tape to protect them from moisture and corrosion.
8. Finally, reattach the tailgate to your vehicle and test the light bar to ensure it is working properly.
How Do You Wire a Led Tailgate Light Bar?
Wiring a LED tailgate light bar isn’t as hard as it seems. It only takes a few minutes to complete. Here are the steps you need to take:
- Locate the power source. The power source can be either the battery or the fuse box.
- Connect the positive wire to the power source.
- Connect the negative wire to the ground.
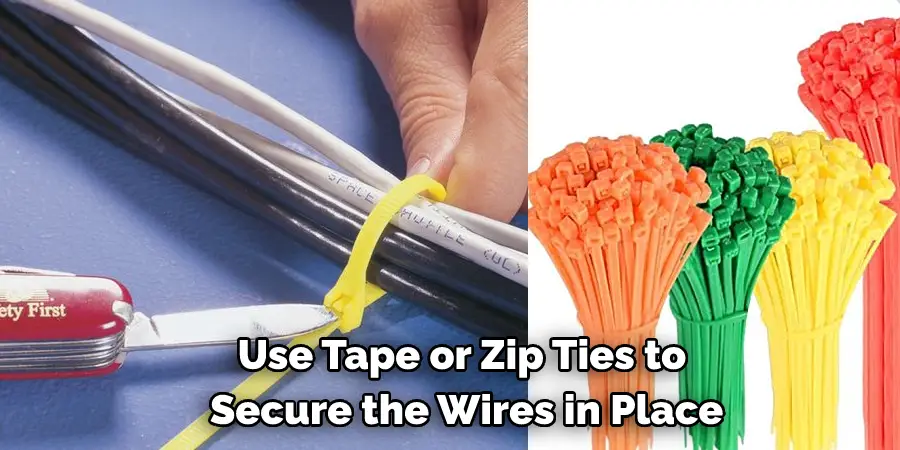
- Use tape or zip ties to secure the wires in place.
- Enjoy your new LED tailgate light bar!
Frequently Asked Question
How Do You Wire a Tailgate Strip?
There are a few ways that you can wire a tailgate strip. The most common way is to use the wiring harness with the light bar. The other way is to use a trailer connector.
What Are Tail Lights?
Taillights are the red and orange lights on the back of a car. They are used to indicate to the drivers in front of you that you are slowing down or stopping.
Are Brake Lights and Tail Lights the Same?
There is a lot of confusion about the difference between brake and tail lights. In most cases, people use the terms interchangeably. However, there are some key differences between the two. Brake lights are the red lights that turn on when you apply the brakes. These lights are very important because they let drivers behind you know that you are slowing down or stopping.
Tail lights are the red lights that are always on when your car is running. They help other drivers see your car from behind, even when it is dark.
Brake lights are activated when you press on the brake pedal. They let the drivers behind you know that you’re slowing down or stopping.
You Can Check It Out To Use Blue Light Pen for Spider Veins
Conclusion
As you can see, it’s not too difficult to wire a tailgate light bar. With just a few basic tools and supplies, you can have your new lights up and running in no time. Be sure to follow the instructions closely and take your time when making the connections, and you should have no problems getting everything hooked up correctly. Now that you know how to hardwire a tailgate light bar go out and get yourself one – or two!
You can check it out to Set up Sunpak Ring Light