
If you’re like most homeowners, you probably have a ceiling light box to provide wiring and lighting for your home. Unfortunately, ceiling light boxes can be an eyesore if they’re not properly hidden, but with a few simple tricks, you can easily conceal the gaps around them. This blog post will show you how to hide gaps around a ceiling light box and achieve a clean, professional look. Keep reading to learn more!
Summary: If you have gaps around a ceiling light box, there are a few ways to hide them. One option is to use a curtain rod to drape the fabric over the light box. Another option is to use a sheer curtain to cover the light box.
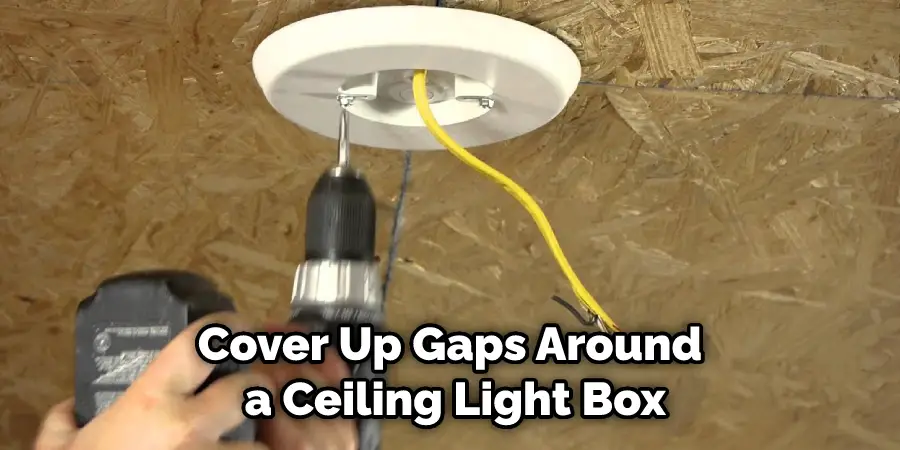
What Causes Gaps Around Ceiling Light Boxes?
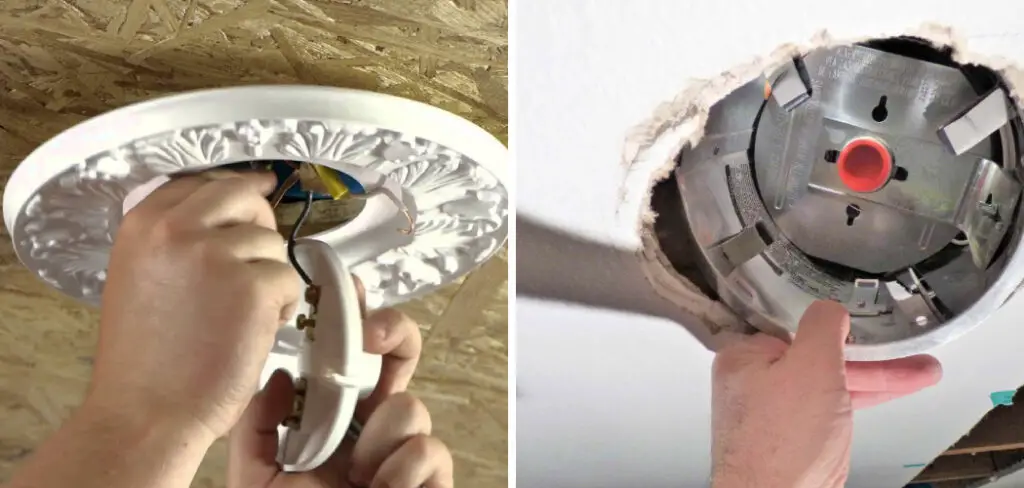
A few different things can cause gaps around ceiling light boxes. One of the most common causes is improper installation. If the lightbox isn’t installed flush with the ceiling, there will be a gap between the box and the ceiling. Gaps can also be caused by shrunk or warped drywall over time.
Another common cause of gaps is using the wrong size lightbox. If the lightbox is too small for the electrical box it’s mounted to, there will be gaps around the box’s perimeter. The other side of that coin is using a light box that’s too big for the electrical box. While this might not cause gaps, it can leave an unsightly overhang. Additionally, if the lightbox is too big, it can be not easy to properly secure the box to the ceiling. Lastly, if the electrical box has old, damaged, or missing insulation, it can also cause gaps around the lightbox.
Why Should You Hide Gaps Around Ceiling Light Boxes?
Aside from being unsightly, gaps around ceiling light boxes can also be dangerous. If the electrical box isn’t properly insulated, live wires could be exposed, posing a serious risk of shock or fire. Additionally, gaps can provide an entry point for pests like rodents and insects. These pests can cause damage to your home’s wiring or insulation, leading to more serious problems down the line.
Another reason to hide gaps around ceiling light boxes is to improve your home’s energy efficiency. Gaps can allow heat or cool air to escape, making your HVAC system work harder to maintain a comfortable temperature. In the winter, gaps can also allow moisture to enter your home, leading to mold and mildew growth.
Finally, hiding gaps around ceiling light boxes can also improve the look of your home. If you’re trying to achieve a clean and polished look, gaps will only detract from your efforts.
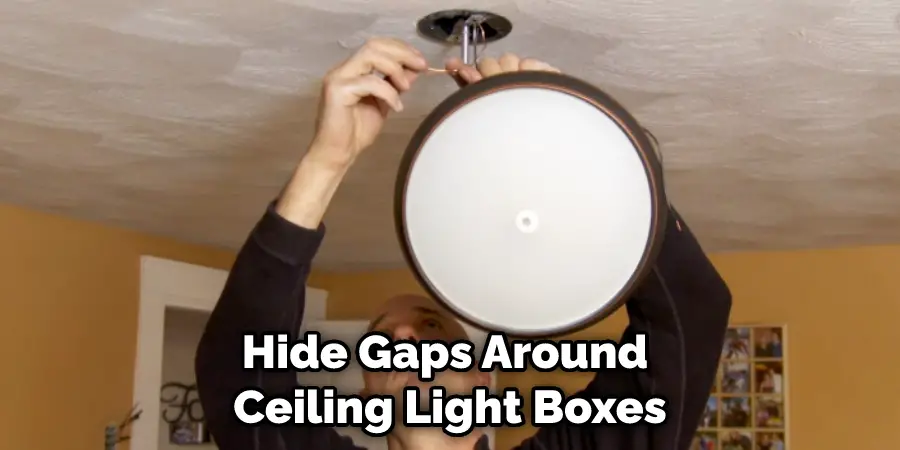
9 Ways How to Hide Gaps Around a Ceiling Light Box
1. Use Caulk
One of the easiest and most effective ways to hide gaps around a ceiling light box is to use caulk. Caulk is a versatile sealant that can be used to fill in gaps of all sizes. It’s also relatively inexpensive and easy to use, making it a great option for hiding gaps around ceiling light boxes.
First, clean the area around the light box with a damp cloth to remove any dust or debris. Next, apply a bead of caulk around the perimeter of the lightbox. Finally, smooth out the caulk with your finger or a putty knife and allow it to dry. If you’re not happy with the results, you can always sand down the caulk and start over.
2. Use Foam Tape
Another easy way to hide gaps around a ceiling light box is to use foam tape. Foam tape is a weatherstripping type often used to seal gaps around doors and windows. It’s easy to apply and comes in various widths so that you can find the perfect size for your needs. To use foam tape, clean the area around the lightbox to remove any dirt or debris.
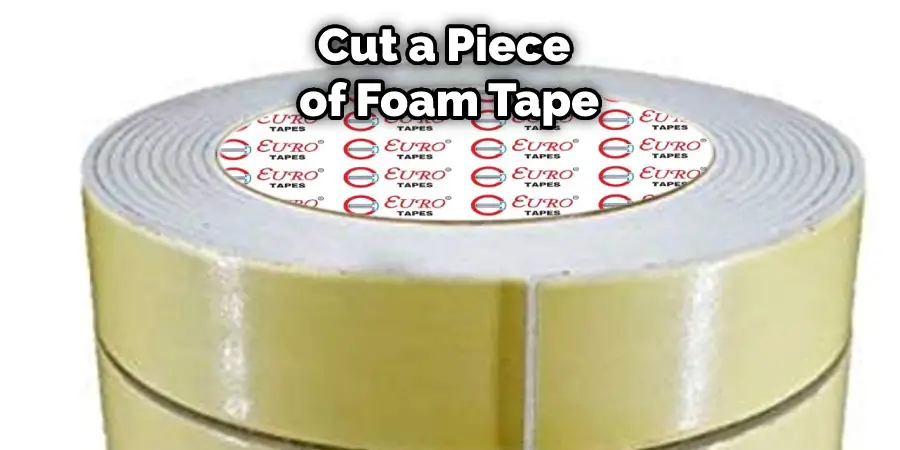
Then, cut a piece of foam tape to size and place it over the gap. Apply pressure to the tape to make sure it’s secure, then paint over it to match the surrounding area. Foam tape is an inexpensive and easy way to hide gaps and make your lightbox look more polished. If you’re not into the idea of painting, you can also find foam tape in various colors to match your décor.
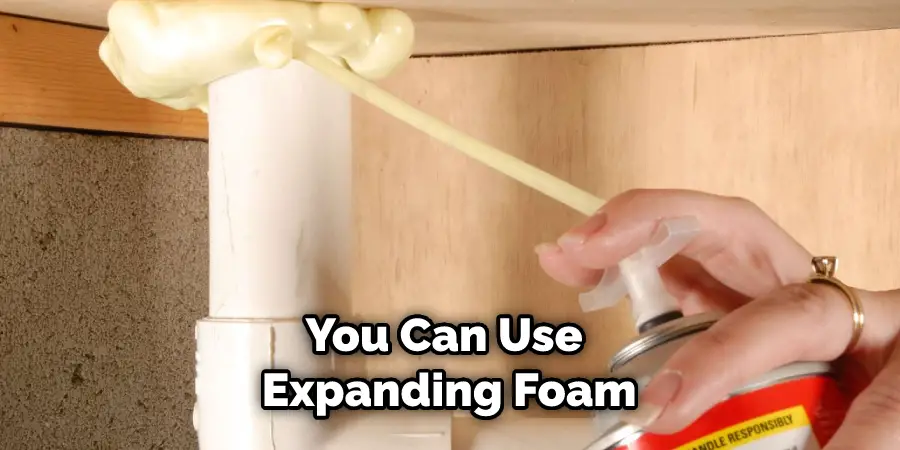
3. Use Expanding Foam
If you’re looking for a more permanent solution, you can use expanding foam to fill in gaps around a ceiling light box. Expanding foam is a great option because it’s easy to use and creates a tight seal that will prevent air and pests from entering your home. To use expanding foam, first, make sure the light box is turned off, and the power is disconnected. Next, carefully insert the nozzle of the expanding foam into the gap and dispense the foam until the gap is filled. Once the foam is in place, allow it to expand and cure for 24 hours before turning the power back on.
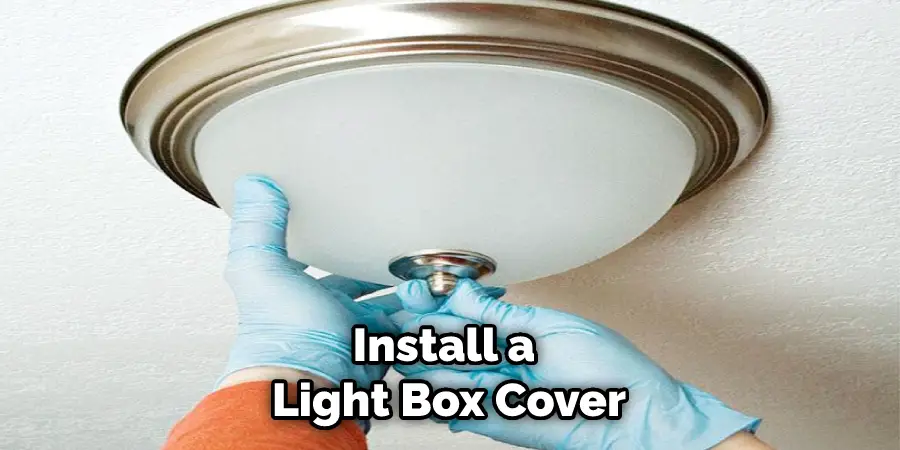
4. Use a Light Box Cover
If you’re not into the idea of filling in gaps with caulk or expanding foam, another option is to use a light box cover. Lightbox covers are available in various sizes and styles to fit most types of light boxes. They’re also relatively easy to install, so they’re a good option if you’re not comfortable with doing your own electrical work. To install a light box cover, turn off the power to the light box at the breaker box. Then, remove the existing light bulb and fixture. Next, fit the cover over the lightbox and secure it in place with the included hardware. Finally, re-install the light bulb and fixture.
5. Install Drywall Around the Box
If you’re looking for a more permanent solution, you can install drywall around the lightbox. This will take time and effort, but it will create a cleaner look. Start by measuring the lightbox size and cutting out a piece of drywall to fit. Next, use a drywall saw to cut out the wires’ holes. Be careful not to damage the wires. Now it’s time to attach the drywall to the lightbox. You can do this with screws or nails. Be sure to use screws that are long enough to go through the drywall and into the wood framing. Once the drywall is attached, you can finish it off by taping and mudding the seams. This will give the illusion of a seamless lightbox.
6. Use a J-bead
If you’re looking for a quick and easy way to cover up gaps around your ceiling light box, you can use a J-bead. J-beads are made of metal or plastic and come in various sizes to fit most standard light boxes. To install a J-bead, first, determine the size you need. Then, use a utility knife to score the back of the J-bead, so it’s easy to snap off. Next, align the J-bead over the gaps and snap it into place. Finally, use a putty knife to smooth out any rough edges.
7. Use Ceiling Tiles
If you want to cover up gaps around a ceiling light box and add some extra insulation, you can use ceiling tiles. Ceiling tiles are available in various colors and styles, so you can find a style that matches your décor. You’ll need to purchase a few extra tiles to cover the gaps around the lightbox, and you may need to trim the tiles to fit. Once the tiles are in place, they can be painted or stained to match the surrounding ceiling.
8. Add Crown Molding
Another way to cover up gaps around a ceiling light box is to add crown molding. This is a more decorative option, but it can really help to make your lightbox look finished and polished. You can find crown molding at most home improvement stores. Just make sure to measure the gaps around your lightbox before purchasing anything to know exactly how much you need.
9. Use Wallpaper
Wallpaper is another great way to cover up gaps around a ceiling light box. This is a quick and easy option, and it’s also very affordable. You can find wallpaper in various colors and patterns to match your décor. To install wallpaper around a light box, ensure the surface is clean and dry. Then, cut the wallpaper to fit the area around the lightbox. Next, apply adhesive to the back of the wallpaper and press it into place. Finally, use a utility knife to trim off any excess wallpaper.
How Much Does It Cost to Hide Gaps Around a Ceiling Light Box?
The cost to hide gaps around a ceiling light box will range from $5 to $50. The cost of hiding gaps around a ceiling light box will vary depending on your chosen method. The cost will be relatively low if you opt for something like caulk or expanding foam. These materials are readily available and easy to use.
The cost will be higher if you choose a more involved method like drywall or crown molding. You’ll need to purchase materials like drywall or molding, and you may need to hire a professional to help with the installation. The cost will also depend on the size of your light box and the number of gaps you need to fill.

Frequently Asked Questions
Can You Caulk Around Ceiling Light Fixtures?
There are a few ways that you can caulk around ceiling light fixtures. One option is to use caulk gun-type products, which come in various shapes and sizes. Another option is to use silicon caulk, which dries clear and has a long lifespan. If you choose the latter route, be sure to remove any labels or other identifying marks from the fixture beforehand so that it looks uniformly painted.
Should You Caulk Around Outside Light Fixtures?
Yes, you should caulk around outside light fixtures to keep them from weathering and leaking. This will prevent water and debris from getting inside the fixture, potentially causing damage. Additionally, caulk can help to keep insects out of the lights and avoid theft or vandalism.
Can You Caulk Around Electrical Outlets?
Yes, you can caulk around electrical outlets. Caulking is a method of sealing joints and cracks in concrete, masonry, or other types of surfaces using a flexible sealant. By filling in the gaps with caulk, you can help to prevent water and dirt from leaking into and damaging the interior surfaces of your home.
Caulking around electrical outlets is a simple and effective way to protect your home’s electrical systems. By filling in the gaps around the outlet with caulk, you can create a watertight seal that will prevent moisture and dirt from entering the outlet and damaging the electrical components inside.
Can I Use Expanding Foam Around Electrical Boxes?
Yes, you can use expanding foam around electrical boxes. Expanding foam is a type of insulation that contains tiny air cells that are activated when exposed to moisture or heat. This causes the cells to grow and fill up with gas, which then creates pressure and makes the foam expand. This process helps to protect against electrical shorts and provides thermal insulation for walls, ceilings, and other areas in your home.
You should avoid using expanding foam near water sources or any area that may be heated internally (e.g., under the floorboards). Also, make sure not to blow into the foams while their expansion is taking place – this will disrupt the cell growth process and cause them to deflate prematurely. Installation usually takes just a few minutes but it’s important to follow all safety guidelines during installation so as not to create any hazards or problems down the road!
Conclusion
So there you have it! Everything you need to know about how to hide gaps around a ceiling light box. There are various methods you can use, and the best option for you will depend on your budget and the look you’re going for. We hope this guide has helped you choose the right method for your needs. Thanks for reading!