
Are you ready to update your can light trim for a fresh new look? Don’t worry. Installing can light trim is a simple task that can be completed in just a few easy steps. Installing can light trim is a great way to improve the appearance of your home lighting. It’s a quick, easy project that can make a big impact. By using trim, you can create a more polished and finished appearance.
In this article, we’ll show you how to install can light trim in just a few simple steps. We’ll also provide some tips for choosing the right trim for your needs. So if you’re looking for a way to update your ceilings without spending much money, installing can light trim is the perfect solution. Let’s get started and Keep Reading!
Summary: First, measure the distance from the edge of your light trim to the wall where it will be mounted. This will help you determine the correct length of wire to use for the installation. Second, use a drill bit that is slightly smaller than the screw that will be used to attach the trim to the wall. This will ensure that the screw goes into the trim easily and doesn’t pull away from the wall. Finally, make sure that the screws are tight before painting or decorating the wall.
What is the Benefit of Using Can Light Trim?
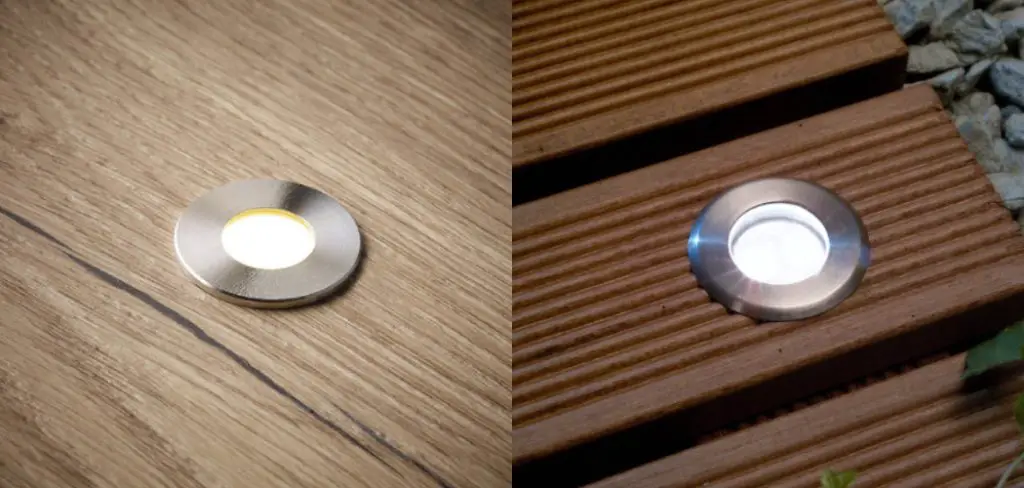
Before we dive into the installation process, let’s discuss why you might want to use can light trim in the first place. Can light trim is a metal or plastic ring that goes around the outside edge of your recessed lighting fixture, or “can.”
Trim can improve the appearance of your lighting by hiding any gaps or seams between the light and the ceiling. It also helps create a more finished look for your lighting fixtures, giving them a professional appearance.
Another benefit of using trim is that it can help increase the efficiency of your lighting. By covering any gaps or seams, trim helps to prevent air leaks and can improve the energy efficiency of your lighting.
What Will You Need to Install Can Light Trim?
Before you begin, gather all the materials and tools you need to install your can light trim. You will need the following:
- Can light trim (make sure to choose the right size for your recessed lights)
- Screwdriver or drill
- Screws
- Ladder or step stool, if necessary
With these materials in hand, you’re ready to begin the installation process.
10 Easy Steps on How to Install Can Light Trim
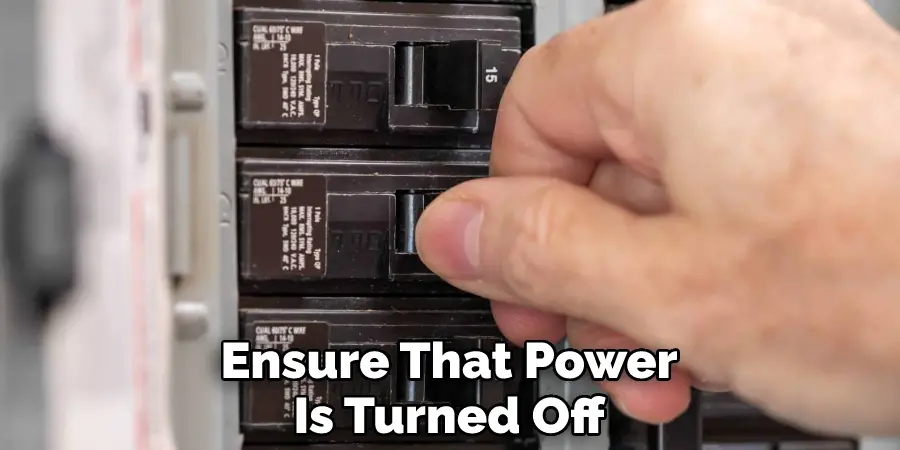
Step 1: Turn Off the Power to the Light Fixture
Before you begin any electrical work, it’s important to ensure that power is turned off to the light fixture. Locate the circuit breaker for the lights and turn it off before proceeding with the installation.
Step 2: Remove Existing Trim or Trim Ring
If your light fixtures already have a trim or trim ring, remove them by unscrewing them from the light fixture using a screwdriver or drill. Note any screws that may be different sizes so that you can use those same screws when installing your new trim.
Step 3: Install New Trim
Place your new trim around the edge of the light fixture, ensuring it is lined up properly. Use a screwdriver or drill to secure the trim in place with the screws you removed in Step 2 (or new screws, if necessary). Repeat Steps 2-3 for any remaining light fixtures that need new trim.
Step 4: Turn Power Back On and Test the Fixtures
Before completing the installation, turn the power back on to the light fixtures and test them to ensure they are working properly. If they do not turn on, check to ensure all the screws are securely in place and the trim is properly aligned. It is also possible that a loose wire may be causing the issue, so check for any issues with the wiring before calling a professional.
Step 5: Admire Your Handiwork
Stand back and admire your handiwork! You have successfully installed can light trim, giving your recessed lights a polished appearance and improving their energy efficiency. Now you can enjoy the improved look and function of your lighting fixtures.
Step 6: Optional Additional Steps
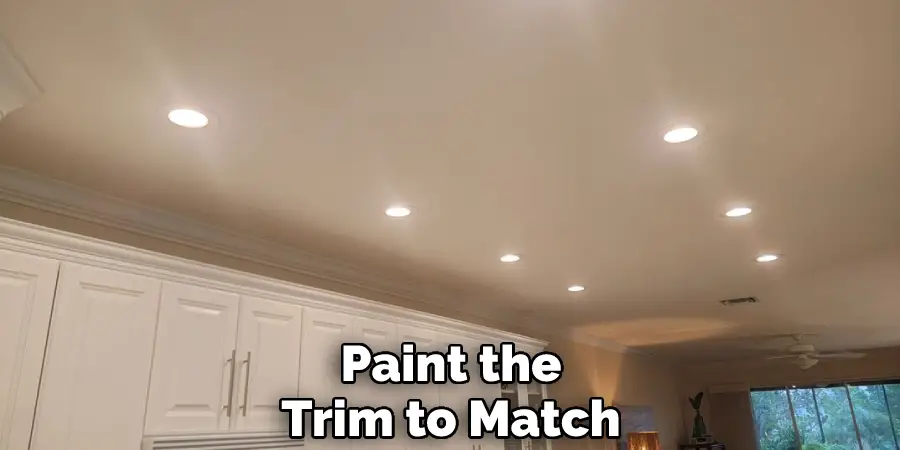
If you want to take it a step further, you can also paint the trim to match or complement the color of your ceiling for an even more polished look.
You may also choose to install trim at the center of the light fixture, called an eyeball trim, for added style and improved lighting control. This is installed in much the same way as regular trim – just make sure to turn off the power before beginning installation.
Step 7: Keep Trim Clean
To maintain the appearance of your trim, make sure to clean it regularly using a soft cloth and mild soap. If you have multiple light fixtures in your home, consider repeating Steps 1-8 to update the trim on all of them for a cohesive look.
Step 8: Consider Other DIY Upgrades
Installing can light trim is just one simple way to update your lighting fixtures. As you continue your DIY home improvement journey, consider other upgrades, such as changing out light bulbs or installing pendant lights for added style.
Step 9: Clean Up and Store Tools
After completing your installation, clean up any debris or excess materials and properly store your tools for future use. Store any leftover trim in a safe, dry place for potential future use or to replace damaged trim. You can also consider donating any excess materials to friends or family or selling them online or at a yard sale.
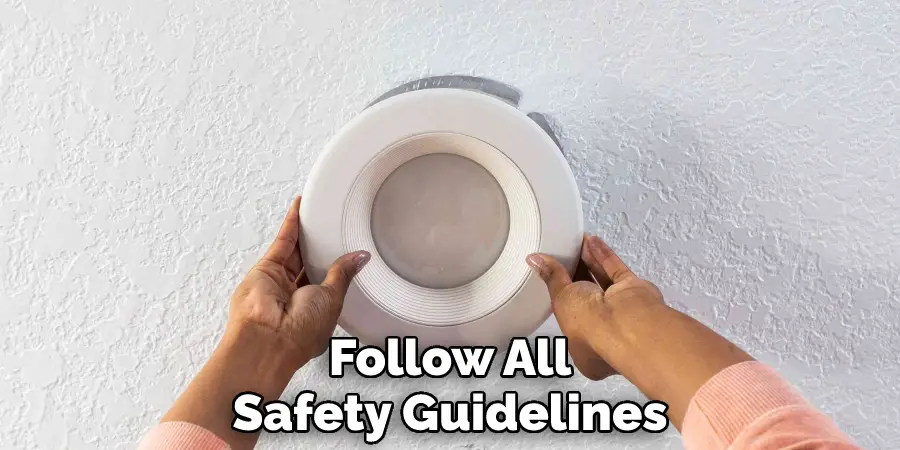
Step 10: Precautions
Always remember to use caution and follow all safety guidelines when completing any electrical work. If you are unsure of how to install properly can light trim or have any concerns, consider consulting a professional for assistance.
Following these steps will help you successfully install can light trim and improve the appearance and function of your lighting fixtures. Enjoy the transformation and satisfaction that comes with completing a successful DIY project.
5 Additional Tips for Installing Can Light Trim
- Make sure to choose the right size trim for your recessed lights. Measure the diameter of your light fixtures before purchasing trim to ensure a proper fit.
- If you have high ceilings, use a ladder or step stool to reach the light fixtures while installing the trim safely.
- Consider using decorative trim to add even more visual appeal to your lighting fixtures. Many different styles and finishes are available, so you can easily find one that complements your home’s decor.
- If installing multiple trims, it may be helpful to label them and keep track of which trim goes with which light fixture. This will save time and ensure the trims are placed correctly.
- Avoid using harsh chemicals or abrasive materials to clean the trim, as this may damage it. Stick to mild soap and a soft cloth for best results.
These tips will help smooth the installation process and ensure you achieve the desired results for your lighting fixtures. Happy DIY-ing!
How Can You Choose the Right Trim for Your Can Lights?
Before installing can light trim, it’s important to ensure you have the right size and style for your specific can lights. Trim is available in different sizes, so measure the diameter of your can before purchasing trim.
You’ll also want to choose a style that complements the design aesthetic of your room. Can light trim comes in various finishes such as white, black, chrome, bronze, and more. Consider choosing a finish that matches other hardware in the room or complements the overall decor.
Additionally, you may want to consider using decorative trim for added visual appeal. Many options are available, from geometric designs to frosted glass. Take the time to browse through your options and find the trim that fits your style and the needs of your lighting fixtures. Happy shopping!
It’s also important to note that some can light trims are designed for specific brands, so be sure to check compatibility before purchasing. If in doubt, consult a professional for assistance in choosing the right trim for your recessed lights.
What is the Difference Between Recessed and Canned Lighting?
Recessed lighting, also known as can lights or canned lighting, refers to light fixtures that are installed into a hollow opening in the ceiling. This allows the fixture to sit flush with the ceiling for a streamlined appearance.
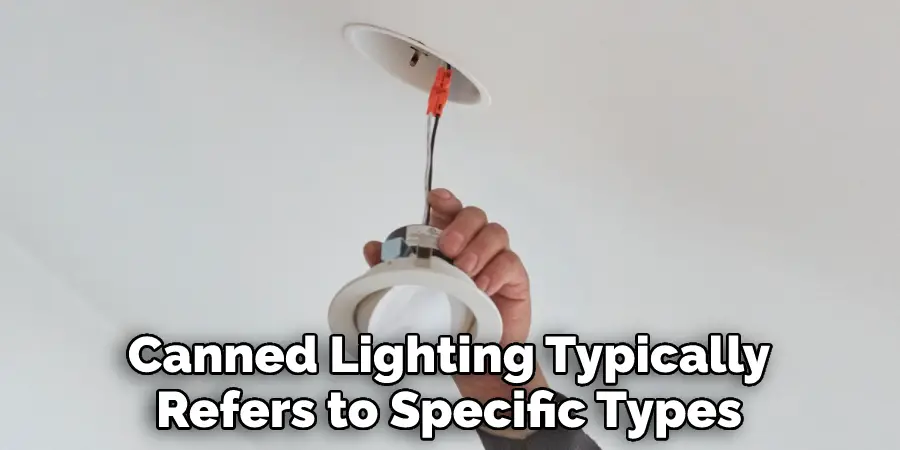
Canned lighting typically refers to specific types of recessed lighting fixtures, usually round in shape and containing a trim piece along the edge. These trims come in various styles and finishes, allowing for customization and added visual appeal.
While both terms refer to similar types of lighting fixtures, “recessed lighting” is generally used as a broad term, while “canned lighting” specifically refers to this round style of the fixture with a trim piece.
However, it’s important to note that not all recessed lighting fixtures are considered canned lighting, as they may be a different shape or lack a trim piece. Generally, both refer to the same type of light fixture and can be used interchangeably.
Frequently Asked Questions
Do You Need an Electrician to Install Recessed Lighting?
No, you do not need an electrician to install recessed lighting. Recessed lights are typically installed using a recessed light kit. These kits come with the necessary parts to install the light and typically include an installation manual. Once the kit is installed, you will need to connect the light to an electrical outlet and to the wall switch.
Can I Install Can Lights Myself?
There are a variety of ways to install can lights, depending on your specific needs and preferences. Some popular methods include:
- Hanging can lights from the ceiling or wall using wire or cable ties
- Attaching can lights to a wall using adhesive or hook and loop strips
- Installing can lights in a window using brackets or mounting systems
- Placing can lights on a porch, deck, or patio
Whatever method you choose, be sure to consult with an experienced contractor or electrical specialist to ensure that the installation is done correctly and meets your specific needs and requirements.
Are Recessed Lighting Outdated?
No, recessed lighting is not outdated. In fact, it is one of the most popular types of lighting because of its versatility and its ability to create a variety of different effects. Recessed lighting can be used to highlight specific areas of the room, to create a more overall warm or inviting feeling, or to add a touch of brightness and color to a room. It is also popular for use in offices and other spaces where visibility is a concern, such as shopping centers and hospitals.
Recessed lighting can be installed in a variety of different ways, including through the use of cans or boxes, as well as through the installation of tracks or trays. It can be controlled using switches or remote controls, and it can be mounted on the wall using brackets or hooks. Whether you are looking for a subtle effect or want to create an eye-catching display, recessed lighting is a versatile option that can help you achieve your desired goal.
What is the Most Common Size for Recessed Lighting?
The most common size for recessed lighting is 6 inches, although other sizes (such as 8 inches or 10 inches) are also common. Recessed lighting is a popular choice for ceilings and walls because it provides a subtle but attractive glow, and it can be used to add a touch of elegance and sophistication to any room. When choosing recessed lighting, be sure to consider the size and shape of the fixture and the space it will be installed in. Finally, be sure to select the correct type of light bulb for the fixture – a CFL or LED bulb will typically provide the best results.
Conclusion
Can light trims are an easy way to add style and sophistication to any room in your home. While they may appear daunting to install at first, with a little patience and the right tools, you can have them up and running in no time. By following these ten steps, you can install your can light trim in no time. And once you’re done, you’ll be able to enjoy the improved look and feel of your home.
Now that you know how to install can light trim, there’s no reason not to start immediately. Can light trim is an easy and affordable way to update your home’s lighting, and it only takes a few minutes to install. So what are you waiting for? Get out there and start installing! Thanks for reading!