
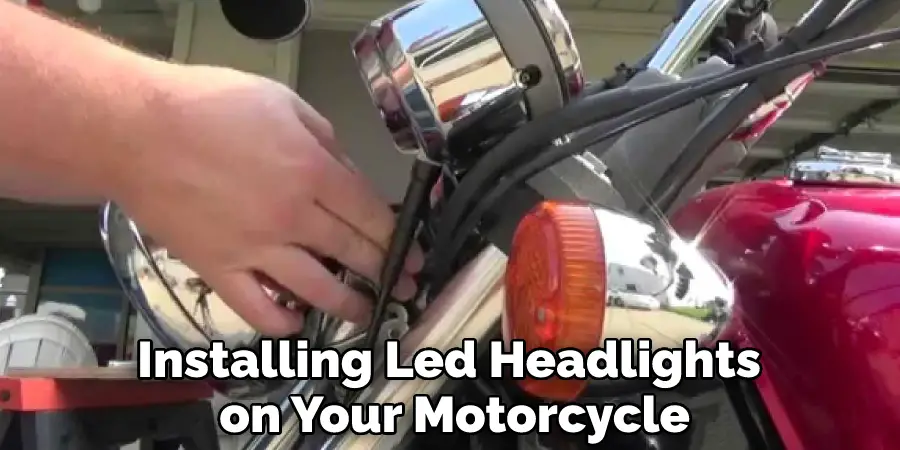
Installing LED headlights on a motorcycle is one of the best modifications you can make. Not only do they look great, but they also improve your visibility while riding, making it easier to see in low-light conditions. Motorcycle headlights are one of the most important safety features on your bike. They allow you to see and be seen while riding, day or night. And, thanks to new technology, you can now install LED headlights on your motorcycle. In this article, we will show you how to install led headlights on a motorcycle quickly and easily. Let’s get started!
Summary: If you’re looking to install led headlights on your motorcycle, there are a few things you’ll need to keep in mind. First, you’ll need to find a suitable mounting bracket. Second, you’ll need to buy a set of led lights. And finally, you’ll need to install the lights yourself. This guide will walk you through each step of the process.
Materials You Will Need
- LED headlights
- Drill
- Screwdriver
- Wire cutters
- Electrical tape
- Soldering iron (optional)
Importance of Installing Led Headlights on a Motorcycle
1. Brighter Light
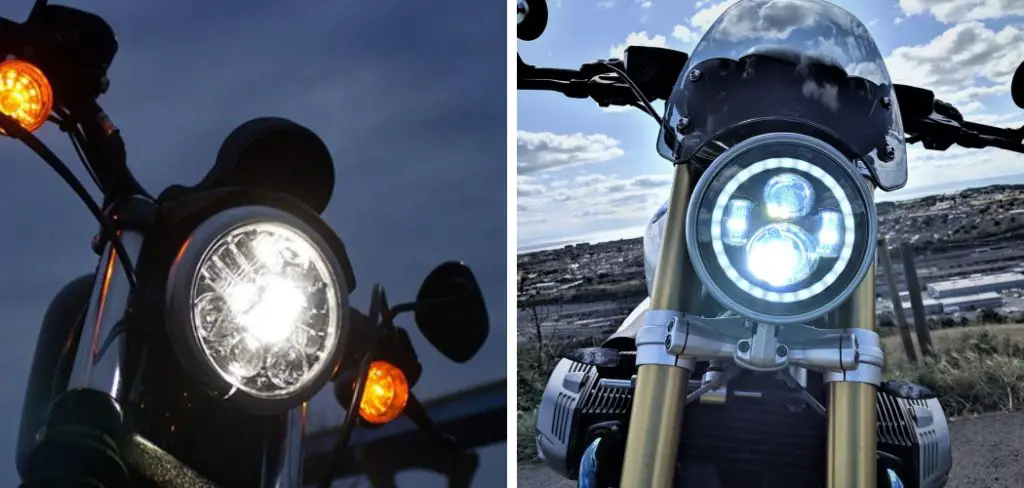
One of the primary benefits of installing LED headlights on a motorcycle is that they provide a brighter light than traditional halogen headlights. This is because LEDs emit a higher level of lumens, which is the unit of measurement used to determine the brightness of a light. This means that LED headlights can help to improve visibility on the road, making it easier for riders to see and be seen.
2. More Durable
Another benefit of LED headlights is that they are more durable than traditional halogen headlights. This is because LEDs are not made of filaments, which can burn out over time. Instead, LEDs are made of semiconductors, which are much more resistant to damage. This means that LED headlights will last longer than halogen headlights, and will not need to be replaced as often.
3. More Energy Efficient
LED headlights are also more energy efficient than traditional halogen headlights. This is because LEDs use less power than halogen bulbs, meaning that they will not drain your battery as quickly. Additionally, LEDs generate very little heat, which means that they will not cause your engine to overheat as easily as halogen bulbs can.
4. Safer for Your Motorcycle
Installing LED headlights on your motorcycle can also help to make it safer. This is because LEDs emit a whiter light than halogen bulbs, which can help to reduce eye fatigue and improve contrast on the road. Additionally, LEDs do not contain any harmful chemicals, such as mercury, which can be released into the environment if a bulb breaks.
7 Steps Guide on How to Install Led Headlights on a Motorcycle
1. Choose the Right Led Headlights for Your Motorcycle
There are many different types and styles of LED headlights on the market, so it is important to choose the ones that will best fit your bike. It is important to make sure that the headlights you select are DOT (Department of Transportation) compliant. This means that they have been tested and meet the safety standards set by the DOT.
2. Prepare the Motorcycle
Before you begin, it is important to clean the area around the headlight mount. This will ensure that there is a good connection between the headlight and the mount. It is also a good idea to disconnect the battery to avoid any potential electrical issues. If you do not feel comfortable doing this, you can have a professional do it for you.
3. Remove the Old Headlight
Use a screwdriver or drill to remove the old headlight from the motorcycle. Be careful not to damage the wires. It is also a good idea to take a picture of how the wires are connected so that you can reference it later. You should carefully remove the wires from the back of the headlight so that they are not damaged.
4. Install the New Headlight
Carefully place the new LED headlight in the mount and secure it using screws or bolts. The installation process will vary depending on the type of headlight you are using. If you are unsure about how to install the headlight, consult the owner’s manual or a professional.
The proper placement is essential for optimal light output and to avoid damaging the headlight. The joints between the headlight and the mount should be sealed with silicone or another sealant to prevent moisture from getting in. Each wire should be connected to the corresponding wire on the back of the headlight.
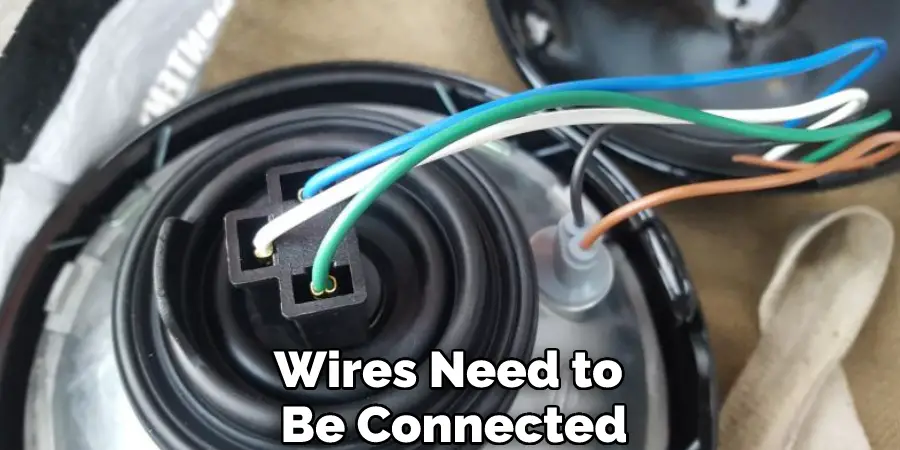
5. Connect the Wires
Three wires need to be connected for the headlight to work properly. The first is the ground wire, which is typically black or green. This wire needs to be connected to a metal surface on the bike. The second is the power wire, which is usually red. This wire needs to be connected to the positive terminal on the battery. The third wire is the high beam wire, which is typically blue or white. This wire needs to be connected to the high beam terminal on the headlight switch.
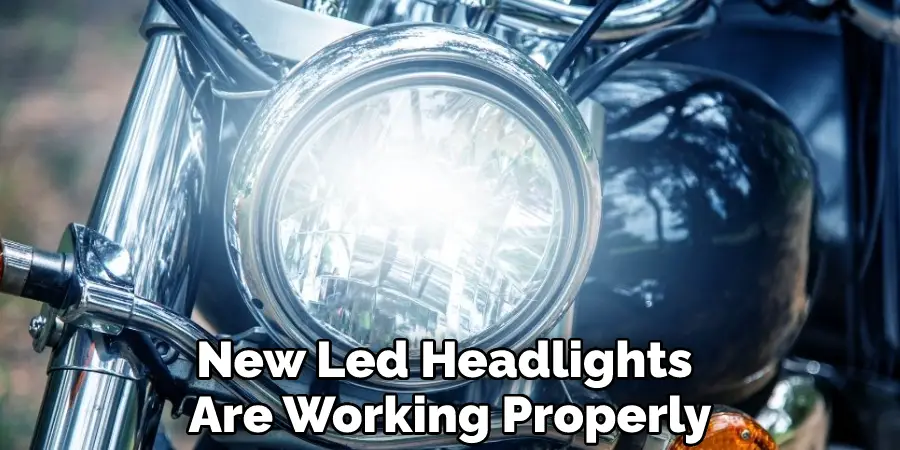
6. Test the New Headlight
Before you put everything back together, it is important to test the new LED headlight to make sure it is working properly. Turn on the bike’s ignition and flip the switch to the “on” position. Then, turn on the headlight switch and see if the light comes on. If it does not, check all of the connections to make sure they are secure.
7. Put Everything Back Together
Once you have confirmed that the new headlight is working properly, you can put everything back together. Start by reconnecting the battery and then replace all of the fairings and panels.
Enjoy Your New Headlight! You’ve now installed your new LED headlight and are ready to hit the road! Thanks for reading and we hope this article was helpful. Happy riding!
Tips for Installing Led Headlights on a Motorcycle
1. Before you begin, it is important to read the instructions that came with your LED headlights. This will give you a good understanding of how the headlights should be installed.
2. Once you have read the instructions, you can begin by removing the old headlights from your motorcycle. To do this, you will need to remove the bolts that hold the headlights in place. Once the bolts are removed, you can pull the headlights out of their sockets.
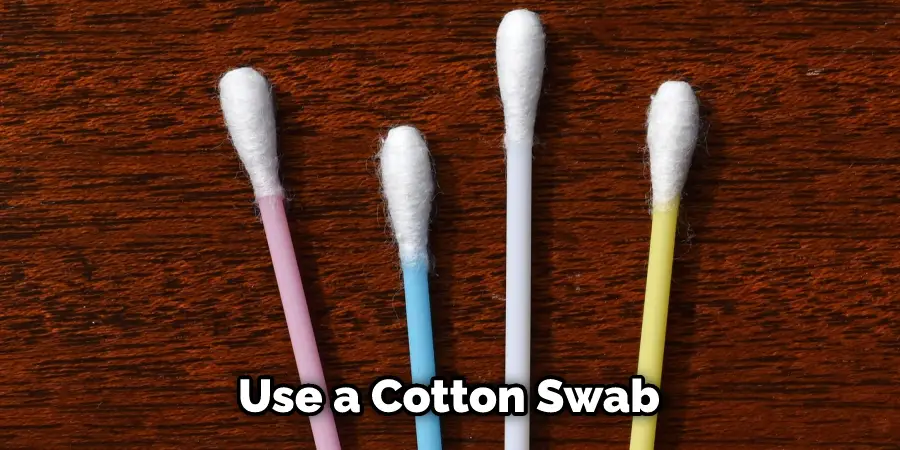
3. Once the old headlights have been removed, you will need to clean the headlight sockets. This is important because it will ensure that the new LED headlights can properly fit into place. To clean the sockets, you can use a cotton swab and some rubbing alcohol.
4. After the sockets have been cleaned, you can then begin to install the new LED headlights. To do this, you will need to insert the bulbs into their respective sockets and then screw them in place. Once all of the bulbs are in place, you can then test them to make sure they are working properly.
5. Once the new LED headlights are installed, you may need to adjust them to ensure that they are pointing in the right direction. To do this, you can use a Phillips screwdriver to loosen or tighten the screws that hold the headlights in place.
6. If there are any damaged parts on your motorcycle, such as burnt-out bulbs or cracked lenses, it is important to replace them before using your motorcycle again. This will help to ensure that your motorcycle is safe to ride and that your new LED headlights are working properly.
Do I Need a Relay for a Motorcycle Headlight?
If you’re thinking about adding a motorcycle headlight to your bike, you may be wondering if you need a relay. The simple answer is that it depends on the configuration of your bike and the light itself. If your bike already has a headlight, chances are it also has a relay. However, if you’re adding a headlight as an aftermarket accessory, you’ll need to install a relay. You might also need a new wiring harness.
Relays are used in electronic circuits to control the flow of electricity. They allow for a low-current circuit to control a high-current circuit, which is ideal for something like a headlight. The low-current side of the relay is controlled by a switch, which in this case would be the headlight switch on your handlebars. When you flip the switch, it completes the circuit and activates the relay. The relay then closes the high-current circuit, which powers your headlight.
Adding a relay to your motorcycle’s electrical system is not a difficult task, but it’s one best left to someone with experience. If you’re not comfortable working with electrical systems, take your bike to a qualified mechanic and have them handle the installation.
What Are the 3 Wires on Led Headlights?
Today’s LED headlights are far more advanced than the old-fashioned halogen bulbs. They produce a brighter, more focused light that makes it easier to see at night and in poor weather conditions. However, LED headlights also require three wires instead of the traditional two.
These extra wires are used to power the additional LEDs in the headlight, and they also help to distribute the light more evenly. While three-wire LEDs are more expensive than two-wire bulbs, they provide some benefits that make them well worth the investment. Thanks to their improved design, three-wire LEDs provide better illumination, reduced glare, and longer life – making them an ideal choice for any driver who wants the best possible visibility on the road.
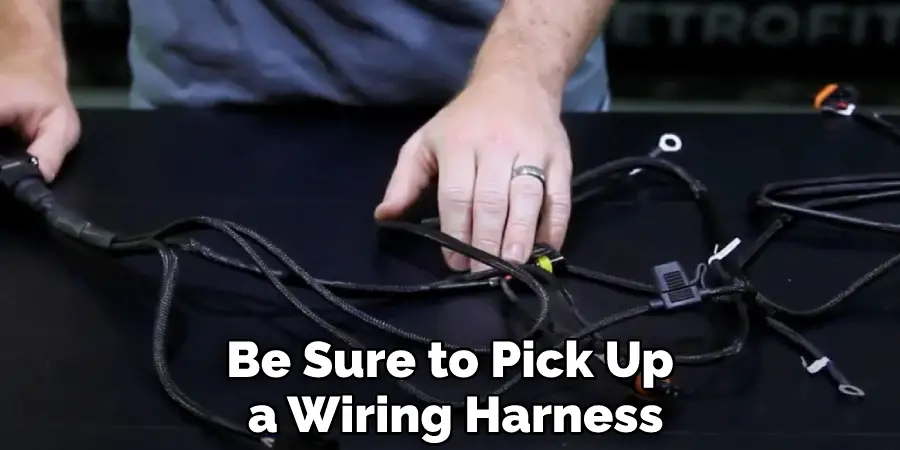
Do You Need a Wiring Harness for Led Headlights?
Whether you are adding LED headlights to your car or truck for the first time, or you are looking to upgrade your existing lights, you may be wondering if you need a wiring harness. The short answer is that, in most cases, you will need a wiring harness. This is because the headlights will require a different amount of power than the standard headlights.
LEDs are much more efficient than traditional bulbs, so they will draw less power from the battery. However, they still require a steady flow of electricity to function properly. A wiring harness ensures that the LED headlights receive the right amount of power, and it also helps to protect the electrical system from damage. So, if you are planning on adding LED headlights to your vehicle, be sure to pick up a wiring harness as well.
Frequently Asked Questions
Can I Put Led Headlights on My Motorcycle?
Yes, you can put LED headlights on your motorcycle. LED headlights provide better visibility than traditional headlights and they last longer, so they are a good option if you plan to keep your motorcycle for a long time. LED headlights are also more energy-efficient than traditional headlights, so they will save you money in the long run.
Where Do You Mount Led Lights on a Motorcycle?
One common location is on the handlebars, just above the grips. This position gives you a good view of the road ahead and makes it easy to see traffic signals and other streetlights. Another common location for mounting led lights is on the front and rear fenders. This placement allows you to see as far down the road as possible and to keep an eye out for obstacles in your path. Some riders also install led lights on the saddlebags or in the fairing around the motorbike’s headlight. whichever location you choose, make sure that the lights are securely fastened to the bike so that they do not fall off or get damaged in any way.
What is the Proper Way to Install Led Headlights?
The installation process will depend on a variety of factors including the type of headlights being installed, the vehicle they are being installed on, and the skill level of the installer. However, some general tips for installing headlights include:
- Check the compatibility of the headlights with the vehicle they are being installed on. Some headlights are designed for certain makes and models of vehicles, and may not be compatible with other vehicles.
- Use a high-quality sealant or adhesive to ensure that the headlights are securely attached to the vehicle.
- Ensure that the headlight wires are properly routed and protected from exposure to sunlight and moisture.
- Use a level to ensure that the headlights are installed straight and in line with each other.
- Follow all local safety guidelines when installing headlights, as improper installation may lead to injury or damage to the vehicle or headlight.
Do I Need a Relay for Led Lights Motorcycle?
The requirements and features of a relay for led lights motorcycle may vary depending on the make and model of your bike, the type of led lights you are using, and your overall riding experience. However, some tips to keep in mind when selecting a relay for led lights motorcycle include:
- Make sure the relay is compatible with your bike’s electrical system – many relays are designed to specifically fit certain makes and models of motorcycles.
- Choose a relay that is rated for use with high intensity LED lights – these lights generate an incredible amount of heat, and a poorly designed or improperly sized relay may not be able to handle the load.
- Consider how long the relay will last – a quality relay typically lasts longer than a less- durable one, so it is worth spending a little more money on something that will last.
- Be sure to test the relay before installation – if there are any problems with it during installation, it may be difficult to fix later on.
- Always wear gloves when installing or removing the relay – even if you are not using any hazardous materials, the contact between your skin and the metal can cause irritation or even lead to skin cancer.
Conclusion
Installing LED headlights on a motorcycle may seem like a daunting task, but it is quite simple. You should determine carefully how to install led headlights on a motorcycle. With just a few tools and a bit of time, you can have new lights that will make your bike look great and help you see better at night. Be sure to read the instructions carefully before starting so that you can be sure to do it right the first time. Thanks for reading! We hope this article was helpful.
You Can Check It Out To Remove Bulb From Recessed Lighting