Recessed lighting is an excellent way to light up any room in your home. But it is important to know how to remove bulb from recessed lighting. This is neither a simple task nor a hard task. But you have to be persistent on this particular project.

It can provide ample illumination and can blend in nicely with the surrounding decor. However, you may find yourself needing to replace a bulb from time to time. Knowing how to safely remove a bulb from recessed lighting is key for preserving the integrity of the fixture and avoiding potential injury.
Tools You Will Need
- Light bulb removal tool
- Ladder, to reach higher fixtures
- Step stool, for lower fixtures
Benefits of Removing Bulb From Recessed Lighting
Reduced Risk of Fire
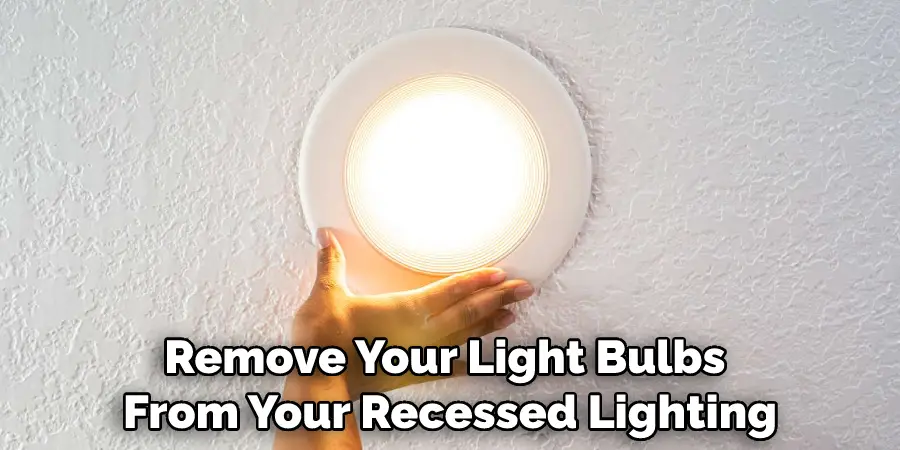
One of the most important reasons to remove your light bulbs from your recessed lighting fixtures is to reduce the risk of fire. If a bulb breaks inside the fixture, it can cause a fire that could spread quickly and damage your home. If you do not remove the bulb safely, you may damage the fixture and increase the risk of a fire. There are special tools designed specifically for removing light bulbs from recessed lighting fixtures.
Improved Air Quality
Another reason to remove your light bulbs from your recessed lighting fixtures is to improve the air quality in your home. When bulbs are left in the fixtures, they can release harmful chemicals into the air that can cause respiratory problems. If it is not possible to remove the bulb, you should consider replacing it with a newer, more efficient model.
Reduced Energy Costs
Removing your light bulbs from your recessed lighting fixtures can also help to reduce your energy costs. Bulbs that are left in the fixtures tend to use more energy than those that are removed, so you will save money on your energy bill by removing them. If you do not have the right tools to remove the bulbs, you should consider hiring a professional who can do it for you.
Increased Lighting Efficiency
When you remove your light bulbs from your recessed lighting fixtures, you will also increase the efficiency of the lighting in your home. Bulbs that are left in the fixtures can block some of the light, which reduces the amount of light that reaches your living space. Efficiency can also be improved by using an energy-efficient bulb that is designed for the specific type of recessed lighting fixture.
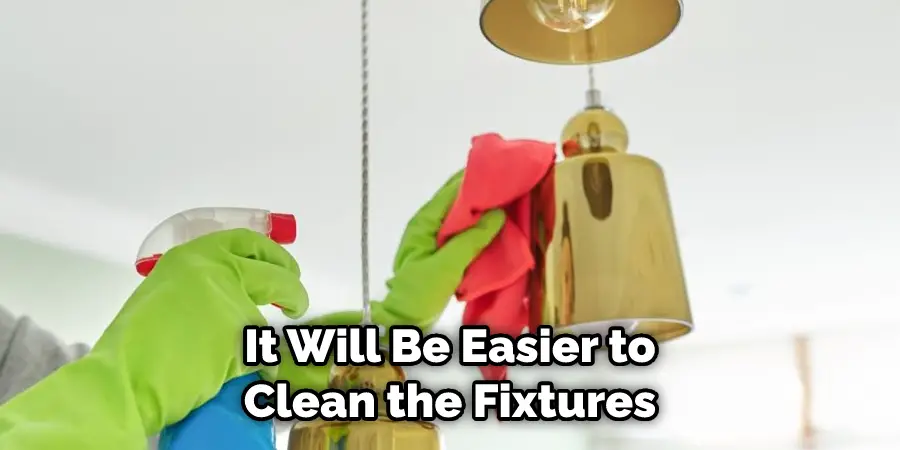
Easier to Clean
Another benefit of removing your light bulbs from your recessed lighting fixtures is that it will be easier to clean the fixtures. If you leave the bulbs in the fixtures, they can attract dust and dirt, which can be difficult to clean. However, if you remove the bulbs, you can simply wipe down the inside of the fixture with a damp cloth.
Longer Bulb Life
Another advantage of removing your light bulbs from your recessed lighting fixtures is that it will help to extend the life of the bulbs. When bulbs are left in the fixtures, they are more likely to be damaged by heat or vibration, which can shorten their lifespan. However, if you remove the bulbs from the fixtures, they will last longer since they will not be subject to these conditions. Longer bulb life means fewer trips up the ladder to replace them!
Safer for Children and Pets
If you have children or pets in your home, it is important to remove your light bulbs from your recessed lighting fixtures for their safety. If a bulb breaks inside a fixture, it can create sharp glass shards that could injure someone if they are not careful. Additionally, if a pet knocks a fixture over, it could create an electrical hazard. By removing the bulbs from the fixtures, you can help to prevent these accidents from happening.

8 Steps Guide on How to Remove Bulb From Recessed Lighting
Step 1: Turn off the Power
The first step when removing a bulb from recessed lighting is to turn off the power. This should be done at the circuit breaker so that there is no risk of electrocution while you are working on the fixture. Turning off the power also ensures that there will be no accidental sparks or shorts while you are removing the bulb. There are also tools available to help you safely disconnect the power from the fixture.
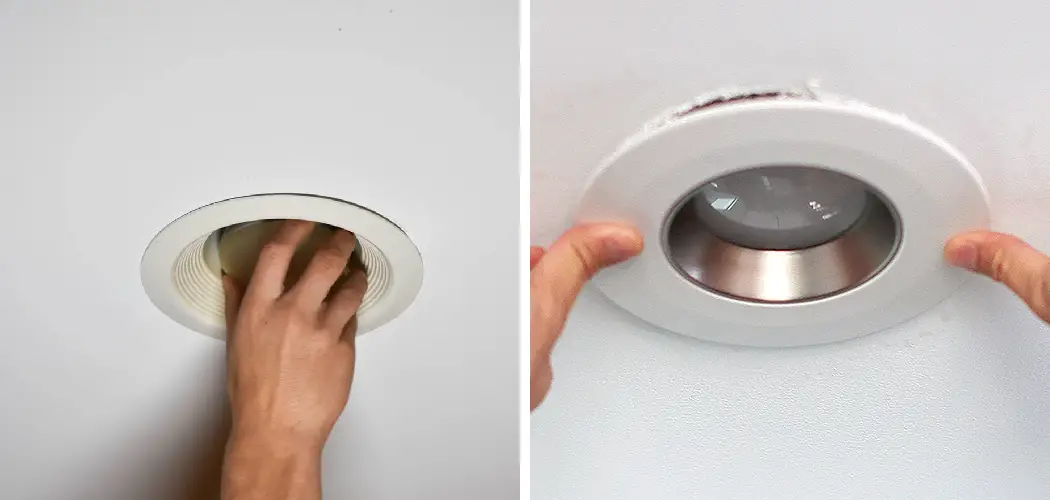
Step 2: Locate the Bulb Rim
Once the power has been turned off, you need to locate the bulb rim. This is the outer edge of the bulb that will be visible when you look into the fixture. The location of the bulb rim will help you to get a better grip on the bulb when you are trying to remove it. Bulb rim removal tools are available to help you locate the edge of the bulb.
Step 3: Insert Removal Tool
Next, take your light bulb removal tool and insert it between the bulb rim and the recessed housing. Make sure that you are careful not to scratch or damage any surfaces. Properly inserted, the removal tool should be able to grip onto the bulb rim and allow you to turn it counterclockwise. Tools are a pair of thin arms that can grip onto the bulb rim, allowing you to easily turn it counterclockwise.
Step 4: Loosen Bulb Rim
Once the removal tool is securely in place, use it to slowly and gently loosen the bulb rim. You may need to turn the tool slightly to get the best grip on the bulb. It can be helpful to use a flashlight to get the best view of what you are doing. Until the bulb rim is loose enough to remove with your fingers, continue using the removal tool.
Step 5: Pull Out Bulb
When the bulb rim has been loosened, you can then carefully pull the bulb out of its fixture. Make sure to pull it out straight, as twisting or jerking could damage the bulb or the fixture. You should also be careful not to touch the bulb with your bare hands, as this could cause it to burn out prematurely. There is also the chance of electric shock if you were to touch a live bulb.
Step 6: Dispose of the Bulb
Once the bulb has been removed from the fixture, you will need to dispose of it properly. It is important to recycle any old bulbs that you have, as they contain hazardous materials. Proper disposal is essential to ensure that these materials are not released into the environment. Various regulations may apply to the disposal of bulbs, so you should check with your local authorities for any special procedures.
Step 7: Clean the Fixture
Before replacing the bulb in its fixture, it is important to make sure that the inside of the fixture is clean and free from dirt or dust. You can use a damp cloth to wipe down the inside of the fixture before reinstalling a new bulb. There are lots of methods to help you keep your fixtures clean, so make sure to find one that works best for you. In the market, there are also cleaning tools available, which can help you thoroughly clean the inside of your fixtures.
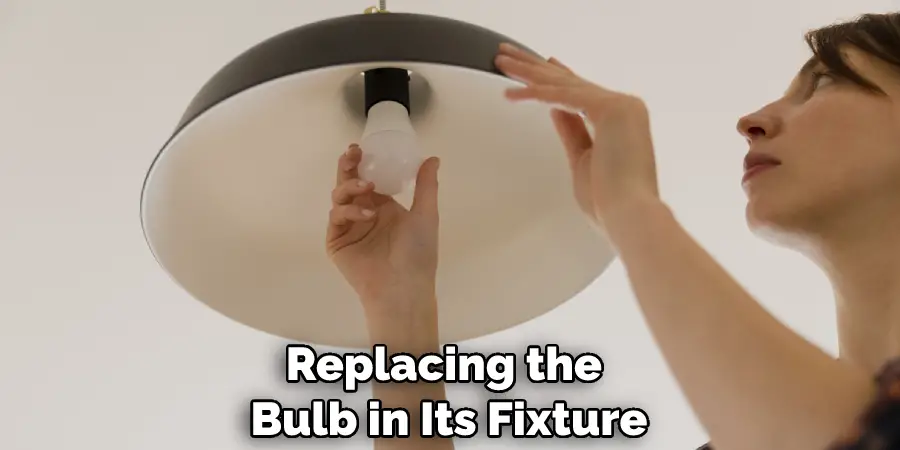
Step 8: Replace the Bulb
Finally, it is time to replace the bulb in its fixture. Simply line up the contacts on the base of the bulb with the contacts inside of the fixture and then gently push it into place. Once it is firmly seated, you can turn on the power at your circuit breaker. Replacement bulbs are available in a variety of sizes, shapes, and wattages, so make sure to select the right one for your fixture.
By following these steps, you can easily and safely remove your light bulb from its recessed lighting fixture. Additionally, this process can help to extend the life of the bulbs, as well as make it easier to clean the fixtures. So, the next time you need to replace a bulb in your home, be sure to follow these steps on How to Remove the Bulb From Recessed Lighting.
How to Remove Bulbs From Recessed Lighting Safely?
Removing a bulb from recessed lighting can be tricky, but it’s important to do it safely to avoid damaging the fixture. First, make sure that the power is turned off to the fixture. Next, use a ladder to reach the bulb and unscrew it from the socket. Be careful not to touch the glass of the bulb with your bare hands, as this can cause it to break.
Once the bulb is removed, you can clean the socket with a dry cloth to remove any debris. Finally, screw in a new bulb and turn on the power to the fixture. With these simple steps, you can safely remove a bulb from recessed lighting.
How to Remove Bulb From Recessed Lighting Without Damaging Fixture?
Over time, recessed light bulbs can burn out or become damaged, making it necessary to replace them. However, removing a bulb from a recessed light fixture can be tricky, as the bulbs are often seated securely in the socket. If you’re not careful, you can easily damage the fixture. The best way to remove a bulb from a recessed light fixture is to first unscrew the outer housing of the fixture.
Once the housing is removed, you should be able to see the bulb and socket. Gently twist the bulb counterclockwise until it comes loose from the socket. You may need to use a small amount of force, but be careful not to damage the socket. Once the bulb is removed, you can screw the housing back into place and turn on your light.
Frequently Asked Questions
What Are the Different Types of Recessed Light Bulbs?
There are a variety of types of recessed light bulbs, but the most common ones are the type with a round or oval shaped base. They come in a variety of shapes and sizes, and can be used in a variety of places. Some of the other types of recessed light bulbs include the type with a flat base, and the type that has a clip on light bulb.
Can You Change the Bulb in an Led Downlight?
Yes, it is possible to change the bulb in an LED downlight. To do so, first remove the existing bulb by unscrewing the base of the light fixture. Then, replace the bulb with a new one by screwing the base of the new bulb into the fixture until it is secure. Make sure to tighten the screws gently to avoid overtightening and damaging the light fixture. Once the new bulb is in place, replace the cover and screw it into place.
When Should You Not Use Recessed Lighting?
Generally, you should use recessed lighting whenever possible because it provides a high level of illumination and can dramatically improve the appearance of a room. However, there are certain situations in which recessed lighting may not be the best option. For example, if you want to keep a room relatively dark or if you want to use recessed lighting to conceal unsightly features or hardware, it may not be the best choice. In these cases, you may prefer to use other types of lighting instead. Additionally, if you are planning on painting or decorating the walls surrounding your recessed light fixtures, it is important to remember that paint and other materials may not adhere well to a surface covered in recessed lighting. In these cases, it may be best to wait until the wall is completely dry before applying any paint or other materials.
Do Electricians Do Recessed Lighting?
Yes, electricians are typically able to do recessed lighting. Recessed lighting is a type of lighting that is installed below the ceiling of a room, often in the wall behind a cabinet or other area. It is often used to light up a specific area or to add a decorative element to a room.
Conclusion
With these steps, removing a bulb from recessed lighting should be relatively straightforward and stress-free! You should carefully determine how to remove bulb from recessed lighting. Being mindful of safety precautions when dealing with electrical fixtures is essential for avoiding potential danger or injury.
Always double-check that power has been turned off before beginning any work on electrical fixtures. Taking these simple steps will allow anyone from DIYers and homeowners alike to successfully remove their bulbs from their recessed lighting fixtures!