
Installing a new light fixture can be a daunting task, but it doesn’t have to be. With the right tools and instructions, you can install a new light in no time. This article will show you how to install Ghost Shadow Light. So let’s get started!
Ghost shadow lights are an elegant way to add mood lighting to your home. They’re a popular up-and-coming product but may still be hard to find at your local hardware store. In addition, many people are hesitant to buy them because of the installation process. However, you can install one in less than twenty minutes!
A Detailed Guide on How to Install Ghost Shadow Light
Step 1: Turn Off the Factory Puddle Light
You will need to turn off the factory puddle light before you put the new LED light into your box. To do this, you will need to remove the 12V battery on each side of your trunk. Then, if you look on both sides of your trunk at either end of where the weather stripping meets the bottom of the car, you will find a small module attached to one or both sides. This is what powers your puddle lights.
There will be a button on the right side of each module that allows you to power off or on your puddle lights.
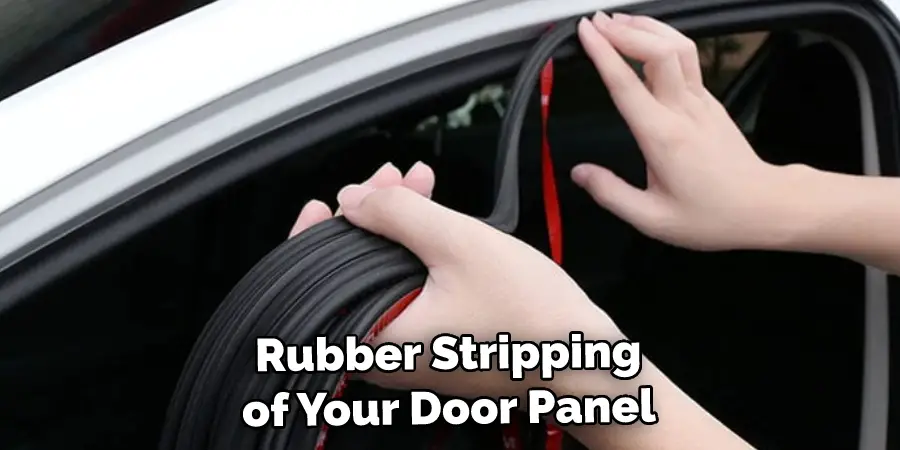
Step 2: Remove the Door Panel
Start by removing the plastic fasteners that hold the door liner in place. There should be many of them, and you’ll need to remove both sides (again, there will be one set for each side unless it’s a special edition or something). How you do this is up to you, but I recommend using a flathead screwdriver if they are not coming out very quickly.
Pop open your trunk and take a look at the bottom of your door panel. You should see some screws holding in place what feels like an empty piece of plastic. If you have two screws per side, remove the ones on either the right or left side first, to avoid ripping your door panel when you go to remove it. If you have four screws per side, subtract one from each corner.
If you want to take the door panel off your car, first remove any screws or bolts that are holding it on. Then, take note of where all the wires and cables go before taking the panel off completely. The inside of the car will look different depending on what trim level or options package was ordered with the car, but for most cars, there won’t be much going on in there yet since everything is brand new and factory-installed.
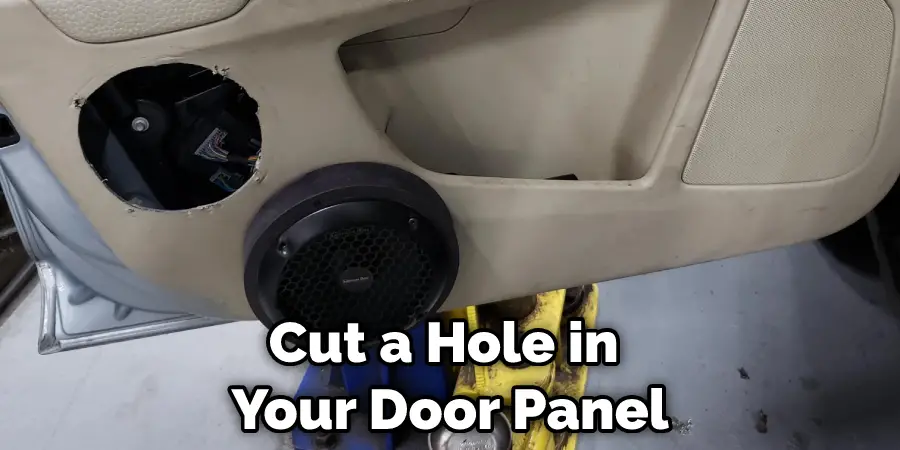
Step 3: Drill a Hole
As you might’ve guessed, the next step is to cut a hole in your door panel for the new light bar. How you do this depends on your light bar’s shape and size, but I will share with you how I did it.
You can get whatever brand or exterior-grade silicone sealant from wherever but if it’s anything like what I have here, mix up a small batch of it first before applying to sit for about five minutes, so all of that white stuff goes away. This will make life a lot easier later when you’re trying to spread out all of that gunk into a thin layer across this gaping hole in your door.
First, measure the dimensions of your light bar and find its dimensions. Next, Markdown the width and height of the light bar in inches on your door panel, then measure back two inches in both directions (four inches in total). Make a mark with a pencil or pen here, so you know where to cut.
If your car comes with a plastic piece that covers the screws on the inside of the door, you’ll need to remove it next. I used my Leatherman again, but anything is better than nothing when it comes to protecting yourself from potential injury while working on your car. So don’t be afraid to use force if necessary.
If you don’t have this piece, you need to go out and buy one before working on your car. You can get them dirt cheap, so do yourself a favor and protect yourself while doing this project by removing the screws in the door panel with this plastic cover in place. It simply clips right back into place after if you want to put it back on later but most importantly, use it for now.
Once the old light has been removed, carefully drill four new holes in the corners of the rectangle-shaped space. As I said earlier, how deep or shallow you want these four holes to be is up to you, but I would recommend it being deep enough so that the screw for your new light bar can thread through and not end up in a hole that’s not big enough.
Now that you’ve drilled all four holes in your door panel, it’s time to clean them up. You can use soap and water, or whatever else you prefer. Just make sure to clean them thoroughly. It’s up to you how much time you want to spend on this, but I like to take my time so everything looks nice and clean when we’re done. The last thing anyone wants is for the silicone sealant to get on their door panels or anything else under there!
Step 4: Set the Ghost Shadow Light
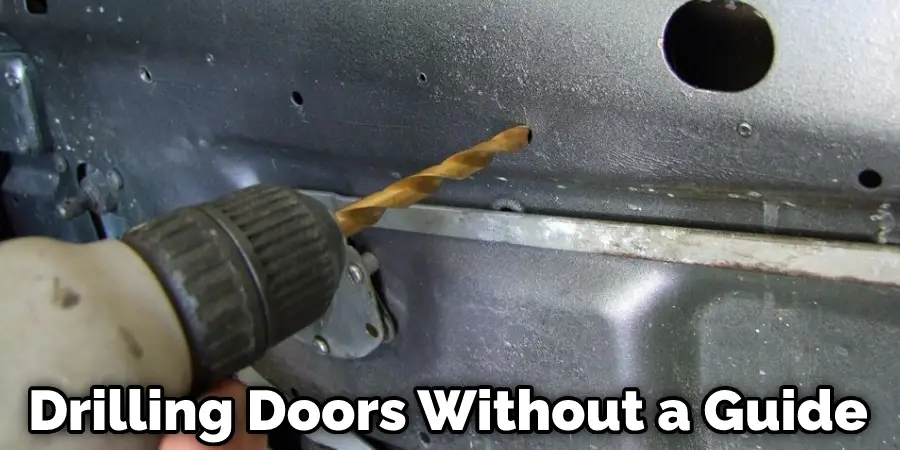
Hopefully, the light bar came with a template or instructions on where precisely to drill your holes for it. This was pretty simple, though–I laid my door panel face-up on the ground outside underneath the car and used some painter’s tape to mark off where I needed to drill. I drilled the first hole in the center of the door handle depression and then held the light bar up to it and lined up the second hole. With the marker, I made a dot on the tape right where I needed to drill the second hole.
Of course, how you do this is up to you, but this method worked best for me since I could lay out my entire door panel flat instead of having all of those weird angles that people have come up with when drilling into their doors without a guide.
Once you have the right spots marked on your door, take your light bar and center it ideally in one of these spots before applying pressure down onto it so that small tufts of silicone pop up from the circular drilling holes on the bottom.
You want to be careful with the pressure you apply when installing a ghost shadow light, because too much pressure can make the light bar not fit into its spot. Apply even pressure and don’t stop until you feel the tufts popping out of each hole.
Step 5: Wiring
The most challenging part of this project is finding the correct wire to tap into. How I did, it was by running my finger along each wire until I found one that gave off power when the car lights were on–the only problem with this is that they are all hot all the time, so you’ll need to be careful not to touch them.
How exactly you decide which one it is will depend entirely on your vehicle’s year/make/model, customization level, and how new or old your car might be, but if you’re having trouble deciding on which wire does what, play around with some different combinations in the circuit breaker under the hood (shown above) until you find one that works.
How long of a distance from your light bar’s wire runs from its circuit breaker to the door light assembly can vary, so try not to stress it too much; make sure the install is clean and tight, so there isn’t any extra wiggle room.
You Can Check It Out to: Install Light Rail Molding
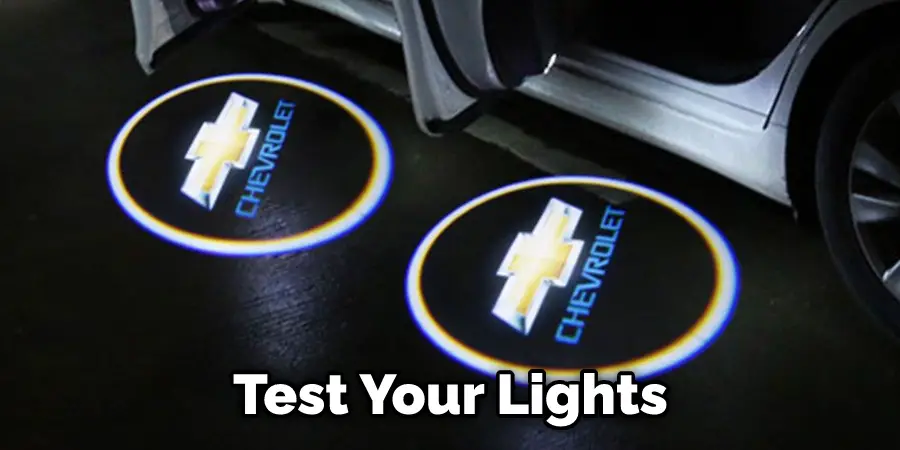
Step 6: Test and Enjoy
After all the wiring is done, it’s always a good idea to test your lights before putting everything back together. Of course, how exactly you do this will depend on whether or not you have a battery pack with an on/off switch. Still, most of the time that I wire things up, there isn’t one, so my solution then becomes using a staple gun to staple a piece of wire into the door frame then wrap that around the positive terminal on the battery pack itself so as soon as I plug-in power, it turns right on.
You Can Check It Out to: Install Led Strip on Corners
Frequently Asked Questions
What Is a Ghost Light in Theater?
However, some people believe that it indicates a sign that the person is happy and in love. Other people believe that it denotes hope and good luck.
Still, others think that it represents innocence or childhood joys. So while there isn’t a single universal interpretation of pink LED lights, they are generally viewed as positive symbols by most onlookers.
How Did the Ghost Light Start?
Some people find that sleeping with LED lights on is perfectly comfortable, while others find it too bright and jarring.
Ultimately, it’s up to you to decide whether or not you want to sleep with LED lights on. Just be sure to take into account your own comfort level when making this decision.
What Is the Light on a Stage Called?
Is something strange happening near your home? Do you see strange lights in the sky? If so, you may be witnessing the ghost light. A ghost light is a strange phenomenon that occurs when a light source (usually a plane or satellite) is so low to the Earth’s surface that it appears to project an aura of light around it. The name “ghost light” comes from the popular belief that the light is actually a spirit or soul of a deceased person or plane.
Conclusion
So there you have it – a detailed article on how to install ghost shadow light. We hope you found this tutorial helpful and easy to follow! If you have any questions or run into any problems while installing your light, reach out to us for help. We’re always happy to assist you. Have fun with your new Shadow Ghost light – we know you’ll love it!