If you’re like me, then you hate the idea of using a UV light to dry loca glue. It just seems like it’s adding an extra step that isn’t needed. Thankfully, there is a way to dry loca glue without UV light. This article will show you how to dry loca glue without uv light. So, if you’re looking for an easy way to avoid using a UV light, keep reading!
Summary: Drying LOCA (Liquid Optically Clear Adhesive) glue without a UV (ultraviolet) light can be challenging, as LOCA glue is specifically designed to cure under UV light. However, there are alternative methods that may allow the adhesive to dry, although the results may not be as strong or reliable as when using a proper UV light source. It’s essential to approach these alternative methods with caution and manage your expectations regarding the outcome.
One alternative method to cure LOCA glue without a UV light is to use natural sunlight, which contains UV radiation. Expose the glued area to direct sunlight for an extended period of time, ideally on a sunny day when UV levels are higher. The curing process using sunlight may take several hours or even longer, depending on the intensity of sunlight and the thickness of the adhesive layer.
Keep in mind that this method is not as precise or consistent as using a dedicated UV light source, and the curing process may be incomplete or take significantly longer. Another potential solution, though not recommended, is using a UV nail lamp or a UV flashlight, which emit UV light at different wavelengths than those specifically designed for curing LOCA glue.
This method may result in a weaker bond and could damage the components you are trying to adhere. Whenever possible, it is best to use a UV light source specifically designed for curing LOCA glue, as this will provide the most effective and reliable results.
Drying loca glue is a simple process. However, if you’re a beginner who just started losing your hair, it can sometimes be challenging to determine when the glue is dry.
What Is Uv Loca Glue?
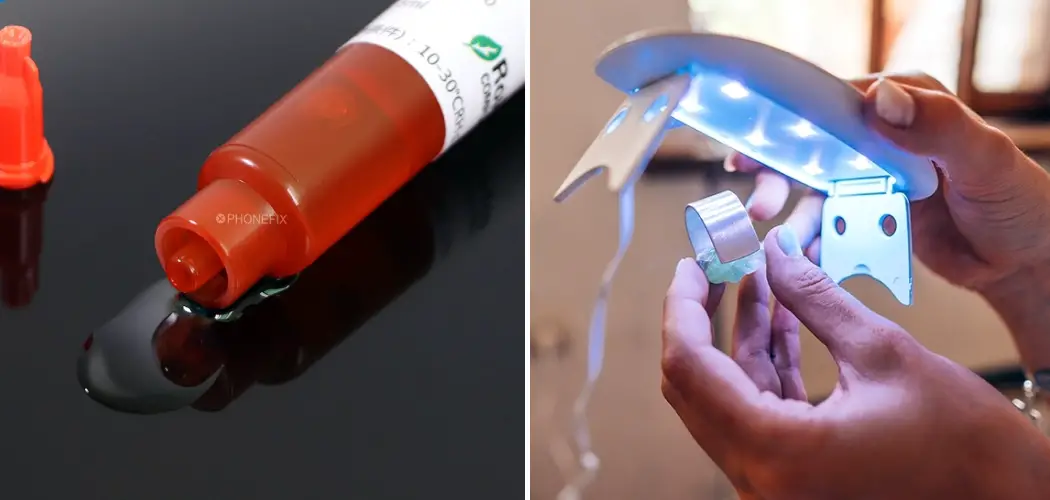
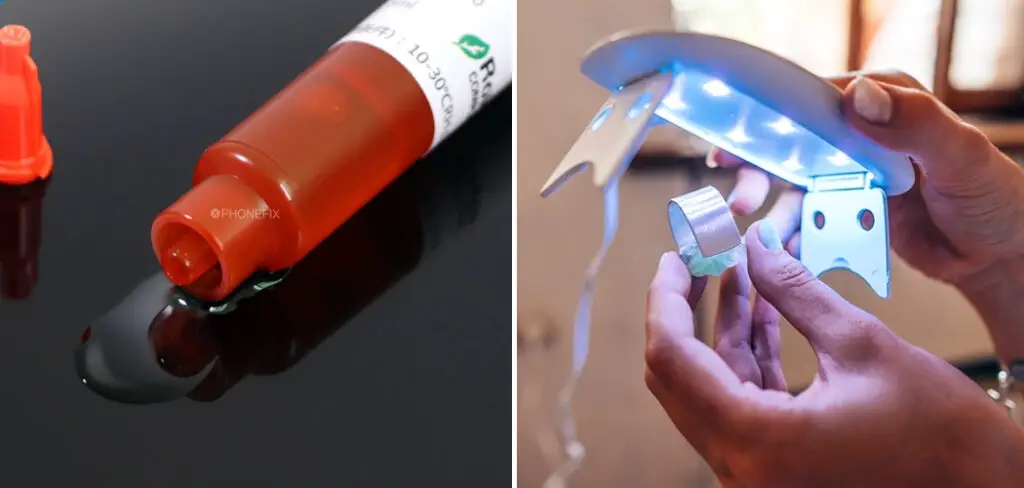
Nowadays, UV loca glue is very popular due to its quick drying time. It can dry on contact, so you don’t need to wait overnight for it to dry. It works great on sanding sealer, especially if you’re working with a dark color paint where sanding between coats is pretty much necessary. Also, when you’re working on a table job, time is money, so save some time while still getting the same quality result.
UV loca glue dries up fast when exposed to uv lights (backlights). But there are times when the only option we have is to work with it in an enclosed room without any lamp or whatsoever.
The drying time for loca glue depends on the temperature and humidity of the room, especially if you are using the primer-only variety of loca primers. The primer-only loca glue takes around 1-2 hours to cure fully, while the sprayable loca glue only takes 30 minutes to cure.
The drying time for loca primer can vary depending on your working conditions and environment. But there is a trick we can do to speed up the curing process without compromising the result or quality of our work.
A Step by Step Guide on How to Dry Loca Glue Without Uv Light
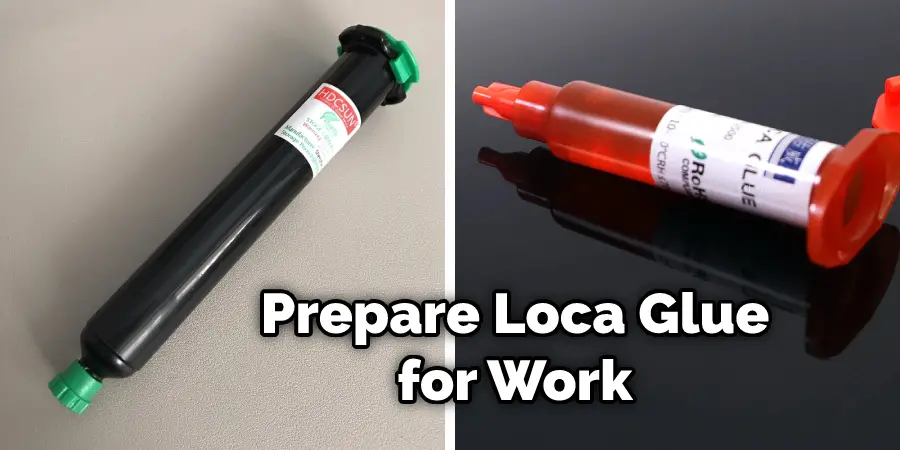
Step 1: Prepare Loca Glue
Before you can dry any glue, the glue must be at room temperature and consistent. To prepare your loca glue for this method, place the bottle of liquid gels in a bucket of hot water for 5 to 10 minutes. This will warm up the liquid inside while making it easier to pour out when ready to dry it.
Step 2: Prepare an Empty Bottle
In order to recycle an old water bottle, make sure to clean it out well so that there is no food or old liquids left inside. This could cause problems when you pour hot glue into the bottle. Place the bottle right side up with the opening facing you.
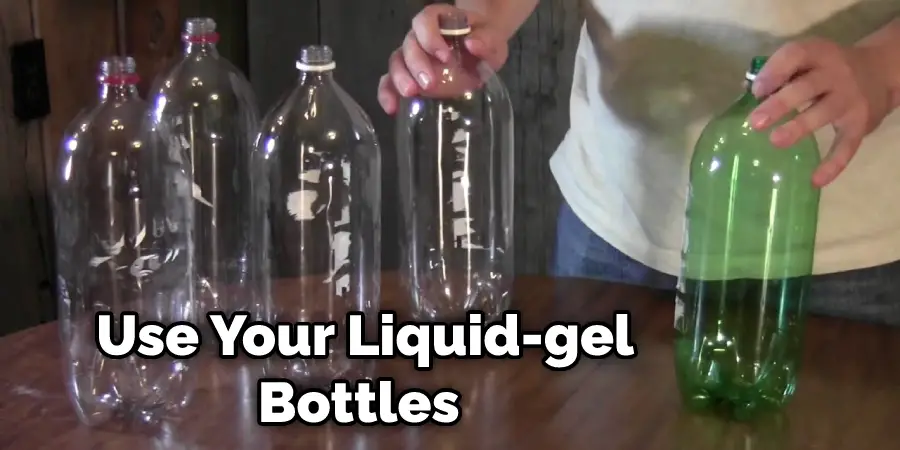
Step 3: Pour Loca Glue into Water Bottle
You will need two empty bottles, one that held liquid gel and one that is a water bottle. Using the liquid-gel bottle as a guide, pour an equal amount of glue into the water bottle. Hold the empty liquid-gel bottle under the water bottle as you pour to catch any glue that might spill.
Step 4: Wait for Loca Glue to Cool Down
Once all of your glue has been transferred from one container to another, place the original cap back onto the water bottle and set it aside. You will now need to wait for a few minutes for both containers to cool down. If they are still warm when you try placing them together, your glue will seep out! We recommend waiting at least 10 minutes before moving on to Step 5.
Step 5: Tighten Loca Glue Bottle
When you are ready to complete this process, turn the water bottle upside down so that the cap’s opening is facing up. Next, you will need to tighten it by twisting it back and forth until you notice resistance. Only pull it enough so that it requires effort to move! If you twist too far, your glue could shoot out of the top or get stuck in between two pieces inside. This is a crucial step in how to dry loca glue without uv light.
Step 6: Wait for Loca Glue Bottle to Cool Down Once More
When your glue container has tightened up, set it aside again with the liquid-gel container until they both have reached room temperature. If needed, you can wait up to 10 more minutes for this step if required – make sure not to touch anything until they are cool enough.
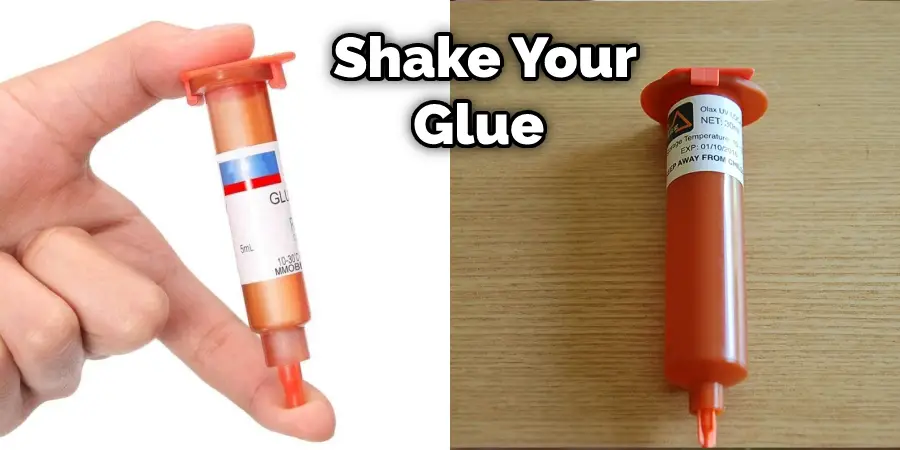
Step 7: Shake Loca Glue Bottle
Once your bottles are at room temperature, it is time to shake them up. Grab hold of both containers and begin shaking them back and forth vigorously for about 30 seconds. Make sure the cap is still tightly closed so that no liquid escapes! You will notice bubbles form inside as you do this step – don’t worry, they will go away by the end of this process.
Step 8: Shake Loca Glue Bottle Once More
After completing Step 7, set each one aside again until they have cooled down to room temperature once more. We recommend waiting another 10 minutes before moving on to Step 9. While you wait, make sure to check your email or play a round of Angry Birds on your smartphone!
Step 9: Shake Loca Glue Bottle Once More
After completing Step 8, follow up by shaking the bottles for 30 seconds. Again, make sure to seal them tightly when you are done. You will notice that even more bubbles formed in this step – don’t worry about those either! We promise they will work themselves out before too long.
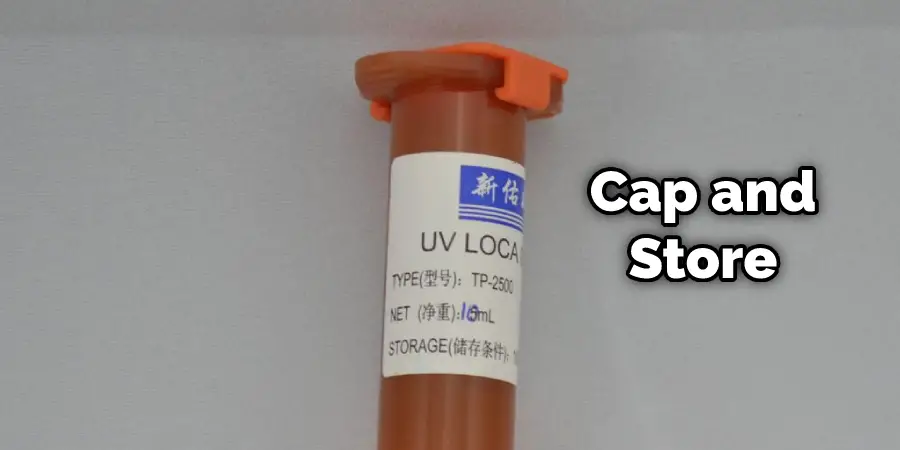
Step 10: Cap and Store Loca Glue Bottle
When both of your water bottles have cooled down again, it is time to cap them up. Flip each one upside down with the opening of the cap facing upward, so you know which side is which. Twist on the caps until they are tight, just like how you did in Step 6. Then you can place them back into storage! These steps will help in how to dry loca glue without uv light.
Tips and Warnings
Tips:
- Make sure to take two pieces of loca in one hand. If you can’t, make sure it’s thin enough to fit through the opening in the lighter.
- Keep your face away from the flame during drying. Don’t inhale until finished with taking apart your lighter.
- It should only take a second or less for each side, but be careful when touching it! It will burn. If you feel like the glue is not dry yet after about 5 seconds, put it back in there for another 2-3 seconds max. The glue should go hard within 20-25 seconds total time spent on drying both sides of your loca.
- You are now able to glue your pieces together! How to apply the glue? This is easy, just put some hot glue on the bottom of one side and press it against the other side for about 10 seconds. Then let it dry for another 20-30 seconds without touching it.
Warnings:
- Please be aware that the hot glue may get on your skin, so wipe it off!
- Don’t inhale when you are using the lighter. It doesn’t have toxins, but it still isn’t something you should be breathing in. Plus, if your downstream is acrylic or glass, this glue may melt it slightly. Just find a reasonable distance between the open flame and your mouth/lungs during the drying process.
- If you have perc or any other add-on in your bong, please make sure to dry loca before putting it back together.
What to Do if Uv Resin Is Sticky?
Uv resins are not sticky when they’re wet, but they often become sticky when they dry. How you handle this problem will depend on how quickly it happens. For most people, the resin starts to feel slightly tacky after about 30 minutes and is undoubtedly quite sticky within an hour of mixing it. Sometimes, however, you can get away with waiting overnight for the adhesive to stop being sticky before any treatments to prevent the stickiness from returning. How long this takes depends mainly on how much humidity there is in your home and whatever other temperature control measures you might be taking while working on a project.
If your resin still feels very tacky even though it’s been several hours since you mixed it, don’t just wait around hoping that the adhesive will dry up on its own. Instead, you can try adding talc in small amounts to the resin to see if this helps. It’s not guaranteed to work, but if you add enough of it at a time, there is at least some chance your resin won’t be so sticky when you get around to working with it again. Other people might recommend using baby powder for this purpose instead. While there’s nothing wrong with this option either (it will probably be even more effective than talc), most powdered cosmetics are free from the ingredients, which could cause complications when using them as a binder for uv resins.
Frequently Asked Questions
Does UV Glue Dry on Its Own?
While some Uv Glues do dry on their own, others may require a little extra help in order to reach an optimal state.
The best way to determine whether or not your UV Glue will dry on its own is to test it out in a small area first and see how it behaves. If it starts to peel or crack, then you may need to apply some additional adhesive to help it along.
What Does UV Light Do to Adhesive?
UV light can damage adhesive in a variety of ways. It can cause the adhesive to become brittle and less effective, which could lead to adhesion problems on surfaces that are frequently exposed to UV radiation.
Additionally, it can also degrade the color of the adhesive and make it harder for you to see it when you need to apply it.
Can Gel Polish Cure Without Uv Light?
That being said, most experts believe that gel polish can be safely applied without using uv light. However, you should always speak to a professional if you have any questions or concerns about your specific skin care needs.
Can You Make a UV Light?
Yes, you can definitely make a uv light. Here’s how:
1. Start by finding a uv light kit that meets your specific needs. There are many different types and styles of uv lights, so it’s important to find one that is specifically designed for photography.
2. Next, assemble the kit by installing the light panel, power supply, and light housing. Make sure that all the connections are tight and secure, and that the light is properly shielded from external interference.
3. Finally, turn on the power and adjust the brightness until you achieve the desired effect.
Conclusion
There are many ways how to dry loca glue without uv light. The main factors for drying time are the type of adhesive and how much you use. If you want your glue to be dry in less than 5 minutes, try using a UV light or fan-assisted drying method.
You may also read: How to Hook Up a 12v Light to 110