A whistling light bar is a phenomenon that can occur on any emergency vehicle with a light bar mounted to the roof. While it’s often a minor annoyance, it can be quite dangerous for drivers and other motorists. This article will discuss the causes of light bar whistling and how to stop light bar from whistling. We’ll also look at some tips for avoiding this issue altogether. Read on to learn more!

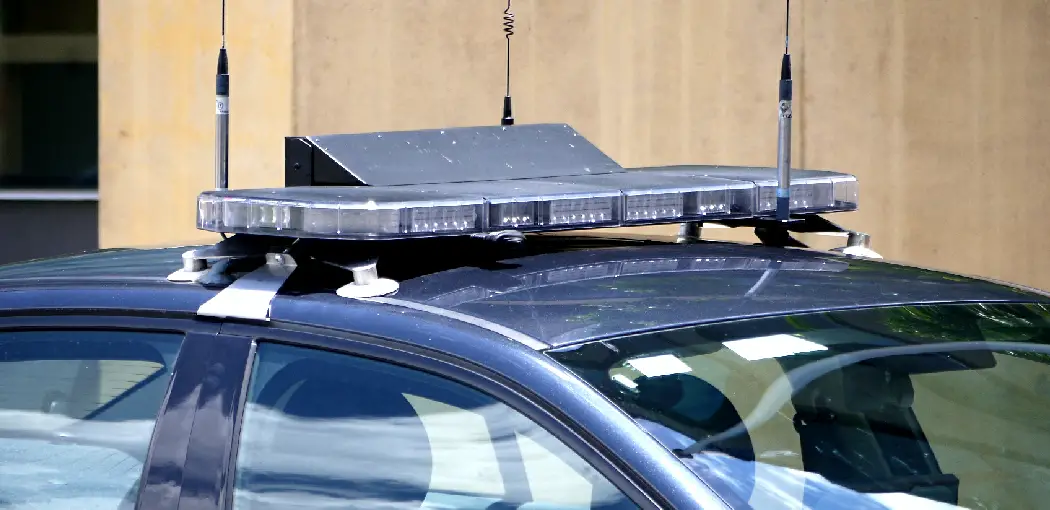
Emergency vehicles often have a light bar on the roof. This is a work light that is mounted in various configurations for optimal visibility. The most common arrangement is alternating blue and white lights, known as “blue and white lighting.”
Summary: If you’re experiencing whistling or other noise from your car’s light bar, there are a few things you can do to try to fix the problem. First, check to see if the light bar is loose or if it’s not attached properly to the car. If the light bar is loose, you can use a screwdriver to tighten it up. If the light bar is attached correctly, but still whistles, you can try to replace the light bar with a model that doesn’t whistle.
Causes of Light Bar Whistling
There are many reasons why your light bar may be whistling at you. However, before we get into that, let’s look at the device itself and how it works. The most common cause of a whistling noise coming from a light bar is wind catching one end of the bar and blowing it back and forth, creating an oscillating sound between two material surfaces (usually plastic). In some cases, this may be due to an imbalance in the bar itself.
Another reason your light bar may be whistling is if there is something obstructing the airflow around the bar. This could be anything from dirt and debris build-up on the surface of the bar, to a loose or damaged grill.
As the noise propagates through this effect, it becomes amplified as more air is forced through each movement. This is called Helmholtz Resonance
Other causes include:
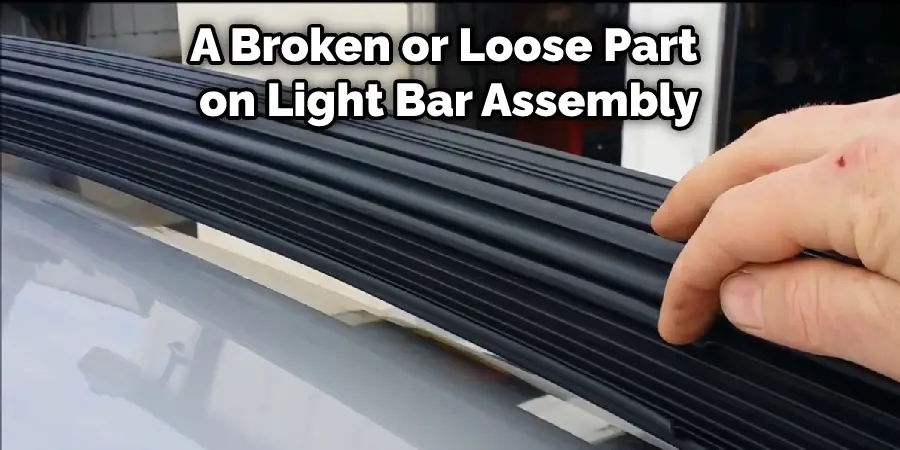
- A broken or loose part on light bar assembly
- Improperly installed mounting brackets or screws (firmly tighten all screws where needed)
- Bent light bar
- Screws not seated or installed correctly in the mounting bracket
- Damaged materials (if part of the housing)
- Improperly formed plastic components
Required Tools and Materials:
- Screwdriver
- Vise-Grip Pliers
- Phillips Screwdriver
- Masking Tape
- Electrical Tape
- Ratchet
- Socket Set
A Stepwise Guide on How to Stop Light Bar From Whistling
Step 1: Determine the Problem.
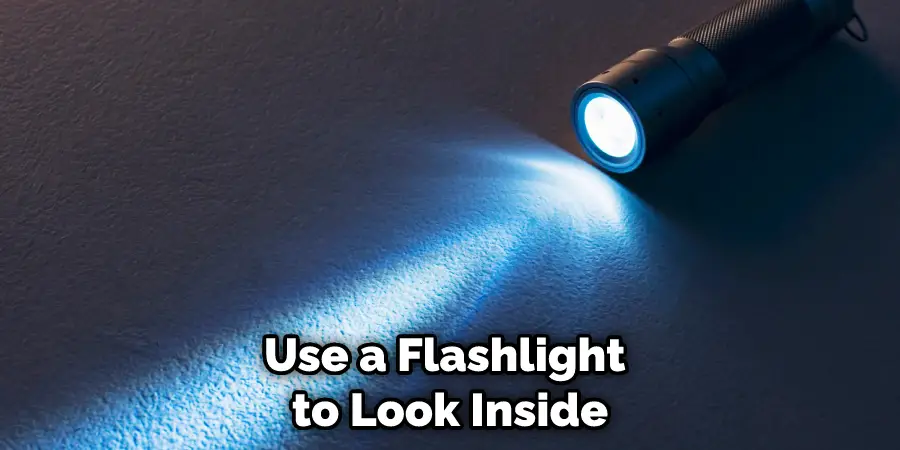
If your light bars are making a whistling sound, you need to figure out what part is causing the noise. If the noise is coming from the vents, it is probably because there is sand or dirt clogged in the vent. Use a flashlight to look inside the vent and remove all the debris you can see.
If the whistling sound is still there, it means that there’s probably a bigger problem to deal with. In this case, you can disassemble the lens cover to access the light bulb. Once you have the cover removed, disconnect the light bar wires. This will allow you to take a good look at the lens, to find out if it needs some cleaning or replacement.
These are just some of the most common issues that can happen to your LED light bars.
There are a few ways to stop your light bar from whistling. One is to blow into them using compressed air. Another is to replace the entire light bar setup. The good news is that whistling is usually caused by poor craftsmanship and not by faulty equipment. There are hardly any electronic parts involved in creating that noise, so chances are it won’t cost you an arm and a leg to stop the whistling.
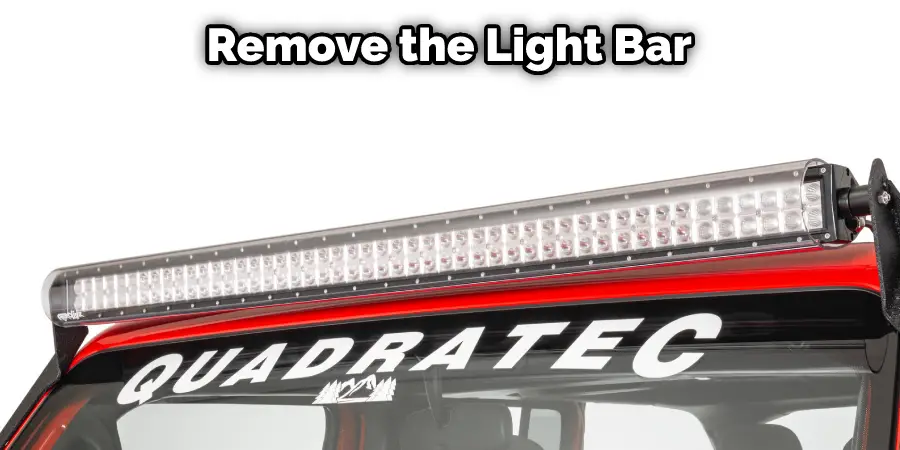
Step 2: Remove the bar from the vehicle is attached.
To remove the light bar, unscrew it from the brackets holding it in place. You may need a screwdriver or drill with socket extensions to reach the screws. Be careful not to damage anything else, like wiring or brackets, as you remove the light bar.
There’s no particular order for removing these parts, but it would be best to remove them all at once so you can quickly figure out where each piece goes when putting everything back together again.
Most tactical light bars have several mounting brackets attached to them. You should make sure the bar is secured to your vehicle’s hood or at least held in by safety equipment like straps or bungee cords. To remove the light bar, first remove the screws that are securing it to its mounts. Then gently lift it off. There might be some adhesive around the area where it was attached, but you can use WD-40 if necessary for easy removal.
Step 3: Unscrew Bar Clamps or Holders.
There are two types of clamps used to attach a light bar in your car: the round or barrel type and the adjustable quarter-turn. The barrel mounts come in a set of four, and you need a screwdriver for these, while the quarter-turn ones might require a wrench depending on how they’re put together.
Whichever tool you have at your disposal, use it to remove all visible screws or bolts from both sides so you can access the internals of the assembly. If you’ve been using your vehicle for some time now and encounter rattling sounds when traveling over rough roads, odds are there’s something wrong with them causing the noise.
Step 4: Detach Bar Center Brackets.
Mounting brackets are usually metal and can be found in the center of the light bar. These bars could vary in shapes and sizes, so try to identify where everything goes when putting everything back together after you’re done with your repair work. If screws hold them, you should see them; use a Phillips screwdriver for this task. If not, it might require some dismantling using vise grip pliers (for plastic ones) or regular adjustable pliers (for metal).
Be careful not to round off any heads on the screws; if that happens, try using a drill bit and quickly remove all visible bits from the threaded hole. Also, make sure there aren’t any pieces broken inside because they might obstruct the proper installation of your replacement parts.
Step 5: Identify the Problem Areas.
After removing all visible metal from both sides, you can now check if there are any broken parts inside the light bar’s clamps or holders. If a claim is bent, you can try straightening it back to its original shape using a vise grip plier and maybe some sanding with an emery board or sandpaper.

You may have to fabricate a new piece for this task, depending on how badly damaged everything is but make sure not to change anything unless it has something to do with why the whistling sound is happening in the first place. Remember, not all components contribute to creating that noise, so don’t be quick to remove everything inside the clamps.
Step 6: Replace Clamp, Holder, or Bracket.
If you have any broken pieces or bent components, replacing them with a new one would be wise if it doesn’t require too much effort. In some cases, it might be as easy as unbolting two screws and sliding something off the metal rack but don’t count on those being that simple. Instead, you can use those old parts as an example of how things should go back together so there won’t be any problems when you’re done with your repair job. Note: If one side of the light bar is broken but not the other, you forgot to attach a screw for support during assembly; double-check this, and everything should be fine.
Step 7: Check the Sound Level.
Whistling sound from light bars can come from many different components inside, but lack of support for one side isn’t that uncommon either. Once you have everything reassembled, there are some tests you can do to determine whether or not your parts are correctly installed.
If the whistling noise persists, try using a piece of paper or cardboard on top of the broken component while all items are attached inside their clamps or holders. If the sound gets lower when that’s done, you might have found your problem area, so it would be best to have an extra pair of hands during these steps to make sure everything is connected.
You can also do something similar to check if the problem is in one of the center brackets. How you do this depends on how your light bar is constructed, so you should now know what to look out for. Just make sure not to push too hard when placing an object over that whistling-making component because there could be sharp edges or wires that could slice through it relatively quickly. This is a crucial step in how to stop light bar from whistling.
Step 8: Use Some Spare Parts, if possible.
Before deciding whether or not replacement parts are needed, there are some things you can try first before going out and buying new ones, like taking a spare part from another set and using it as a temporary solution until aftermarket replacements arrive. For example, suppose your vehicle comes with two different light bars (j-hooks). In that case, you can save yourself some trouble and time by using a completely different type (i.e., flat arms instead of j-hooks) until the whistling sound is gone or coming from somewhere else entirely.
Step 9: Fixing Metal Clamps, Holders, and Brackets.
If you’re dealing with metal parts that cannot be disassembled without vise grip pliers (and possibly a drill bit), replacing those items could also prove challenging. It may come down to reattaching loose screws to keep them in place so they won’t scrape against something else inside your light bar’s clamps or holders. How much play one has compared to the other doesn’t matter since all components will eventually wear out.
Step 10: Reattach Cover or Lens.
If you’ve eliminated everything else inside the light bar, the only thing left to check is whether or not it’s somehow damaged. This depends on whether or not the cover plate can be reattached correctly, but if it looks like something broke near where it attaches to the metal rack, then that may have something to do with the whistling noise. How you determine this will have to be done on your own, so check other lights in your vehicle for loose parts or any damage that may not immediately stand out.
Frequently Asked Questions
What Causes a Light Bar to Whistle?
Most light bars that emit a whistle are designed to indicate the presence of electronic interference. This type of interference can cause your vehicle’s lights to flicker and/or make a high-pitched noise.
To solve this problem, you may need to adjust your antenna or install an anti-theft alarm system.
Why Does My Jeep Make a Whistling Noise?
It can be difficult to troubleshoot engine noises, since they can vary depending on the make and model of your vehicle, the weather conditions, and even how you’re driving. That said, some of the most common noises that a Jeep may make include:
1. A “pinging” noise – This may be caused by a missing or damaged oil seal. It’s typically easy to fix, but can be costly if done incorrectly.
2. A “whistling” noise – This may be caused by worn or warped engine mounts. This can usually be fixed by having the mounts replaced.
3. A “popping” noise – This is usually caused by a broken piston ring or sealant. It can be fixed by replacing the ring or sealant, or by refilling the engine with new oil.
4. A “muffled” noise – This may be caused by a clogged air filter or fuel system. It’s typically easy to fix, but requires removal of some components and/or modification to the vehicle’s system.
If you’re still unable to identify the source of your Jeep’s noise, it might be worthwhile getting it checked out by a professional mechanic. They will be able to diagnose and fix the issue quickly and without any unnecessary damage or expense!
Can You Shorten a Light Bar?
Shortening a light bar is not difficult, but it does require some preparation and planning. The first step is to remove the existing lighting fixture(s).
You will then need to cut the old wiring down to approximately 16 inches (40 cm) from the fixtures. Next, you’ll need to connect new wire using copper cable connectors or heavy-duty electrical tape.
Make sure that all wires are protected with shrink tubing or heat-shrink sleeves in order for them to stay flexible during installation. Finally, attach either an ultra low voltage transformer (ULVT), inline switchable dimmer box, or a smart controller unit between your fixtures and main power supply.
Can You Have a Light Bar on Your Roof?
While it is legal to have a light bar on your roof in most states, there are restrictions on how large and bright the light can be. In order to avoid any violations, make sure to consult with local authorities before starting construction. Additionally, make sure that you use proper fixtures and wiring for your lights so that they don’t attract attention or violate any state laws.
Conclusion:
Although it is not a complicated process to stop the light bar from whistling, the necessary precautions must be taken to prevent any damage to the car. However, by following the simple steps in this article on how to stop light bar from whistling, you can quickly and easily fix the issue without spending too much time or money.
You may read also How to Fix a Blown Light Bar