In this Instructable, I will be showing you how to make a carb in a light bulb. This is an excellent project for beginners looking to learn about carbs and how they work. It is also a fun way to show off your tinkering skills! The process is simple, but it requires patience and careful attention to detail. Follow the steps below, and you’ll be able to create your carb in no time.
Summary: In this fun and creative short summary, we learn how to make a carb in a light bulb. First, we unscrew the light bulb, remove the filament, and cut off the end that is covered in plastic. Next, we take the carb and cut off the top so it is the same size as the filament. We then take the carb and screw it onto the filament, making sure it is tight. Finally, we put the light bulb back together and enjoy our carb-filled light bulb!

What Causes a Carb in a Light Bulb?
A carb in a light bulb is caused by the interaction of two things: electricity and resistance. When you turn on a light switch, electricity flows through the wires and into the light bulb. The electricity wants to flow in a straight line, but the light bulb is in the way. The light bulb has a lot of resistance, so it doesn’t allow the electricity to flow through easily.
The resistance to the flow of electricity causes the build-up of electrical energy in the light bulb. Eventually, the electrical current overcomes the resistance and flows through the light bulb. However, not before causing the bulb to heat up. It is this heat that makes the light bulb glow.
Things You’ll Need
- A light bulb
- power source (batteries or a power outlet)
- Some wire
- switch
- resistor (optional)
Step by Step How to Make a Carb in a Light Bulb
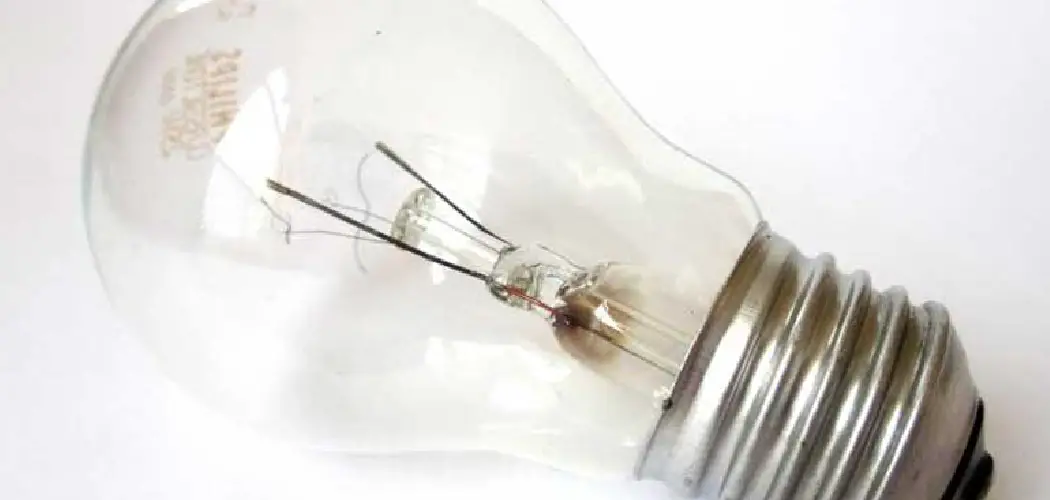
1. Choose the Light Bulb
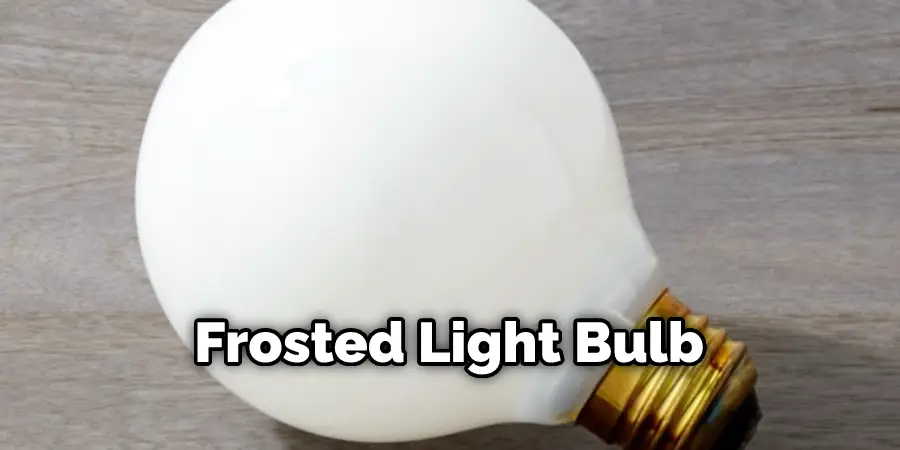
The first step in choosing the right light bulb for your project is understanding what kind of light you want to create. Clear light bulbs allow you to see the carb better, while frosted light bulbs diffuse the light and make the carb look more even. Choose the light bulb that best suits your needs and project goals.
2. Prepare the Bulb
To make a carb, you need to start by unscrewing the base of a light bulb. Then, carefully twist the filament inside the bulb until it breaks. Be careful not to touch the filament with your fingers, as it will be hot. If the filament breaks, the light bulb will no longer work, which is necessary for the carb to form.
3. Cut a Hole in the Bottom of the Bulb
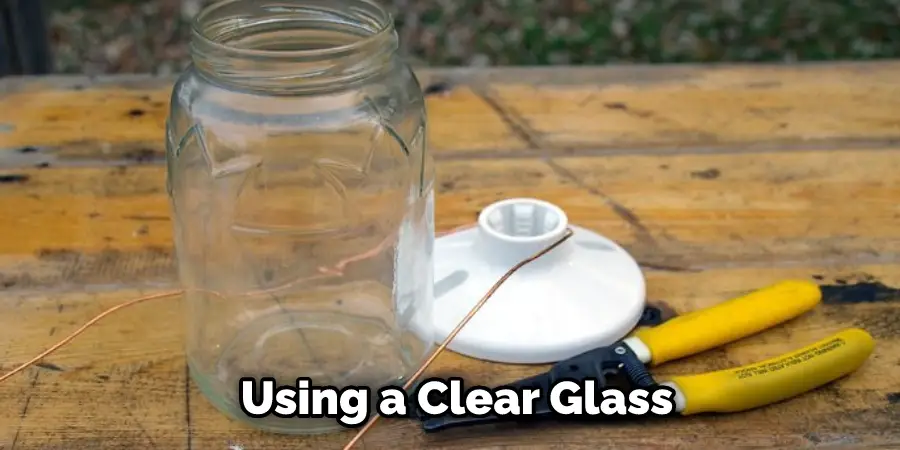
Next, you need to cut a hole in the bottom of the light bulb. This hole will allow you to insert the wire that will carry the electricity to the light bulb. The hole size will depend on the type of wire you are using. To do this, simply take a sharp knife and make a small cut in the bottom of the light bulb. If you are using a clear light bulb, be careful not to crack the glass.
4. Add Sugar to the bulb
This activity is about making a light bulb using a clear glass, a hole, and sugar. You cut a hole in the glass and then add sugar to it. The more sugar you add, the darker the carb will be.
5. Water the Bulb
Next, you need to water the light bulb. This will help the sugar dissolve and form the carb. Pour a small amount of water into the light bulb, being careful not to overfill it. You don’t need a lot of water, just enough to wet the sugar.
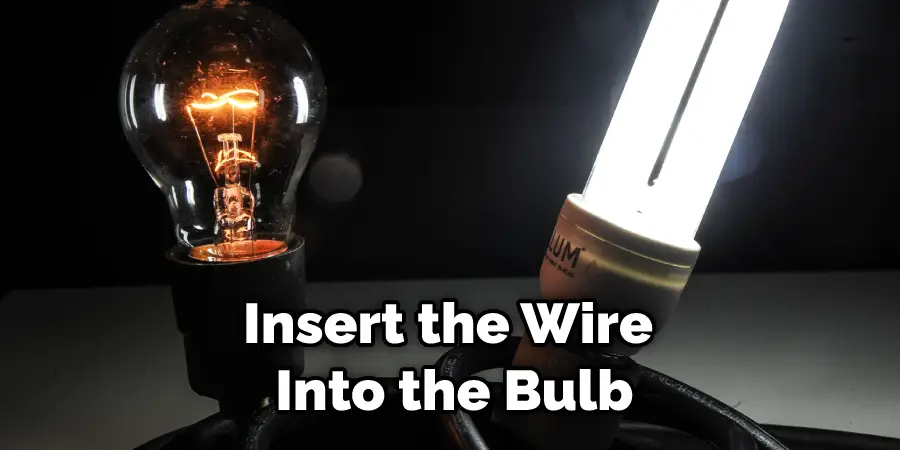
6. Insert the Wire
Once you have cut the hole, insert the wire into the bulb. If the hole is too small, you may need to use a pair of pliers to help you insert the wire. Be careful not to damage the wire. If you are using a clear light bulb, ensure the wire is inserted so it is not visible.
7. Attach the Resistor (optional)
A resistor is a small device that helps to control the amount of electricity flowing through a wire. If you are using a light bulb, you will need to attach the resistor to the wire before attaching the wire to the power source. This will help prevent the light bulb from overheating. To attach the resistor, simply solder it to the wire. If you do not have a soldering iron, you can use electrical tape to attach the resistor.
8. Attach the Wire to the Power Source
Now you need to attach the other end of the wire to the power source. Using batteries, you will need to solder the wire to the positive and negative terminals. If you are using a power outlet, you will need to use an adapter to connect the wire to the outlet.
9. Flip the Switch
Once the wire is connected to the power source, you can now flip the switch and see your carb in action. The light bulb will heat up, and the carb will form. The carb size will depend on the amount of electricity you are using. If you are using a clear light bulb, you will be able to see the carb as it forms.
10. Observe the Results
Now that you have made your carb take a step back and observe the results. How does the carb look? Is it the size and shape you wanted? If not, you can constantly adjust the amount of electricity you are using or try a different light bulb. If anything goes wrong, don’t hesitate to ask for help from a friend or an adult.
11. Enjoy Your Carb
Now that you have made your very own carb, it’s time to sit back and enjoy the results of your hard work. Be sure to show your friends and family your amazing creation. Who knows, you may even inspire them to make their own carb.
How Much Electricity Should I Use?
The amount of electricity you use will determine the size and shape of your carb. If you want a large, round carb, you will need to use more electricity. If you want a small, flat carb, you will need less electricity.
You can experiment with different amounts of electricity to see what works best for you. Usually, you should use between 1 and 3 volts of electricity. Higher voltages may cause the light bulb to break or may damage the wire.
How Long Does It Take for the Carb to Form?
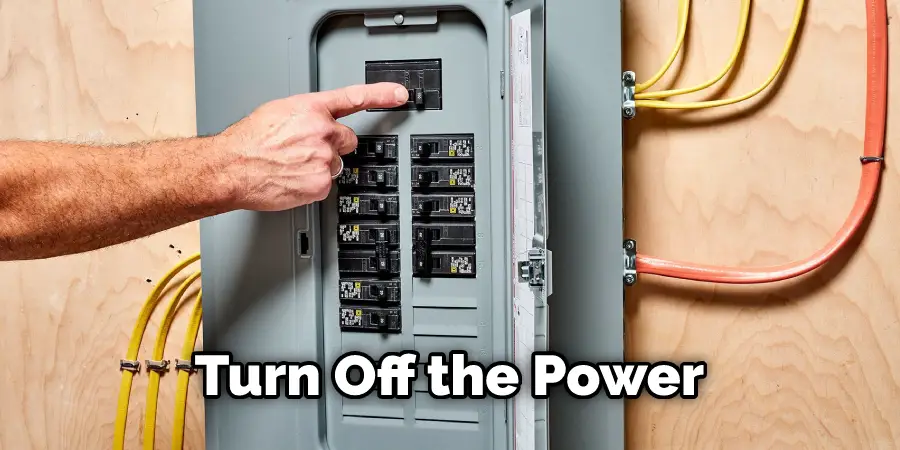
The time it takes for the carb to form will depend on how much electricity you use. If you are using a low voltage, it may take a few minutes for the carb to form. However, the carb should form almost immediately if you use a high voltage. It is important to keep an eye on the light bulb while the carb is forming. If the light bulb gets too hot, you should turn off the power immediately.
How Much Does It Cost to Make a Carb?
The cost of making a carb will depend on the materials you use. A clear light bulb, wire, and resistor can be bought for less than $5. You may also need to buy a soldering iron, which will cost around $15. The total cost of making a carb should be less than $20. The cost may be even less if you already have some of the materials.
How To Prevent The Carb From Overheating
If you are using a clear light bulb, you must monitor the carb closely as it forms. This is because the heat from the light bulb will cause the carb to turn brown over time. To prevent this, first, ensure you are using the correct amount of electricity. Second, ensure the light bulb is not in direct contact with the carb.
Third, try to keep the room cool while the carb is forming. Fourth, turn off the power as soon as the carb is fully formed. Following these tips can keep your carb looking clear and bright. If the carb does start to turn brown, you can try using a different light bulb.
Tips and Warnings on How to Make a Carb in a Light Bulb
Tips:
- Be sure to clean your light bulb before starting this project.
- Place the light bulb in a well-ventilated area.
- Use gloves when handling the chemicals used in this project.
Warnings:
- Do not inhale the fumes from the chemicals used in this project.
- Do not get the chemicals on your skin or your eyes.
- Do not eat or drink while working on this project.
- Do not work on this project near an open flame.
Frequently Asked Questions
Can You Use a Light Bulb if Its Cracked?
Yes, you can use a light bulb if its cracked. However, it is important to note that the light output may be less than optimal and it is not recommended to use a broken light bulb for overhead lighting or reading. Instead, you should replace the entire lamp with a new one.
Will Duct Tape Melt on a Light Bulb?
Duct tape does not melt on a light bulb, but it can become stubborn and difficult to remove. To prevent this from happening, make sure to use the appropriate amount of duct tape for the task at hand and be patient while removing it. Never try to pull off excess duct tape with your hands; this could cause blisters or other injuries. If you do experience difficulty removing duct tape, then you may want to consider using a remover like Goo Gone.
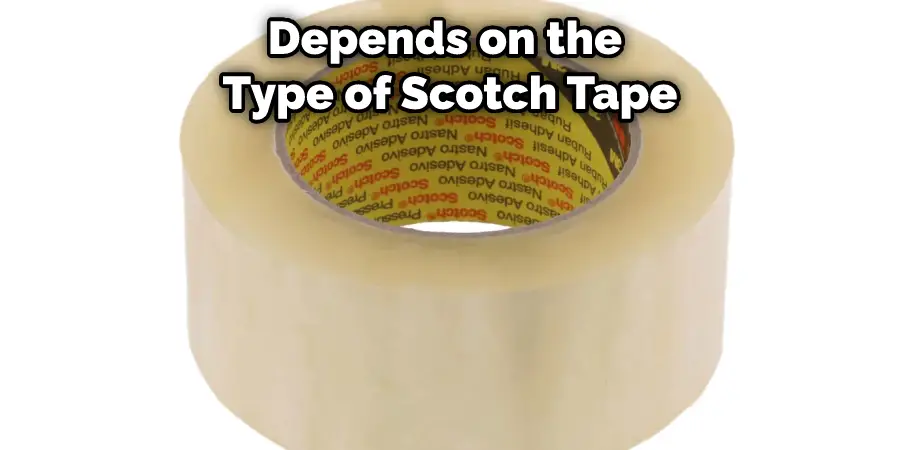
Can I Put Scotch Tape on a Light Bulb?
as it depends on the type of Scotch Tape you are using and the type of light bulb. Some light bulbs are coated with a thermal insulation film that protects them from heat damage. If you are using Scotch Tape that is designed for use on metal, it can damage the film and cause the bulb to burn out. In general, it is not recommended to use Scotch Tape on light bulbs.
Is It Ok to Put Tape Over Led Lights?
There are some people who believe that it is ok to tape over LEDs in order to reduce the amount of light they’re exposed to. They argue that this will mimic the effect of sun exposure and help improve their skin tone or illuminate darker areas more positively. However, there is no scientific evidence supporting this claim, and tape over LEDs could actually have negative effects on your eyesight. In fact, using any type of adhesive near your eyes can lead to poor vision because it blurs out surrounding details. If you still want to cover up your LED lights, make sure to do so securely and avoid contact with the adhesive itself.
What Tape Can I Use for Led Lights?
There are a variety of tapes that can be used for LED lights, but the black tape is the most common. This type of tape has a high resistance to moisture and heat, which means it will not break down in sunlight or rain. Additionally, black tape is also reflective so it produces good light quality.
Other types of tapes that can be used for LED lighting include clear vinyl (for cars), and Mount-It! Outdoor Film (for signs), 3M Command Performance Adhesive Sheeting(for banners and marquees), and DuroMaxx Multi-Purpose Paper Damper Tape(for window coverings).
Ultimately, the best decision depends on what you want to use your LED lights for. For example, if you plan on using them outdoors where weather conditions may affect their performance, then choose a less durable type of tape like vinyl or paper dampers. However, if you’re only going to use them indoors or in relatively dry conditions.
Conclusion
In conclusion, making a carb in a light bulb is possible. The process is simple and only requires three materials- an LED light bulb, sugar, and water. By boiling the water and dissolving the sugar into it, you create a syrupy solution that can be poured into the light bulb. Once the sugar has been added, quickly screw on the lid of the light bulb and wait for it to cool.
As the liquid boils inside the light bulb, carbon will form on the LED filament. Presto- a carb in a lightbulb! Try this experiment at home and see how easy it is to make your own carb lamp. If you have any questions or comments about how to make a carb in a light bulb, please feel free to post them in the comment section below. We would love to hear from you.