There’s nothing like a lovely, warm scented candle to make your house feel homey. But what do you do when the light goes out on your favorite scent? Changing the light bulb in a wax warmer is easy enough for anyone! This article will show you how to change light bulb in wax warmer. So keep reading for all the information you need to get the job done quickly and efficiently.

Wax warmer is a great way to enjoy your favorite scents without having to light a candle. These appliances use a light bulb to heat a small amount of wax, releasing the fragrance into the air. Unfortunately, the light bulb in your wax warmer may burn out over time. When this happens, it’s time to change the light bulb to a wax warmer.
Summary: Changing the light bulb in a wax warmer is a simple process that requires just a few steps to ensure the safe and effective operation of the device. Before starting, gather the necessary materials, including a suitable replacement bulb, gloves or a cloth to handle the bulb, and a screwdriver if needed. Ensure that you have the correct wattage and type of bulb specified by the manufacturer of your wax warmer to avoid potential damage or malfunction.
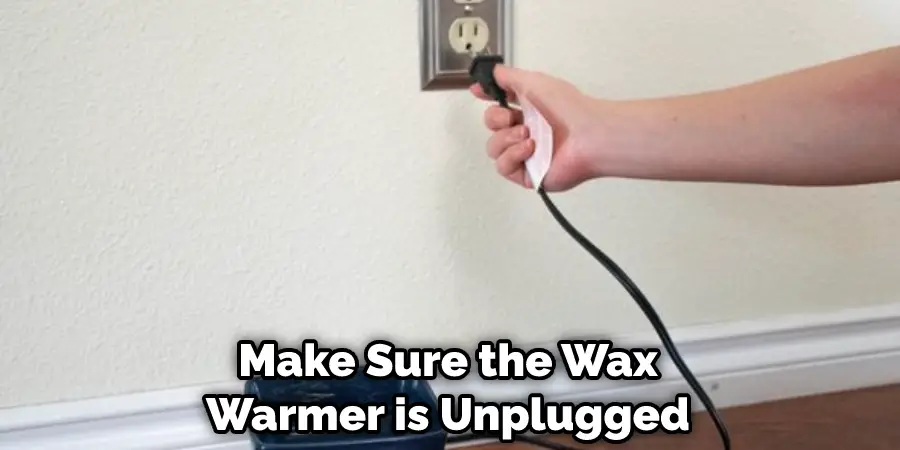
First, unplug the wax warmer from the electrical outlet to eliminate the risk of electrical shock during the bulb replacement process. Allow the wax warmer to cool down completely, as the bulb and the warmer can become very hot during operation. Once the wax warmer is cool, remove any wax from the device to prevent spills or messes while changing the bulb. Depending on the design of your wax warmer, you may need to remove a cover or other components to access the bulb.
Carefully unscrew or disengage any clips or fasteners holding the cover in place, if necessary. Wearing gloves or using a cloth to handle the bulb, gently unscrew the old bulb by turning it counterclockwise. Dispose of the old bulb safely, as some bulbs may contain hazardous materials.
Install the new bulb by screwing it into the socket in a clockwise direction, ensuring a snug fit. Reassemble any covers or components that were removed during the process, and plug the wax warmer back into the electrical outlet. Test the wax warmer to ensure that the new bulb is functioning correctly and that the device is operating safely.
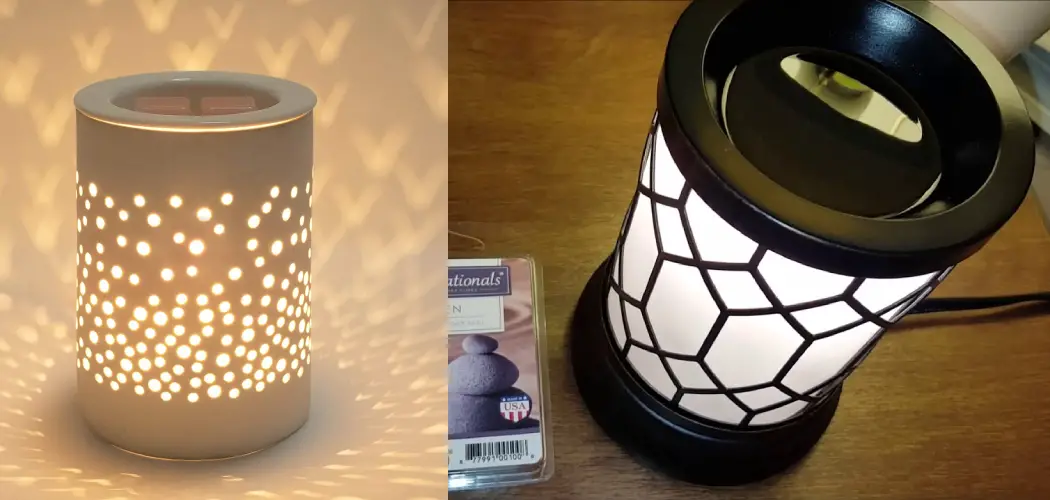
What is a Wax Warmer
A wax warmer is an appliance used to heat the wax to be poured into a container, such as a candle. For example, the wax is heated to a liquid state so it can be poured into a mold to create a candle. There are several different types of wax warmers on the market, but they all use the same basic principle: heating the wax until it becomes liquid.
To understand how to change the light bulb in a wax warmer, it is essential to know how to wax warmers work. The most common type of wax warmer uses an electrical heating element to heat a small amount of oil or wax. The heated oil or wax then melts the beeswax or paraffin in the candle warmer, releasing the fragrance. Some warmers also use a small tealight candle to provide heat.
The light bulb in a wax warmer serves two purposes: it provides heat to melt the wax, and it emits light that allows you to see what you are doing. Most light bulbs in wax warmers have a bayonet base, a type of connector that screws into the socket on the warmer. The light bulb should be replaced whenever it becomes dim or burnt out.
Things You’ll Need
- Wax warmer
- Replacement light bulb
- Phillips head screwdriver
- Needle nose pliers
- Safety glasses
A Step by Step Guide on How to Change Light Bulb in Wax Warmer
Step 1: Determine What Size of Bulb Do You Need
Replacement light bulbs come in a variety of sizes, so before changing the light bulb in your wax warmer, determine the size of bulb it takes. To do this, look for the model number of your wax warmer and find the corresponding replacement bulb size.
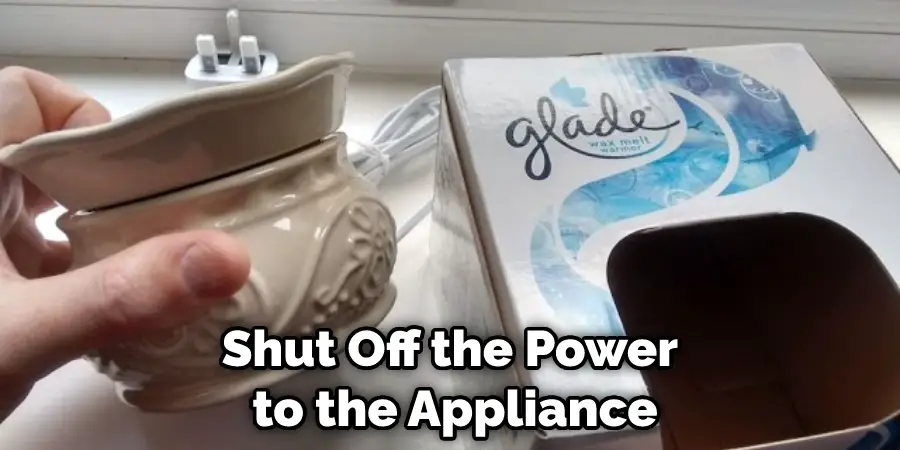
Step 2: Shut Off Power to Wax Warmer
Before beginning any repairs or changing any light bulbs, always make sure to shut off the power to the appliance. This can be done by locating the breaker box and flipping the switch off for the wax warmer.
Step 3: Remove Housing from Wax Warmer
To remove the housing from the wax warmer, unscrew the screws on the top and bottom of the unit. There are usually four screws in total. Once the screws are removed, carefully lift on the housing and pull it away from the wax warmer.
Step 4: Remove Bulb from Socket
It is time to remove the light bulb from the socket. Reach up into the warmer and grasp the base of the bulb. Carefully twist it counterclockwise and pull it out of the socket. Be careful not to touch the bulb’s glass with your hands as it will be hot. If you have trouble removing the bulb, you can use a pair of pliers to grip it and twist it out.
Step 5: Install New Bulb
Once you have removed the old bulb, install the new one by following Step 3 reverse. Be sure to screw in the bulb’s base firmly so that it is secure in the socket. Do not over-tighten, or you could damage the socket. Once the bulb is secure, replace the housing on the wax warmer and screw in the screws.
Step 6: Replace Housing on Wax Warmer
Replacement light bulbs come in a variety of sizes, so before changing the light bulb in your wax warmer, determine the size of bulb it takes. To do this, look for the model number of your wax warmer and find the corresponding replacement bulb size.
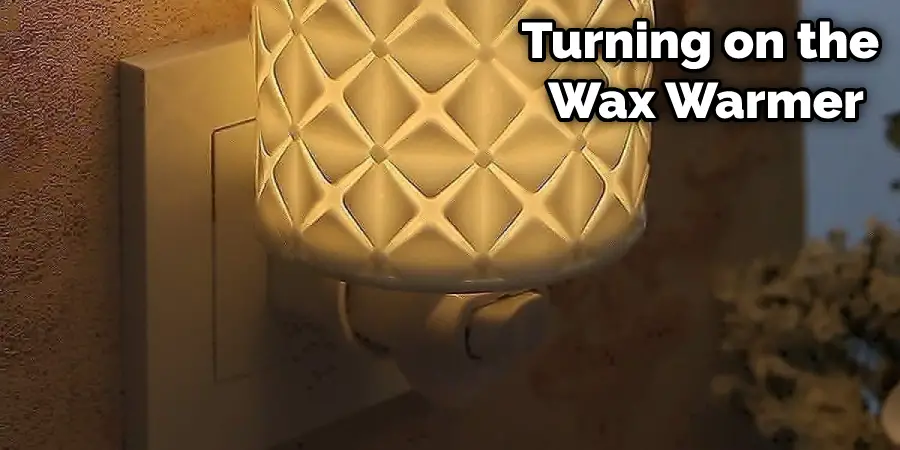
Step 7: Flip Breaker Switch and Plug-in Wax Warmer
Once you have replaced the light bulb and housing, flip the breaker switch back on and plug in your wax warmer. Test to ensure the light bulb is working by turning on the wax warmer. If it is not lit, check to ensure all screws are tight and that the bulb is installed correctly.
Changing a light bulb in a wax warmer is a simple process that can be done in just a few minutes. By following these steps, you can safely change the light bulb in your wax warmer without any trouble. Always make sure to shut off the power to the appliance before beginning any repairs or changing any light bulbs. These steps will help in how to change light bulb in wax warmer. 1. Disconnect the power to the wax warmer by unplugging it from the outlet.
Precautions
When changing the light bulb in your wax warmer, it is essential to take precautions to avoid injury. Here are a few things you can do to stay safe:
- Make sure the wax warmer is unplugged before changing the light bulb.
- Wear gloves to protect your hands from the hot wax.
- Be careful not to touch the light bulb’s glass with your skin.
- If the light bulb breaks, clean up any broken glass and dispose of it properly.
What Light Bulb Do You Put in a Wax Warmer
The light bulb you put in your wax warmer is essential, as it will affect how your wax melts and how your room smells. You want to use a light bulb designed with a wax warmer, as it will give off the right amount of heat and produce the desired smell.
There are a few light bulbs that you can use in your wax warmer, but the most common type is the tealight bulb. Tealight bulbs are small, round bulbs designed to be used with tea lights. They typically have a flame-shaped top and produce a soft, orange light.
Another type of bulb you can use in your wax warmer is a chandelier bulb. Chandelier bulbs are large, round bulbs designed to be used in chandeliers. They typically have a flame-shaped top and produce a soft, orange light.
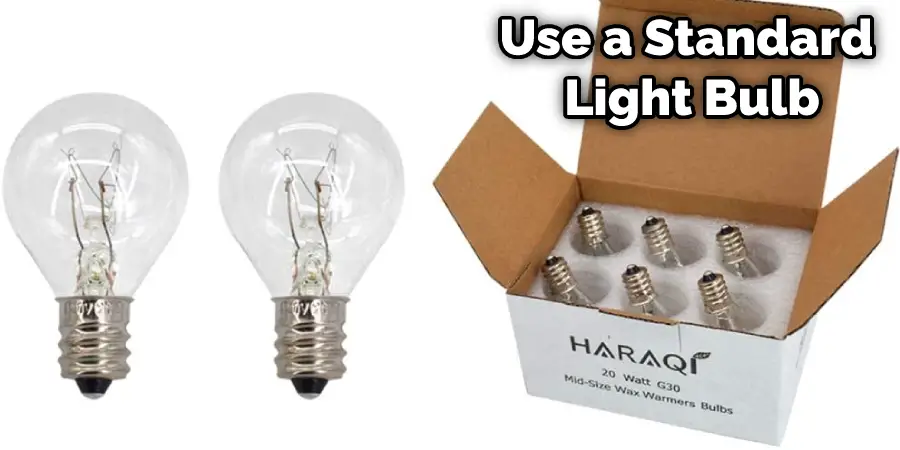
If you are looking for a more powerful light bulb, you can use a standard light bulb in your wax warmer. Traditional light bulbs are more significant than tealight and chandelier bulbs, producing a brighter light. However, standard light bulbs can get very hot, so it is essential to use caution when using them in a wax warmer.
You Can Check It Out to: Change Light Bulb in 2 Story Foyer
Do Wax Warmers Wear Out
The light bulb in a wax warmer will eventually wear out. How often the light bulb needs to be replaced depends on how often the wax warmer is used. If the wax warmer is only used occasionally, the light bulb may last several years. If the wax warmer is used regularly, the light bulb may need to be replaced every few months.
It’s a simple process when it’s time to change the light bulb. The light bulb is located at the top of the wax warmer. Unscrew the light bulb and replace it with a new one. Make sure that you screw in the light bulb tightly so that it doesn’t come loose.
Wax warmers are a convenient way to melt beeswax or other types of wax. The light bulb in the wax warmer is essential because it provides heat to the wax. When the light bulb wears out, it’s crucial to replace it so that the wax can continue to be melted.
How Long Can a Wax Warmer Be Left on?
The answer to this question depends on the specific wax warmer model, but generally, it is safe to leave a wax warmer on for 8-10 hours at a time. However, it is crucial to follow the manufacturer’s instructions and use them as a guideline for specific usage times.
It is also important to take into account the size of the room and the strength of the fragrance when using a wax warmer for an extended period. Additionally, it is recommended to place the wax warmer on a stable surface away from any flammable materials and never leave it unattended while in operation.
Overall, while leaving a wax warmer on for several hours is safe, it is essential to exercise caution and follow the manufacturer’s instructions for safe usage.
How Long Does a Wax Warmer Take to Melt Wax?
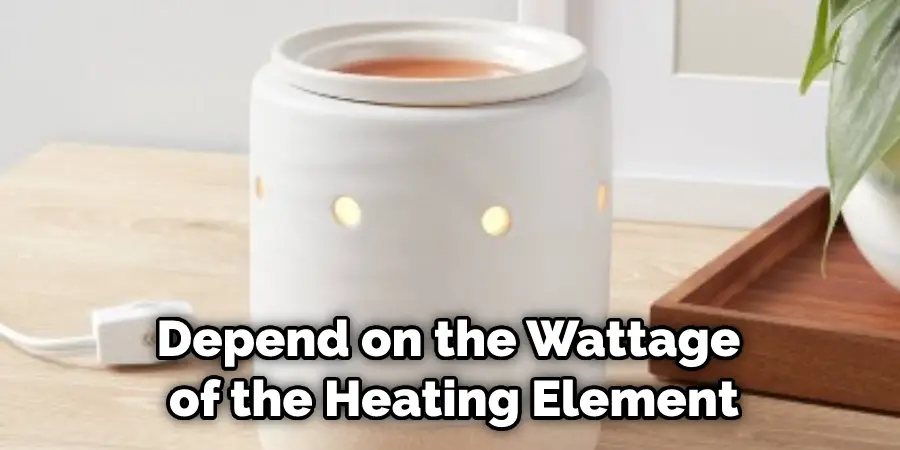
A wax warmer is a device used to heat the wax for various purposes such as in candles, soap making, and even hair removal. The wax warmer consists of a small metal pot on a heating element. The pot contains the wax, and the heating element melts the wax, releasing the fragrance of the essential oils added.
Most wax warmers come with an instruction booklet. The booklet will tell you how long the wax is to melt and how many ounces of wax to use. It is essential to follow the instructions to achieve the desired results.
It is also important to note that not all waxes are created equal. Some waxes are more complex than others and will take longer to melt. If you are using a new wax or one that you have not used before, it is good to test it out first to see how long it takes to melt.
Most wax warmers take between 15 and 30 minutes to melt the wax. How long it takes for your wax warmer to melt the wax will depend on the wattage of the heating element, the size of the pot, and the type of wax being used.
Frequently Asked Questions
What Light Bulb Goes in a Wax Warmer?
A 60-watt incandescent light bulb is the most common type of light bulb used in a wax warmer. It produces a warm, yellowish-white glow that is perfect for use with scents such as citrus or pine. Other types of bulbs can also be used in a wax warmer, but they may not produce the same level of heat and smell.
Before purchasing any type of lightbulb, make sure to read the manufacturer’s instructions carefully to ensure that it will work properly with your wax warmer. Some warming chambers require certain types of wattage, while others are compatible with more general wattages.
Can You Use Any Bulb in a Wax Warmer?
Most wax warmers use a specific type of light bulb that is designed for this purpose. But if you have an incandescent or halogen lightbulb, you can still use it in your wax warmer. Just be sure to replace the bulbs regularly and avoid using them in direct sunlight. This will reduce the chances of fire and damage to your Wax Warmer!
Can You Use a 40 Watt Bulb in a Wax Warmer?
Use a 40-watt bulb in a wax warmer, but it may not be the best option. A 50 or 60-watt bulb will be more appropriate for this type of appliance. This is because hotter temperatures are needed to create the perfect wax temperature.
Can You Reuse Wax Melts?
Here are a few tips to help you get the most out of your wax melts:
1. Make sure the wax melts are cool before you start using them – This will help to prevent any accidents and make the process smoother.
2. Choose a design that you love – Once you’ve chosen a design, be sure to stick with it. If you start changing your mind midway through, it will be difficult to go back and get that perfect design again.
3. Use a heat gun – A heat gun can be used to remove designs from the wax melting quickly and easily. Just be sure to avoid getting too close to the wax melt – it can cause it to melt prematurely!
4. Wait until the design is completely dry before removing it – Once the design is dry, you can easily remove it by gently pulling on it. Be careful not to tear it – a torn design will not look as good as a properly designed one!

Conclusion
We hope you have gone through the article on how to change light bulb in wax warmer. Although this process is a little more complicated than changing a light bulb in a traditional light fixture, it’s still pretty simple. Just be sure to follow the instructions closely, and you’ll have your wax warmer up and running again in no time!