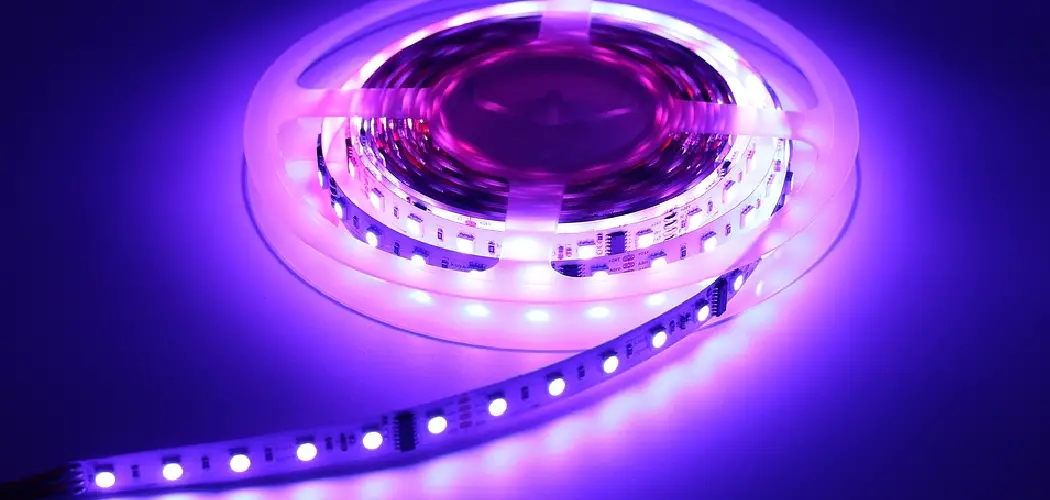
Led lights are a great way to add color and brightness to any room. And by using different colors, you can create different moods for each space. The color purple is a popular choice for bedrooms. Unfortunately, LEDs come in different colors, and the ones that create true purple light are rare and expensive. But with some ingenuity and experiments, you can produce purple. This article will show you how to make purple with led lights. Let’s get started!

To make purple with led lights, you’ll need a few supplies and some basic knowledge of electronics. First, find a light purple color in your favorite paint or fabric store. Next, take your led lights and hook them up according to the instructions included with your set. Finally, use a piece of white paper or cardboard as a backlight!
Many people use purple led lights in their bedrooms because it’s an excellent color to induce sleep. And that’s not just imaginary; studies are showing how the human brain exhibits slowed activity corresponding to the color purple. This is because blue light has short wavelengths and makes us feel awake and active, whereas red light has longer wavelengths which slow down our brain function.
Tools and Materials
- LED light
- Resistor with a variety of Ohm ratings for different colored lights
- Battery holder with 2 AA batteries and on/off switch (optional)
- Electrical tape and cardboard
- Glue gun and glue sticks: optional.
A Step by Step Guide on How to Make Purple With Led Lights
Step 1: Determine How Much Voltage You Have
This will tell you how many amps your light strip wire(s) are using. To find the resistance (in Ohms) each diode should have, take this number and multiply it by 0.08. For example, if I used my batteries as my power source, I would multiply 2 (volts) by 0.08 and get 0.16.
To find out how many resistors I need for my purple lights, I will divide the number of Ohms that each diode should be by 16: 5 Ohm/16 = 0.3. I need three resistors because there are three lights on my light strip wire(s).
Step 2: Prepare Your Resistors
We need to decide which type of resistor to use for our lights. There are three options: 1. Resistors with clamps (clip-on) on one end and screw connectors at the other (like Christmas light clips); 2. Resistor with wire leads; or 3.
For my project, I chose a resistor with solderless breadboard ends. However, it is up to you which type of resistor you use. Remember that if the resistor has wire leads or solderless breadboard ends, your circuit will work better than if it only has the one clip-on option.
Step 3: Test the Resistor
Now that your resistors are sorted out, it is time to test them. Suppose you are using one light strip wire. In that case, one resistor should be enough – so take your battery holder and attach the red clip of your resistor to the positive end of the battery holder (the side with “+”) and attach the black clip to any metal part on the negative side (-) of the holder. You can also use a multimeter to test the resistance of your resistor.

Attach a black lead from your LED light to any metal part on the negative side, including where you attached the black information from your resistor. If all goes well, you will see purple light coming out of your LED (if not, switch ends around).
Step 4: Tape Your Resistors to Your Lights
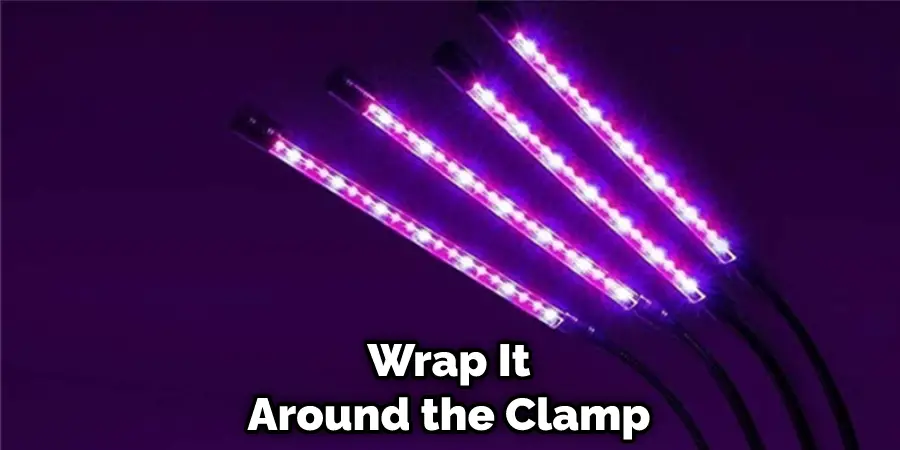
The next step is to attach the resistor to the light strip (or strips) using tape. The position of the resistor will depend on the number of lights in your project and the type of resistor you have (clip-on, wire leads, or breadboard ends). If you’re using clip-on resistors like I am, then put one end of the clamp over one end of the purple LED wire and use pliers to tighten it down.
Then, take a piece of electrical tape and wrap it around the clamp until all but about 1/4″ is covered. Next, take another piece of electrical tape, run it through the gap left in the clamp, and fold it onto the first piece of electrical tape. Make sure the resistor is taped down well, so it has a good grip on your light strip wire(s).
If you choose wire leads or solderless breadboard ends, take a small piece of electrical tape, and secure one end to your purple LED wire(s). Then wrap the tape around the other end until all but 1/4″ is covered. Like before, make sure that your resistor is taped down well, so it grips your LED wires very tightly.
Step 5: Connect Your Battery Pack and Turn On Your Lights
Now that your resistor and LED lights are ready to go, it’s time to connect the battery pack. If you chose option #1 (clip-on), then all you need to do is attach the red clip from your battery holder to the positive side of your light strip wire(s) and attach the black clip to any metal part on the negative side (-) – this includes where you attached the other end of your resistor.
If you chose options #2 or #3, attach one end of your LEDs wire to either wire lead/breadboard end and then take another wire lead/breadboard end and attach it to one of your batteries in a good location somewhere positive (+). Then attach another wire lead/breadboard end to one of your batteries somewhere negative (-).
If you have more than two batteries, keep dividing them into different wire leads/breadboard ends. Once all of your batteries are connected with wire leads or breadboard ends, attach the other end of each lead/breadboard end to either light strip wire(s) or ground (the metal part on the negative side). If everything is done correctly, then both lights will come on!
Step 6: Inspect Your Work
If everything is done correctly, then both lights should be on! However, if one of your lights is not working after connecting all of your batteries with wire leads or breadboard ends, the resistor might not be taped down tightly enough, or there may be a short in the circuit.
When my LED strip did not work after taping everything together and connecting my battery holder with wire leads/breadboard ends, I tried to un-tape it and retape it even more tightly.
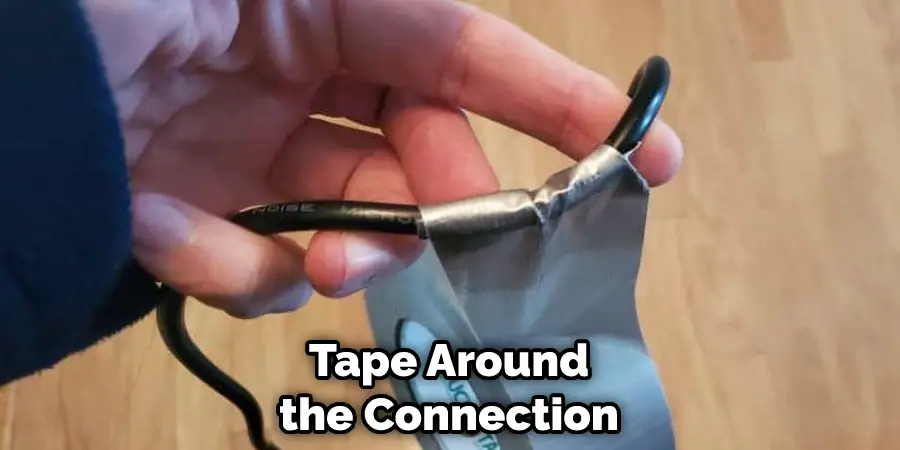
If this does not work, try putting electrical tape around the connection between your light strip wire(s) and resistor to see if that will help – make sure that the electrical tape does not touch the LED light itself; it should only connect the resistor. If that still doesn’t work, there might be a short in your circuit, and you will need to remove either the battery pack or one of your LED lights and try again.
Step 7: Bask in Your Success!
Now that your LEDs are working, it’s time to unplug them and wrap any loose ends with electrical tape so they can’t cause any shorts if you accidentally plug them back into power later on (it happened to me before I wrapped up all of my spare wire). Then bask in on how awesome your new toy is! You just made your very own purple LED light strip! Hopefully, this was easy to understand how to make purple with led lights and helped you make your purple LED light.
You May Chehk to Make Light Purple Led Lights
Why Are Some Grow Lights Purple
By using LED grow lights that produce primarily blue and red wavelengths of light, many people have grown colorful plants indoors without a lot of excess heat or energy usage. Blue light stimulates vegetative growth while red light helps with flowering and fruiting.
After a certain point in their growth cycle, cannabis plants need only small amounts of blue wavelength spectrums to stimulate further development. By switching over to entirely red range LED grow lights, growers can induce their plants into flowering mode much earlier than standard indoor setups. This gives growers more time to produce multiple crops during each year’s growing cycle.
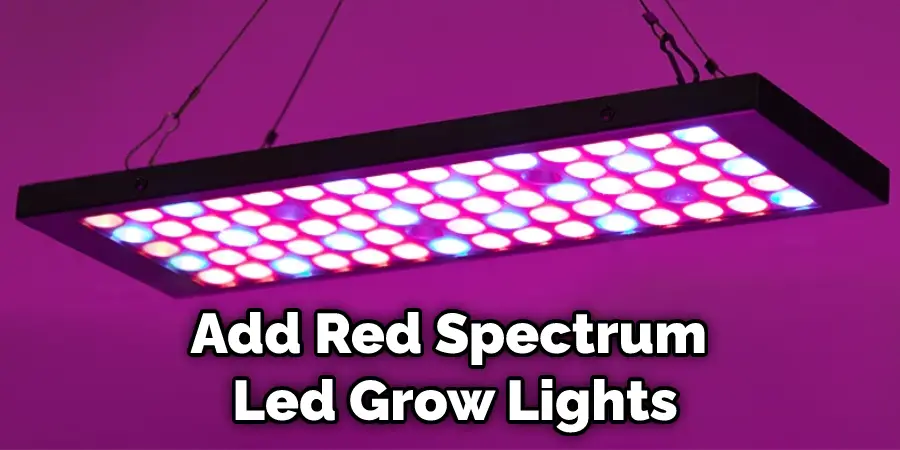
The resulting purple colors on the leaves signify that your plant is getting all of the wavelengths of light it needs to grow healthy and strong. If you add even more red spectrum LED grow lights, like full spectrum or COB LED lights, you can induce flowering even faster while decreasing some of the elongation currently happening on some cola sites.
You Can Check It Out to: Remove Led Lights Without Peeling Paint
Frequently Asked Questions
What Does Sperm Look Like Under Uv Light?
Sperm under ultraviolet light look different than they do in regular light. In particular, they appear more motile and active. This is due to the fact that sperm are able to swim faster in water containing UV radiation. Additionally, sperm also tend to be smaller and have a higher count per milliliter when examined under UV light.
Can Led Lights Be Purple?
If you’re using a white LED light source, then the colored LEDs will mix together and create purple. However, if you’re using a blue or ultraviolet LED light source, then those colors will shine through unimpeded and will appear different depending on your eye’s sensitivity to these colors.
What Do Purple Led Lights Mean?
Purple LED lighting is often used to indicate a warning or emergency. This type of lighting is usually reserved for areas where the public could potentially be affected, such as in hospitals and government buildings. When you see purple LED lights, it’s important to take caution and avoid the area until further notice has been given.
Conclusion
The construction of this box is also straightforward, especially the light board. The steps I used for making it are all available on Instructables. That means you can do it too if you follow my tutorial. Making purple with led lights is quite popular among teens nowadays because it’s an exciting activity and great decoration for your room or party.
So whether you want to create this yourself or buy one already made, I hope that this article on how to make purple with led lights has given you some ideas!