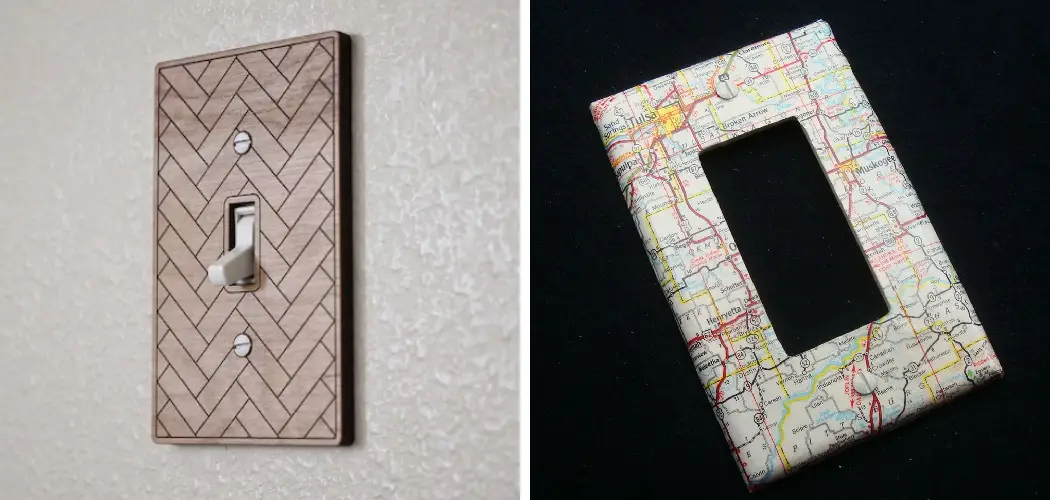
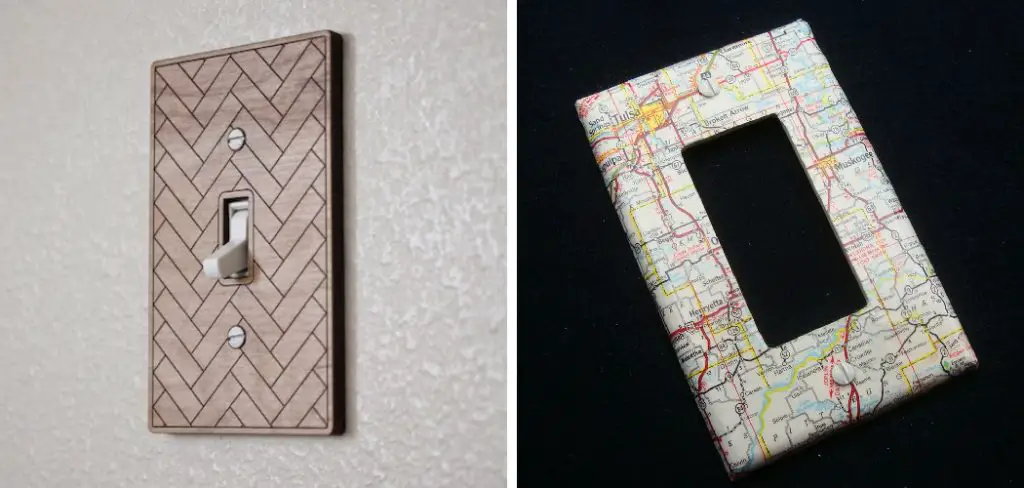
It’s no secret that light switch covers are often an eyesore. They’re usually plain, white, and uninteresting. But, if you want to add some personality to your home without spending a lot of money, you can easily cut your light switch covers! Of course, it would help if you had some fabric, a template, scissors, and craft glue. Check out the tutorial below to find out how to cut light switch covers. You’ll be surprised at how easy it is!
Summary: Cutting light switch covers is sometimes necessary to accommodate unique wall configurations or obstacles like molding, tiles, or cabinetry. Modifying a light switch cover involves measuring, marking, and cutting the cover to fit the specific requirements of your installation. The process requires accuracy and precision to ensure a clean, professional-looking result. It is essential to use appropriate tools and safety measures to avoid damage to the cover or personal injury.
Begin by measuring the required dimensions for the modified light switch cover, taking into account any obstacles or surrounding features. Use a ruler and a pencil or a fine-tip marker to mark the cutting lines on the cover, ensuring the lines are straight and even. To cut the cover, utilize a fine-tooth saw, a rotary tool with a cutting wheel, or a utility knife, depending on the material and thickness of the cover.
If using a utility knife, score the cutting lines multiple times to create a deep groove before carefully snapping the excess material away. For a saw or rotary tool, secure the cover in a vise or clamp to prevent movement during cutting. Always wear safety goggles and gloves to protect your eyes and hands during the cutting process.
After cutting the light switch cover, smooth any rough or uneven edges using a file, sandpaper, or a rotary tool with a sanding attachment. Ensure the modified cover fits the intended space correctly before installing it. By following these steps and exercising caution, you can achieve a custom-fit light switch cover that seamlessly blends with your wall configuration.
Why It’s Important to Cut Light Switch Covers
There are a few reasons why it’s important to cut your light switch covers. First of all, it’s a great way to add some personality to your home without spending a lot of money. It’s also a fun DIY project that can be completed in just a few minutes. Finally, it’s a great way to customize your home to match your style.
Required Materials
- Fabric
- Template
- Scissors
- Craft Glue
How to Cut Light Switch Covers Step by Step Guide
Step 1: Determine
Before getting started, you need to determine how much of the light switch cover you will need to cut off. This can be done by measuring the cover and marking the desired line with a pencil.
Step 2: Gether Your Material
Now that you have your measurements, it’s time to gather your materials. For this project, you will need a piece of light switch cover material, a straight edge ruler, scissors, and a pencil.
Step 3: Cut the Material
You will need to cut out the material for your project following the lines of the template. Be careful not to cut too close to the edges so you will have room to fold the coverings later. If you are using a non-standard material, use a sharp blade designed for that material to avoid any damage.
If you’re using a thin material like plywood, you’ll need to be careful not to crack or break it when you’re cutting. Then, you can use a straight edge and a sharp blade to make your cuts.
Make sure to cut the material to slightly larger than the template. This will give you some room to work with when attaching the cover to the switch.
Step 4: Cut the Wood to Size
No, LED light strips cannot simply be peeled off the wall. If you want to change them out regularly or move them around your room, it is recommended that you use a mount or holder so that they don’t get damaged.
If you are using a jigsaw, make sure to cut on the inside of the line so that the cover fits snugly against the wall. If you are using a saw, make sure to cut the wood to the exact size, so there is no overlap.
Step 5: Attach the Cover
Now that the cover is cut to size, it must be attached to the switch. Some covers come with adhesive on the back, while others have a metal strip along the top that can be screwed into place. If your cover doesn’t have any adhesive or a metal strip, you can use hot glue or silicone to attach it. Apply the adhesive evenly so that the cover doesn’t warp or come loose over time.
Step 6: Trim Any Excess Material
Now that you have the basic shape of your light switch cover cut out, you will need to trim any excess material. Use a sharp knife or scissors to trim away any excess plastic or vinyl carefully. Be careful not to cut too close to the edge of the cover, as you don’t want to cut into the switch accidentally. Once you have trimmed away any excess material, your light switch cover is ready to be installed!
Step 7: Finish
Now that you know how to cut light switch covers, you can finish your project and be on your way to better home lighting in no time. Just be careful when cutting and take your time for the best results. With a little bit of effort, you’ll have new light switch covers that look great and are much easier to use.
Installing a light switch cover is a quick and easy way to spruce up any room in your home. With just a few simple tools and a little bit of patience, you can easily cut your light switch covers that will add a touch of style to any space.
How to Cut Plastic Electrical Wall Plates
It’s easy to cut plastic electrical wall plates with a few simple tools. You’ll need a sharp knife or utility blade, a straight edge, and a measuring tape. You can quickly and easily custom-fit your wall plates to any outlet or switch with these tools.
1. Measure the Width and Height
To start, you will need to measure the width and height of your light switch cover. You can do this by using a measuring tape or a ruler. Once you have these measurements, you will need to transfer them to your piece of paper.
2. Unscrew the Cover Plate
Once you have the screws in hand, unscrew the cover plate from the switch. There should be two or three screws holding it in place. Be careful not to lose any of them—they’re small and easy to lose track of!
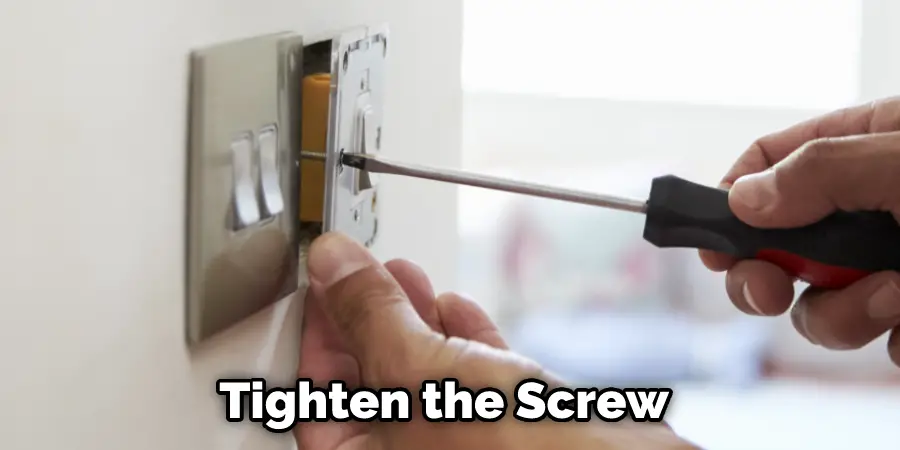
3. Drive a 6-Gauge, 3/4-Inch Wood Screw
Once the cover is cut to size, drive a 6-gauge, 3/4-inch wood screw through the center of the cover and into the electrical box. This will provide extra support and ensure that the cover doesn’t move around. Tighten the screw until it’s firmly in place.
4. Measure the Position of The Line
Once you have the plate taped down, measure how far up or down from the bottom edge of the plate you need to make your cut. A good rule of thumb is to cut about 1/8 inch above the center of the switch. This will give you enough room to insert the switch cover without being too loose or tight.
5. Line a Ruler up With the Two Marks
You will want to make sure that the line you are about to cut is entirely level. Use a ruler or a level to draw a line between the two marks you just made. This will be your cutting line.
6. Drill a Hole in the Exact Center of the Cutting Line
In order to cut a straight line, you need to mark the line in the center of the cover-up. Then, use a drill bit that is slightly smaller than the width of your saw blade to drill a hole in the exact center of the line.
7. Use a Bandsaw as An Alternative to A Knife or Hacksaw
If you have a bandsaw, it can be easier to use that than a knife or hacksaw to cut the light switch cover. The bandsaw will make a cleaner cut and is less likely to cause any damage to the light switch cover. Just be sure to use a specific blade for cutting metal so that you don’t end up damaging the blade or the light switch cover. Keep reading for more information about how to cut light switch covers.
Frequently Asked Question
Can You Make Your Light Switch Cover?
Yes, you can make your light switch cover! There are many reasons you might want to make your light switch cover. Maybe you can’t find the one you’re looking for, or you want to add a personal touch to your home. Whatever the reason, it’s not that difficult to do! To make your light switch cover, you’ll need:
How Do You Cut Plastic Electrical Box?
You can cut the plastic electrical box using a knife or a saw. Be sure to use caution when cutting the box and avoid cutting into any wires inside.
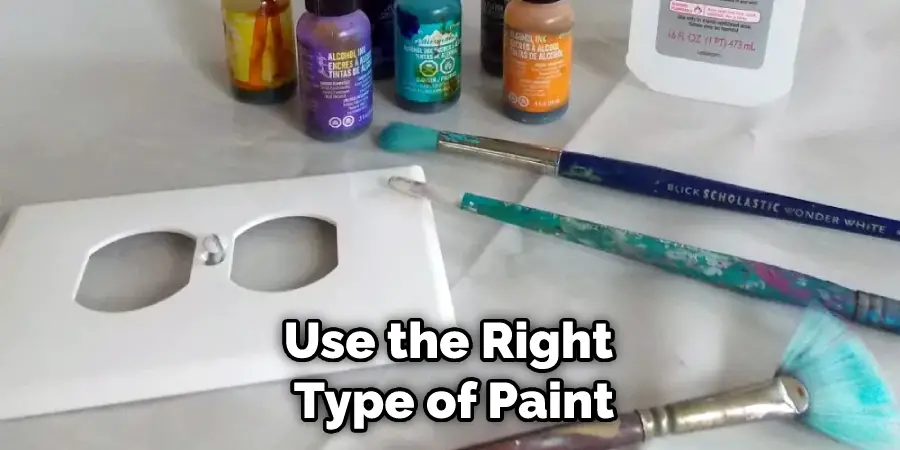
Can You Paint Plastic Light Switch Covers?
Yes, you can paint plastic light switch covers, but there are some things you need to know first. To get a good finish on your light switch covers, it’s important to use the right type of paint and follow the proper painting procedure.
Should I Paint My Light Switch Covers?
When it comes to painting light switch covers, there are a few things you need to keep in mind. Primarily, you want to make sure that the paint you use is durable and will last. You’ll also want to use paint specifically designed for surfaces that will come into contact with water, such as light switch covers.
What Kind of Paint Do You Use on A Light Switch Cover?
When painting light switch covers, you will want to use paint that is durable and can withstand moisture. Acrylic or latex paint are good options, and they can be easily applied with a brush or roller.
Do Outlet Covers Come in Different Sizes?
Yes, outlet covers come in different sizes. You can purchase them at your local hardware store.
You Can Check It Out To Block Light From Window Ac Unit
Conclusion
So there you have it – a few tips to help make your light switch covers look great and last for years. With a little preparation and the right tools, you can easily give your home’s electrical outlets a facelift that will envy your neighborhood. So what are you waiting for? Get started today! Thanks for reading our post about how to cut light switch covers.
You Can Check It Out to: Fix Gap Around Light Switch