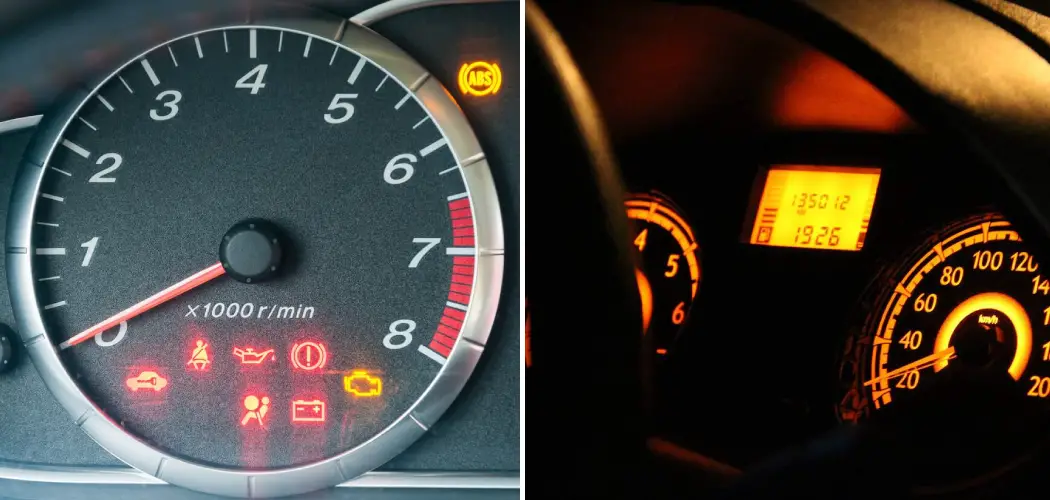
When your “check engine” light comes on, it’s always a cause for concern. The good news is that you may be able to fix the problem yourself – and remove the check engine light – without taking your car to the mechanic. In this article, we’ll show you how to remove check engine light bulb in your car.
Summary: If your check engine light is on, there may be a problem with your vehicle’s engine. In most cases, the problem can be fixed by replacing the light bulb. However, if the light bulb is not easily accessible, you can remove it yourself using these steps: 1. Open the hood of your car. 2. Find the light bulb socket and unscrew it. 3. Take the light bulb out of the socket. 4. Replace the light bulb with a new one. 5. Close the hood of your car.

It’s a quick and easy process, and you may be able to do it with nothing more than a screwdriver. So if your “check engine” light is on, don’t panic! Instead, try removing the bulb and see if that fixes the problem. If it does, great! If not, you can always take your car to the mechanic.
Where Is the Check Engine Light Bulb Located?
The check engine light bulb is installed at the top of your car’s engine compartment. Two bolts need to be removed on vehicles with sealed-beam headlights to access the bulb.
To remove the bolt holding the headlamp in place on a car with composite headlamps, first remove the screw clips. To do this, turn the screws counterclockwise with a Phillips screwdriver. It may be necessary to insert a small flat blade screwdriver next to one side of the clip to hold it down while turning it with another tool. After removing both screws, lift the headlamp away.
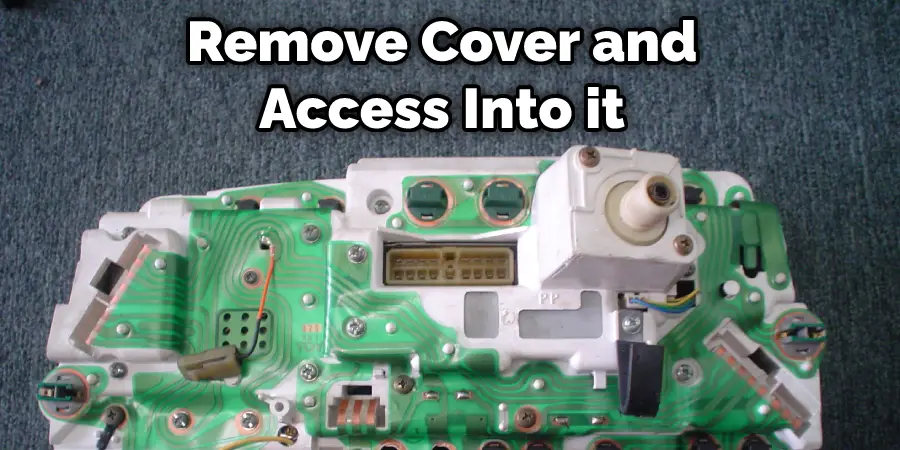
To access the bulb, you will need to remove a cover held in place by one screw. The make and model of your car will determine how easily the cover comes off. Once it’s removed, you can turn the bulb counterclockwise with a flat blade screwdriver to remove it. In some cases, it may be necessary to insert a small flat blade screwdriver next to the clip to hold it in place while turning it with another tool.
On motorcycles, there are either two bolts or clips holding the headlight housing in place. You have to remove these before you can access the light bulb. They can be difficult to remove, depending on how easy they are to handle. After removing the housing, you can reach up and carefully turn the bulb counterclockwise and remove it. If the bulb is stubborn or you don’t feel comfortable releasing it, see your motorcycle repair manual for instructions specific to your bike.
Tools
- Flat Blade Screwdriver (Preferably one that has been adjusted to fit snugly into your palm)
- 10mm Socket Wrench or Adjustable Wrench (if you have access to a 10mm spanner/socket wrench, by all means, use it)
A Step by Step Guide on How to Remove Check Engine Light Bulb
Step 1: Determine
The first step in removing a Check Engine light bulb is to determine if you have enough knowledge about cars and automobiles. Believe it or not, some people might have never even seen the inside of a car before. If that’s the case, I suggest calling a mechanic or having one come by your house. Although it will cost money, it’s worth it to get the job done right.
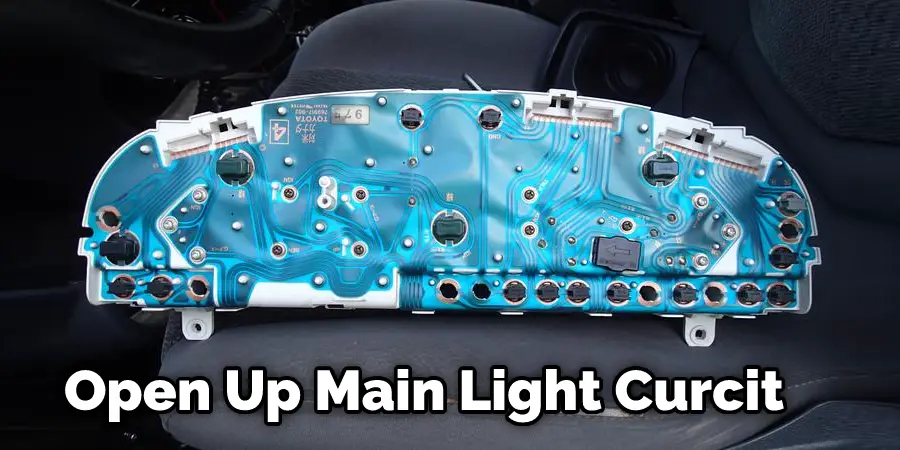
Step 2: Remove a Check Engine Light Bulb
To remove a check engine light bulb, first, unscrew the screw located on top of the cover for the check engine light. Next, gently pull the lid away from its chassis until it comes off ultimately. Once you have done this, gently move the (now exposed) check engine light. Make sure that you pull the bulb itself, not just its wire. Unplugging it is simple once the bulb has come out of its cavity. Just wiggle it back and forth until you feel it pop out. There will be a little threading left on the light, don’t worry about that unless you pull or push hard.
Step 3: Change Check Engine Light Bulb
To change the check engine light bulb itself, all you have to do is plug your replacement bulb into the wire slot. Then place this wire side towards the socket from before and screw it on tightly by hand. Once this is done, replace the cover of the check engine light onto its spot with a screw-on top of each side of the lid. Congratulations! You may now drive your car with the check engine light bulb off!
Step 4: Reassemble a Check Engine Light Bulb
Now comes the scary part, putting back everything together! To reassemble a check engine light, first, place the lid on top of where you took it off from. Then, screw back in the screw just as tight as before. Once again, be careful not to break the cover, as it’s just plastic. Finally, place the check engine light back into its cavity and screw it in tightly so that no light can escape. Congratulations! You have now reassembled a check engine light bulb.
You can check it to Remove Led Light Strips From Wall
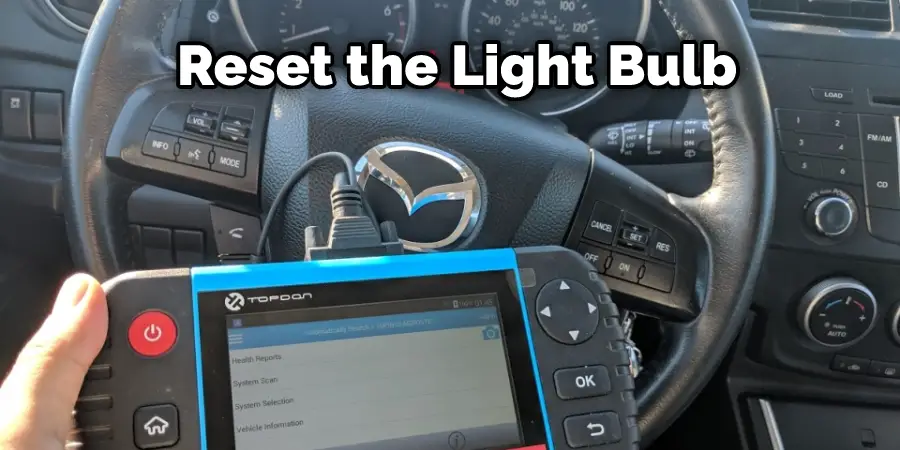
Step 5: Reset Check Engine Light Bulb
Lastly, you need to reset your car’s current off-check engine light bulb. If you took the car for an oil change or mechanic visit, then the “check engine” lights should all be turned off already. If they aren’t, that could mean another problem with your car (such as broken brake lines). To turn them back on, all you have to do is start up your car like usual. When the vehicle has started, please turn off your car, turn it around, and wait 5 seconds. If that didn’t reset the check engine light, then try again. Congratulations! You have just learned how to remove check engine light bulb and how to reset check engine light bulb!
Precautions
- Take your time and don’t force anything. If you can access the bulb from underneath the vehicle, then undo the same amount of screws as you remove, and this will ease removal and avoid any damage to the surrounding area or headlights.
- If there is a lot of corrosion around the bulbs themselves, gently scrape off with a small flat blade screwdriver to avoid damaging the bulb itself when removing it.
- Be careful not to drop either half while disconnected as such parts can be damaged easily without care.
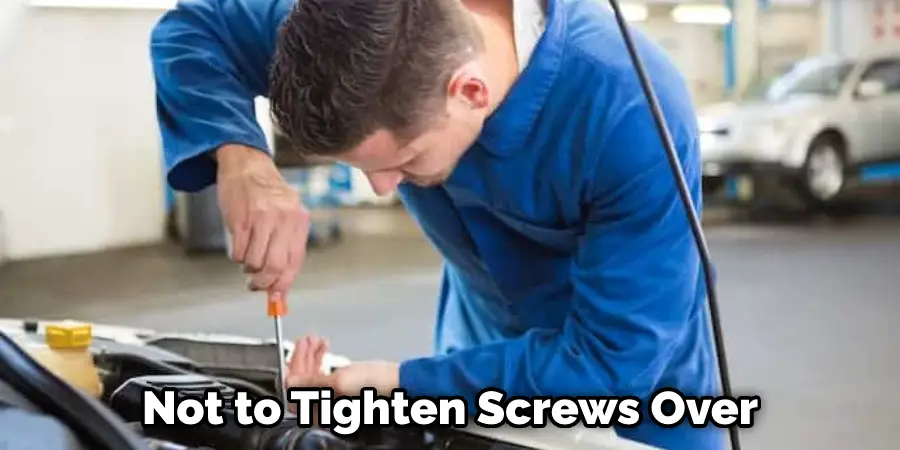
- Be careful not to tighten screws over as this can cause damage and make it hard to remove the headlight unit.
- Remember, if you suffer from any of the following: Dizziness, Rapid Heartbeat, Nausea, Loss of Balance, or Paralysis, then stop immediately and consult a doctor before attempting any further removal or diagnosis.
Frequently Asked Questions
Can Overfill Oil Cause Check Engine Light?
Oil filling should be done after the engine has cooled down. Overfilling may cause pressure in the oil system, making the oil leak. This overpressure may break some seals and gaskets (and even other parts), which can consequently damage your engine. This problem will trigger Check Engine Light – if you see this warning on your car’s display panel, go to the mechanic immediately.
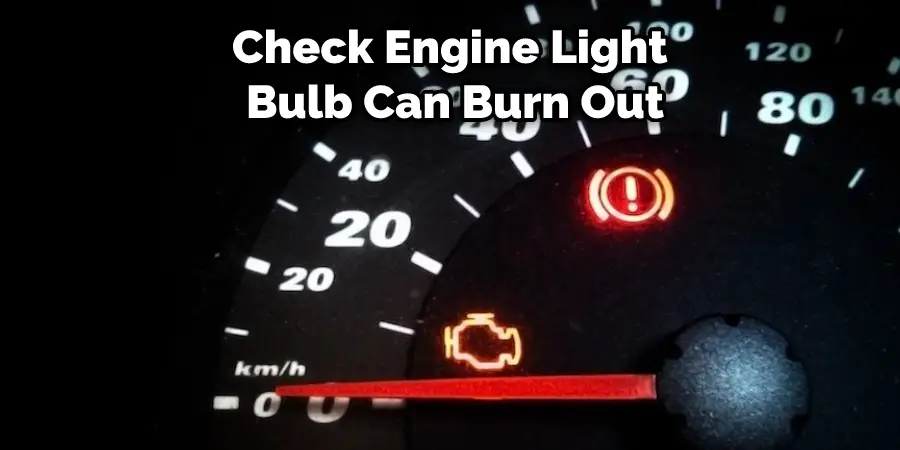
Can a Check Engine Light Bulb Burn Out?
Yes, a Check Engine Light Bulb can burn out. In this scenario, the light may still work, but its function is to indicate a problem with the emissions system. It should not be used for navigation or other purposes. If the light stays on after replacing the bulb, there may be a more serious issue with the emissions system.
Can a Mechanic Turn Off the Check Engine Light?
Unfortunately, most mechanics are not licensed to perform repairs that require the installation or adjustment of a check engine light. In fact, unless you have previously arranged for this service with your mechanic, they are not permitted to do so without first consulting with a technician from your local car dealership.
If you think that the check engine light is on due to an incorrect calibration or malfunctioned sensor, then you should bring your vehicle in for inspection. A qualified technician will be able to determine whether the light is on as a result of an actual issue with your car’s emission system and if necessary, may be able to fix it by adjusting/installing any related components.
What Is the Most Common Reason for Check Engine Light?
There are a few reasons why a check engine light might be on, and the most common one is because of an exhaust emission problem. If you think that your car has a problem, it is important to visit your mechanic as soon as possible in order to get it fixed before it worsens. Other common causes of the check engine light include faulty catalytic converter or bad fuel injectors.
Why Would My Check Engine Light Not Work?
Oftentimes, the Check Engine Light may be indicating a problem with emissions. This can be caused by anything from faulty air filters to defective catalytic converters. If you experience problems with your car’s performance and theCheck Engine Light is on, it is important to take action and have the light checked out as soon as possible.
If you’re not sure what might be causing the check engine light, it may be best to consult a mechanic or vehicle specialist before taking any corrective action. Doing so will help prevent potential damage that could result from incorrect repairs or modifications.
You Can Check It Out to: Remove a Stuck Light Bulb Recessed
Conclusion
In this article, we covered the basics of how to remove check engine light bulb for your car. The check engine light is often the first indicator that your vehicle may have an issue. This can range from a simple gas cap error to more severe problems like low oil levels or faulty fuel injectors. It’s essential to identify what type of problem you are experiencing, so you know how best to proceed, but it’s equally as important for drivers not to ignore this warning signal. We hope you found it helpful, and if so, please share it with someone who might need help! Thanks for reading.