
Replacing a UV bulb in an AC unit is not difficult, but it is essential to do it correctly to ensure that the unit works perfectly. In this article, we will show you step-by-step how to replace Uv bulb in AC unit. We’ll also provide tips on choosing the correct replacement bulb for your unit. Read on for more.
Uv bulbs are designed to last for a specific amount of time, and when they reach the end of their lifespan, they will need to be replaced. Most bulbs will last for around 12 months, but it is always best to check the manufacturer’s instructions to be sure. Many AC units have a warning light that will come on when the bulb needs to be replaced, but not all do. If you are unsure whether or not your bulb needs to be replaced, you can test it by using a UV meter. Replacing a UV bulb in an AC unit is not a difficult task, but it is essential to do it correctly to ensure that the unit works properly.
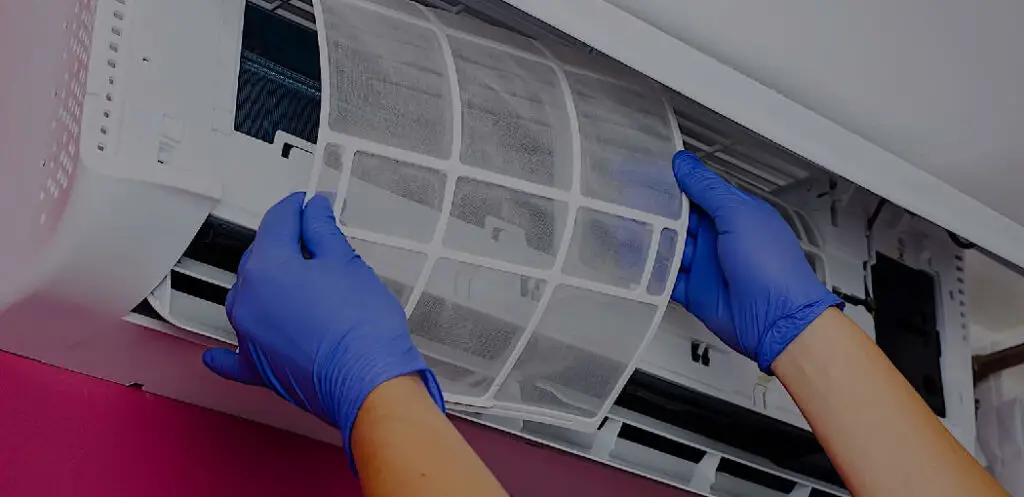
Summary: Replacing a UV bulb in an air conditioning unit can be a daunting task, but with a little know-how and some basic supplies, it’s not too difficult. Before you start, make sure to unplug the unit and turn off the power to the unit. Then, remove the cover on the unit by removing the screws that hold it in place. Next, remove the old UV bulb by unscrewing it from the connector. Make sure to keep the old bulb sealed in a plastic bag in case you need it later.
Choosing the Right Bulb
There are a few factors you’ll need to consider when selecting the correct replacement UV bulb for your AC unit:
– The size of your AC unit. Measure the length of your AC unit’s current UV bulb to select the correct sized replacement.
– The type of UV bulb. There are two types of UV bulbs available: low pressure and high pressure. Low-pressure bulbs emit lower levels of UV light and are typically used in smaller AC units, while high-pressure bulbs emit higher levels of UV light and are best suited for larger AC units.
– The intensity of the UV light. This is measured in watts, and you’ll want to choose a replacement bulb with an intensity that matches your AC unit’s current bulb.
When it comes time to replace the UV bulb in your AC unit, it’s essential to choose the right one. Of course, you want a bulb that will provide enough UV light to get the job done, but you also don’t want to spend a fortune on a bulb that you’ll only use for a short amount of time. Here are a few tips to help you choose the correct bulb:
– Look for a high-output bulb. This type of bulb will emit more UV light than a standard bulb.
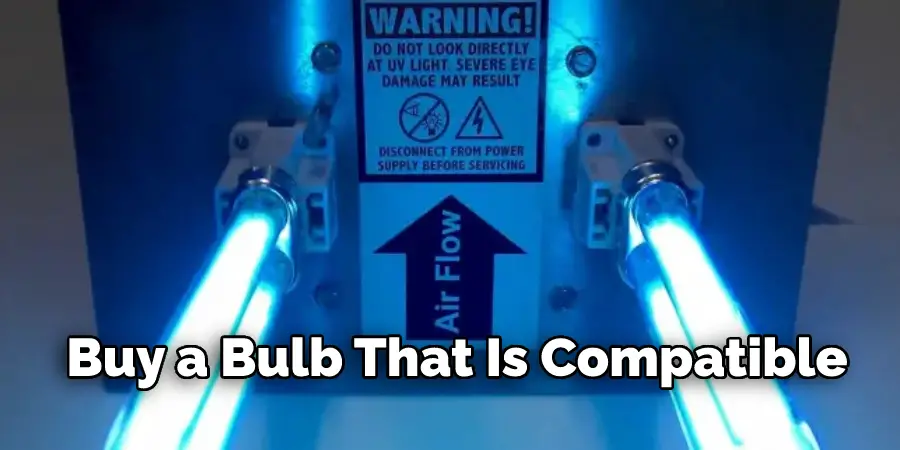
– Consider the size of your AC unit. Make sure you buy a bulb that is compatible with the size of your unit.
– Choose a long-life bulb. A long-life bulb will last longer, so you won’t have to replace it as often.
– Pick a bulb with a high UV output. A bulb with a high UV output will be more effective at killing bacteria and viruses.
Tools and Materials You’ll Need:
- Replacement UV bulb
- Screwdriver
- Wrench
- Pliers
- Tape measure
- Marker
- Safety glasses
A Step by Step Guide on How to Replace Uv Bulb in Ac Unit
Step 1: Determine the Type of Uv Bulb in Your Ac Unit
The first thing you need to do is figure out what type of UV bulb is in your AC unit. There are two standard UV bulbs: low pressure and high pressure. Low-pressure bulbs emit less UV light than high-pressure bulbs, so they’re not as effective at killing germs and bacteria. If you’re not sure which type of bulb is in your unit, check the label or ask a professional.
Step 2: Purchase the Correct Replacement Bulb
If you need to replace a light bulb, you should buy one that is the same size and shape as the old one. You can find the right size and shape by taking the old bulb to the store or finding a picture of the correct bulb online.
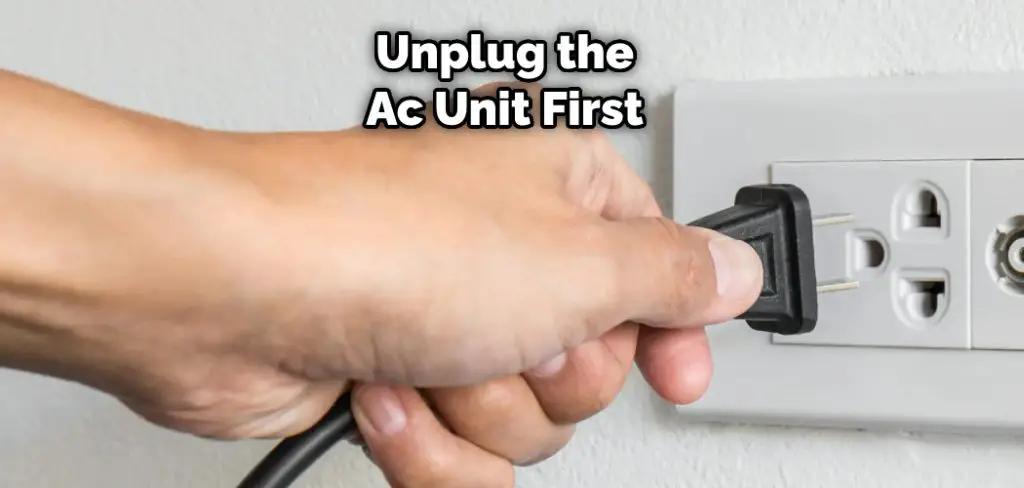
Step 3: Turn Off Your Ac Unit
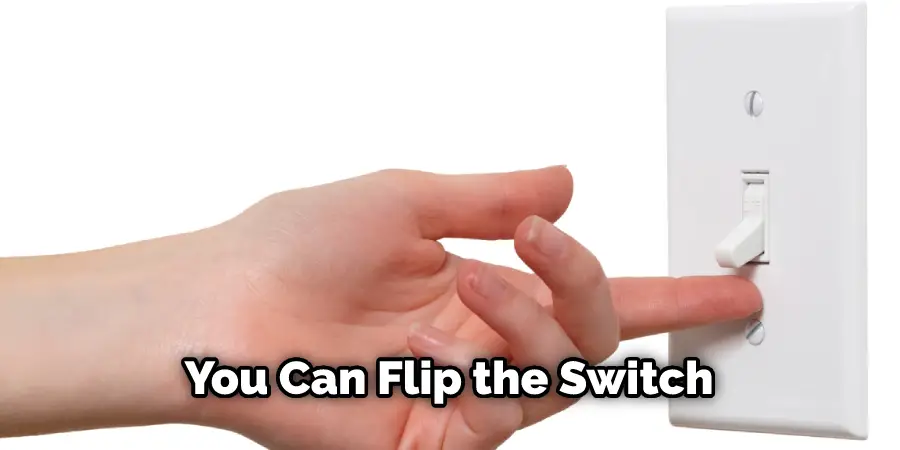
Before you begin any work on your AC unit, please turn it off. You can flip the switch on the wall or on the unit itself. Once the unit is off, unplug it from the power source.
Step 4: Prepare the Replacement Bulb
Before you install the new bulb, you’ll need to prepare it. First, remove the protective cap and twist the bulb into place. Next, make sure the pins on the bulb are lined up with the sockets in the AC unit. If they’re not, it could cause damage to the unit.
Step 5: Remove the Old Bulb
Now it’s time to remove the old bulb. This can be tricky, so you’ll need some essential tools. First, use a screwdriver to remove the screws that hold the cover in place. Be careful not to damage them, as you’ll need them to put the cover back on later. Once the screws are removed, use a wrench to loosen the nut on top of the bulb. You may also need pliers to hold the wires in place. Be very careful not to touch the glass bulb, as it could cause injury.
Step 6: Install the New Bulb
You need to replace an old light bulb with a new one. First, make sure the wires are still in place. Then, twist the nut on top of the bulb. You can use a wrench to tighten it, or your hands if you’re strong enough. Be careful not to over-tighten it, as this could damage the bulb.
Step 7: Put the Cover Back On
Now it’s time to put the cover back on. Place the screws in their original positions and screw them using a screwdriver. If they’re tight, you may need to use some force. Just be careful not to damage them.
Step 8: Plugin Your Ac Unit and Turn It On
Once the cover is back on, plug in your AC unit and turn it on. Make sure the switch is in the “on” position. If everything went according to plan, the new bulb would light up.
Step 9: Test the New Bulb
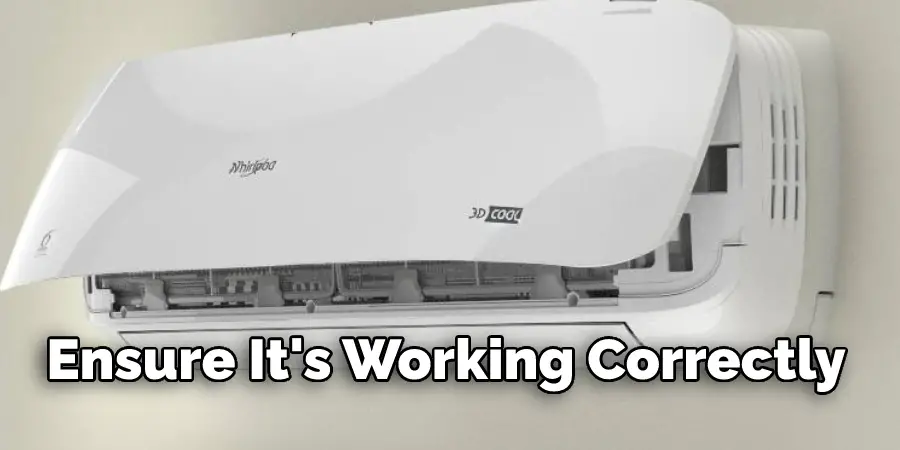
It’s good to test the new bulb to ensure it’s working correctly. First, turn off your AC unit and unplug it from the power source. Then wait a few minutes for the bulb to cool down. Once it’s cooled down, turn on your AC unit and check to see if the light is on. If it is, then congratulations, you’ve replaced your UV bulb! If not, there may be something wrong with the bulb or the AC unit. You may need to call a professional for help.
Step 10: Enjoy Your New Bulb!
Now that you’ve replaced your UV bulb, you can enjoy the benefits of having a clean and germ-free home. In addition, this simple procedure can save you money in the long run by preventing illness and keeping your AC unit running smoothly. These steps will help in how to replace uv bulb in ac unit.
You Can Check It Out To Reset Monster Smart Led Lights
Precautions
-Before starting any work, always disconnect the power to the AC unit.
-Wear gloves and safety goggles when handling the UV bulb.
-Do not look directly at the UV bulb when it is on.
-Be careful not to touch the glass of the UV bulb with your bare hands.
Do Uv Lights Need to Be Replaced in Ac Units?
The Uv light in an ac unit is responsible for killing bacteria and mold. Therefore, this light will need to be replaced every so often, depending on the model of ac unit you have. How often the light needs to be replaced can vary, but typically it should be replaced every 1-3 years.
If your ac unit does not have a built-in Uv light, or if the light has gone out, you can purchase a Uv light bulb to replace it. When purchasing a Uv light bulb, make sure that you get one compatible with your specific ac unit.
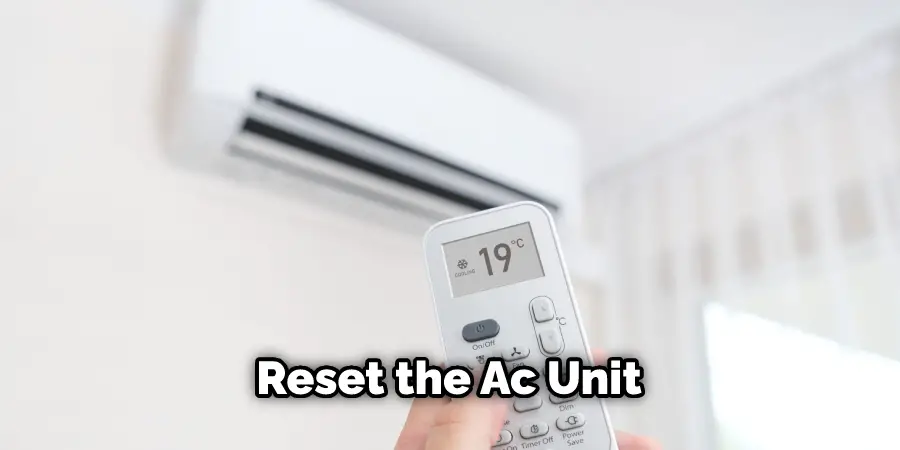
Once you have replaced the Uv light bulb, make sure to reset the ac unit by turning it off and then back on again. This will ensure that the new light bulb is working correctly.
If you have any questions about replacing the Uv light bulb in your ac unit, please consult your owner’s manual or contact the manufacturer directly.
How Do I Know if My UV Light Is Still Good?
If your UV light is still good, you’ll notice that it’s still emitting a strong, purple glow. If the light is no longer glowing or if the glow is very faint, it’s time to replace the bulb. How often you need to replace your UV light will depend on how often you use your AC unit and how well maintained it is. In general, though, most bulbs need to be replaced every 12 months.
When changing your UV bulb, unplug the AC unit first and then carefully remove the old bulb. Take care not to touch the glass of the new bulb with your bare hands, as this can cause it to break. Once the new bulb is in place, plug the AC unit back in and turn it on. You should now see a strong purple glow emanating from the UV light. If not, check to ensure the bulb is correctly seated in the socket.
Frequently Asked Questions
Do Uv Lights Need to Be Replaced?
Yes, if the light is turned on for an extended period of time (more than 8 hours), it might be necessary to replace the bulb. Uv lights are designed to generate short-wavelength ultraviolet radiation that helps in destroying skin cancers and other lesions. However, over time this type of radiation can cause damage to your eyes and skin.
Overuse of UV lights may also lead to dryness, irritation, redness, or even cancerous growths on the skin. In order to reduce your risk of any adverse effects related to UV exposure, it is important not only to replace bulbs when they reach their expiration date but also to limit how long you use them each day.
When Should I Change My UV Sterilizer Bulb?
There is no one answer to this question, as it depends on the type of uv sterilizer bulb that you have and how often you use it. But generally speaking, you should replace your uv sterilizer bulb every 6-12 months.
When replacing your bulbs, make sure to follow the manufacturer’s instructions carefully so that you avoid any damage or potential safety hazards.
Do Uv Lights Lose Their Effectiveness?
UV lights may lose their effectiveness over time if they are not kept clean. This is because the dye used in Uv lighting can start to break down and release harmful compounds that can cause health problems. In order to keep your uv lights effective, it is important to regularly wash them with a mild soap and water solution and let them dry completely before using them again. You should also store them in a dark, cool place to avoid damage from the sun or heat. You can also use a UV protector spray on your lights to prolong their lifespan.

Are All Uv Bulbs the Same?
There is no definitive answer to this question as it depends on a variety of factors, including the size and shape of your ceiling and the type of light you are hanging. That said, here are a few general tips to help you choose the best way to hang your lights:
1. Think about the function – If your primary goal is to create a dramatic effect in your room, hanging lights from the ceiling is probably going to be your best option. On the other hand, if you just want some basic illumination, hanging lights from the wall may be a better option.
2. Consider aesthetics -Finally, make sure to take into account how your light looks when it’s installed. Hanging lights from the ceiling can often look more dramatic and finished than those that are mounted on the wall.
Hopefully, these tips will help you make a decision that fits your needs and style. If you have any additional questions, feel free to contact us. We’d be delighted to help!
Conclusion:
Replacing a UV bulb in an AC unit is a simple process that anyone can do. All you need is a screwdriver and about 10 minutes to spare. If you have any other questions about replacing the UV bulb in your AC unit, follow this article on how to replace uv bulb in ac unit.
You Can Check It Out To AC Light Blinking in My Car