A light switch is a simple device, but it cannot be very clear for new people. Many people don’t know the proper way to do this, but it’s very simple. We’ll show you how to label light switches the right way in this post.
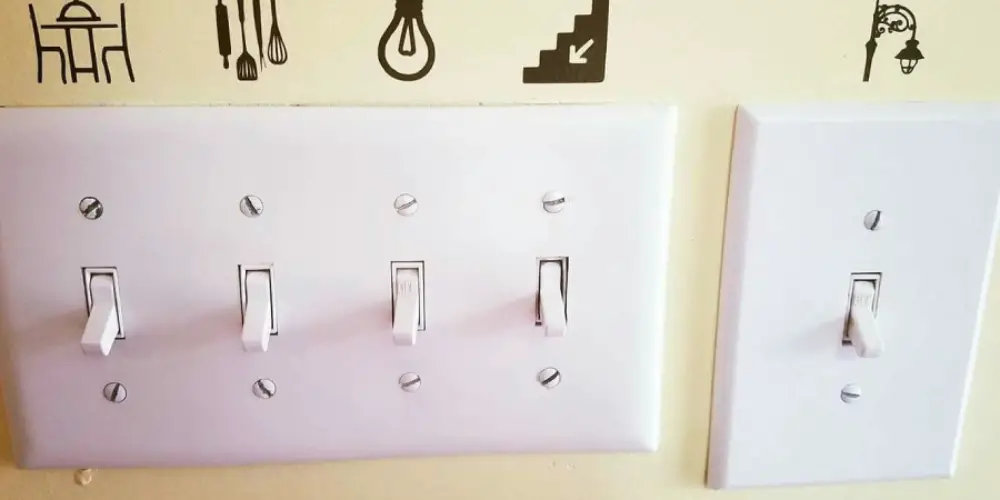
Plus, we’ll give you a few tips on making it easier for everyone in your family to find the light switch they’re looking for. Plus, it’s a great way to add some personality to your home. So get started today and see how much of a difference labeling your light switches can make. Read on to learn more!
Summary: In order to help you quickly and easily identify the switches in your home, here are some tips for labeling light switches. 1. Label each switch with a number or letter corresponding to its location in your home. 2. Label each light switch with the room it corresponds to. 3. If you have multiple switches in a single room, label them accordingly. 4. When you’re finished labeling your switches, make sure to write down the location of each switch so you can easily find them later.
How to Label Your Light Switches – 3 Simple Solutions
1. Engraved Light Switch Tags
If you want to label your light switches, one easy way is to get engraved metal tags. You can find these tags at any office supply store, or you can print out a template from the internet and write them yourself.
To use these labels, peel the back off and stick them in place. Write over the top with a permanent marker. These labels are reusable and can be changed around as you please.
2. Switch Plate Label Packs

Switch Plate Label Packs are another excellent option for labeling your light switches. These come with little self-adhesive labels that you peel off and stick to the switch plate cover.
These labels are stuck onto light switches with a strong adhesive. You can write on them with a permanent marker, and they are easily removed and reused. They come in different colors, shapes, and sizes.
3. Custom Printed or Engraved Switch Plates
The most permanent option for labeling your light switches is with custom switch plates. You can have these printed by any online or local printer.
If you have some design expertise yourself, you might consider sending the file off to be designed and engraving them at a machine shop. This ensures that all of your labels match in color, size, shape, and design.
How to Label Light Switches Stepwise Guide
Step 1 : Cut Circuit Power to the Switch
The first step in replacing a light switch is to cut the power so you can work safely. How you do this depends on the type of wiring your house has.
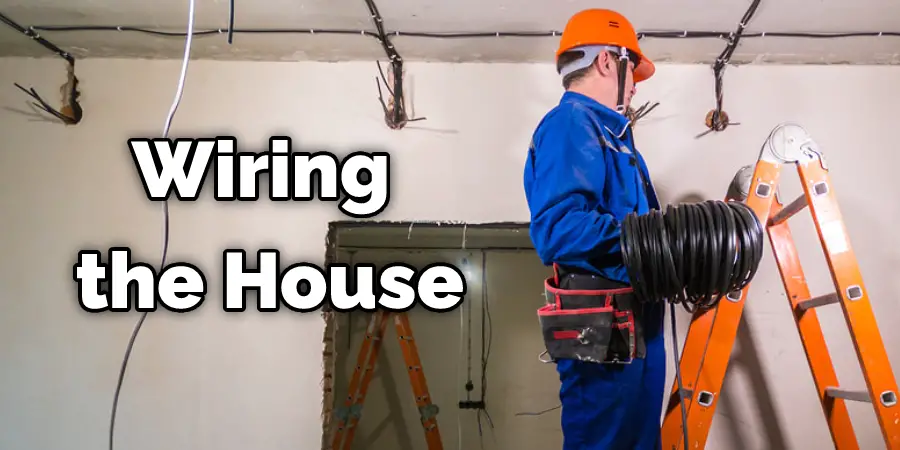
If it’s an older home and uses knob and tube wiring, there will be two cables coming into the switch box, which connects to the hot wire (usually black) and the traveler wire (usually red).
In order to turn off the power, you need to make sure the switch is in the “on” position. Then, you need to use a voltage tester to check for power on either of the cables in the box. Once you’ve found the power, you need to switch off any circuit breakers needed until no voltage is detected with the tester. Finally, you can remove the cover plate and switch.
Step 2 : Remove the Old Switch
If your switch is connected with wires, use a screwdriver to detach the wire from the switch. Most light switches have two terminals on each side of them, but some may only have one connection point, in which case you’ll need to remove the wires in pairs. Use pliers or needle-nose pliers to twist off any remaining stripped parts of the wire.
Step 3 : Disconnect Wires From the Old Switch
Disconnecting the wires from your old light switch is usually very simple. There are two common ways to do this, by either removing the terminal screws with a screwdriver or using needle-nose pliers to pull off the slotted plastic pieces that secure them in place.
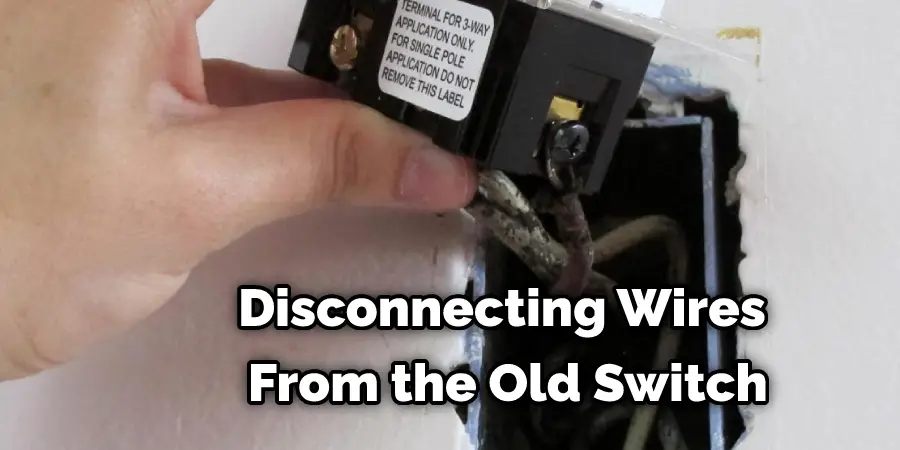
How you accomplish this depends on whether your current switch has exposed screws or not.
Step 4 : Connect the New Switch
Before connecting the wires to your new light switch, do a quick check of the terminals themselves. If they are metal, you’ll need to put electrical tape on them to prevent the bare metal from touching anything inside your box and causing a short circuit.
How you protect these terminals is entirely dependent on whether or not they were covered by the screws in Step 3 or if they were left exposed.
Step 5 : Replace the Switch
Once you’ve connected the new switch to the wires, put the cover plate back on and flip the switch. With everything back in place, turn your circuit breaker back on or use a voltage tester again to check for power. How you do this depends on what type of wiring your house has.
If you’re flipping a switch to turn on power in an old home with a knob and tube wiring system, it’s a good idea to check for power with the switch in the “off” position first. That way, you won’t accidentally touch anything while you’re powering up your home’s electrical system.
Step 6 : Turn the Power Back On and Test the
Once you’ve replaced the switch, turn your circuit breaker back on or use a voltage tester again to make sure there’s no current running through it.
How you do this depends on what type of wiring your house has. If it’s an older home with a knob and tube wiring system, then it may be advisable to test for power with the switch in the “off” position before flipping it back on.
Step 7 : Install the Faceplate
Your last step is to put the cover plate back on. How you do this depends on what type of faceplate it is, but you just need to line up the screw holes and slide them into place in most cases.
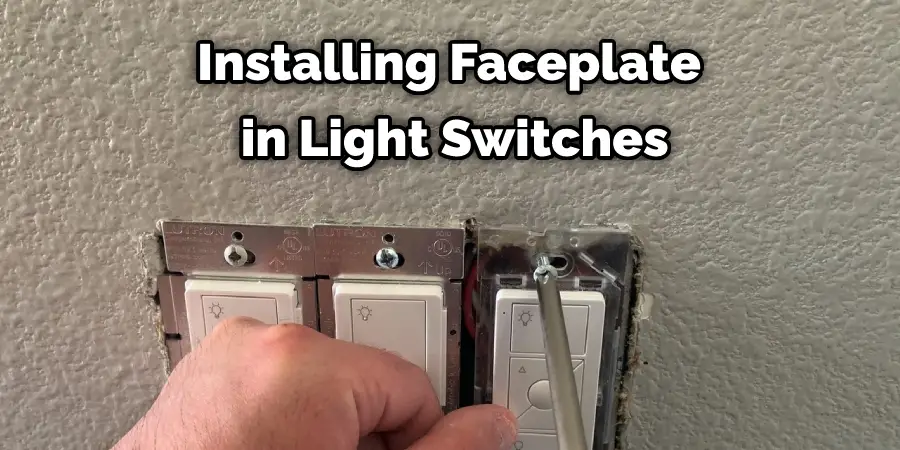
Once that’s done, use a screwdriver to tighten the screws until the faceplate rests flush with your wall.
You can check it to Change Chandelier Light Bulbs in High Ceilings
Frequently Asked Question
What Is the Best Way to Label Light Switches?
There are a few different ways to label light switches, but the most common way is to use a label maker. You can also use stickers or tape.
Do You Have Any Examples of Labels That Work Well for You?
Yes, I have a few examples of labels that work well for me. For example, I often use a label maker to create clear and concise labels that are easy to read. I also like to use stickers or tape, as these methods are easy and quick to apply.
You Can Check It Out to: Cut Light Switch Covers
Conclusion
You want your guests to feel comfortable in your home so they’ll come back. The “How to Label Light Switches” blog post is complete. Thank you for reading!
You may read it also – How to Remove Ceiling Light Cover With Clips