If you’ve ever been frustrated by led lights that keep changing colors, you’re not alone. However, you can do a few things to stop this from happening. In this article, we’ll talk about how to stop led lights from changing colors. We’ll also discuss some tips for avoiding this problem in the future. So, if you’re ready to learn more, keep reading!
Color-changing led lights are often found in places like nightclubs or bars. The lights are turned on and off by a DJ or other person tasked with running the show, but they also change colors automatically. You can turn off the automatic color changing feature to stop this from happening.
Summary: You can stop your LED lights from changing colors by following these simple steps: 1. Close all of the blinds or windows in your room that let in light from the outside. This will block out any other light sources, including the sun, and prevent your LED lights from changing colors. 2. Turn off all of your LED lights by unplugging them from the wall. 3. Place a piece of white paper between your LED light and the wall. This will help to reflect the light back into the light bulb, and keep it from changing colors.

A Stepwise Guide on How to Stop Led Lights From Changing Colors
Step 1:
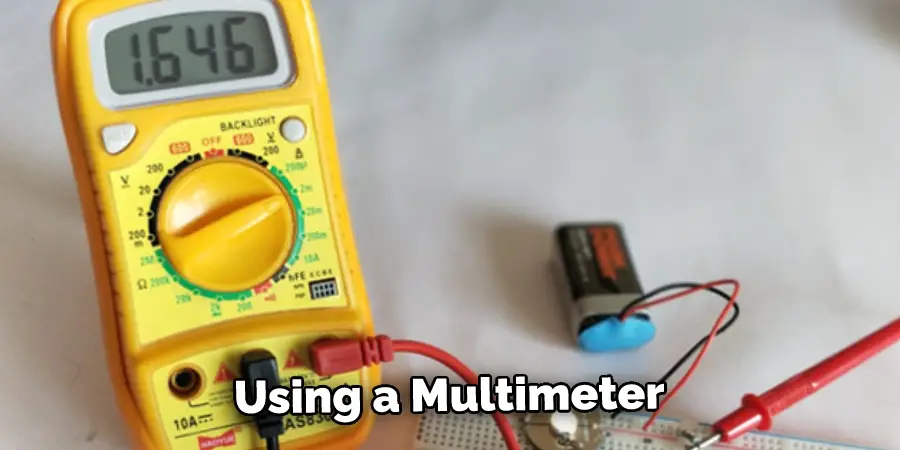
Determine the circuit you would like to be working with. Use a multimeter and check the resistance throughout the circuit you have determined. You can quickly determine a connection in the wire by checking for continuity between two points on the circuit. Once a wire has been found, turn off all power from the main breaker box to this circuit.
Step 2:
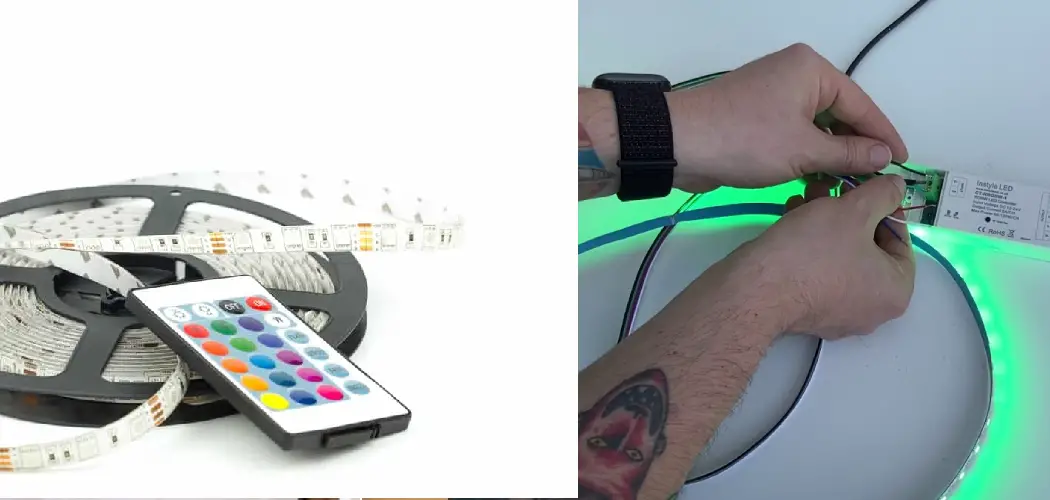
To install LED strip lighting, first cut away enough of the sheathing around the cable so that there is room to work with at least one stranded cable inside. If you only have solid core cables, it might be easier to first run the LED strip lighting around your desired area and then come back and cut it into smaller lengths using this same method.
Step 3:
To create the desired lighting effects with your LED strip, cut it into smaller lengths. If you want a steady stream of light, cut off lengths that are the same and connect them by soldering on either side. Wrap any exposed copper pad with electrical tape before moving onto step 4.
Ensure there is no continuity between solder points along the length of the wire by using a multimeter. This will prevent any accidental connections when hooking up the power wires to your 12V wall wart transformer box later on.
This next part is about how to hold your wires in place. You can use some adhesive-backed cable ties to hold your wires in place. This depends on what type of adhesive the manufacturer used on the strip lighting of your choice.
Step 4:
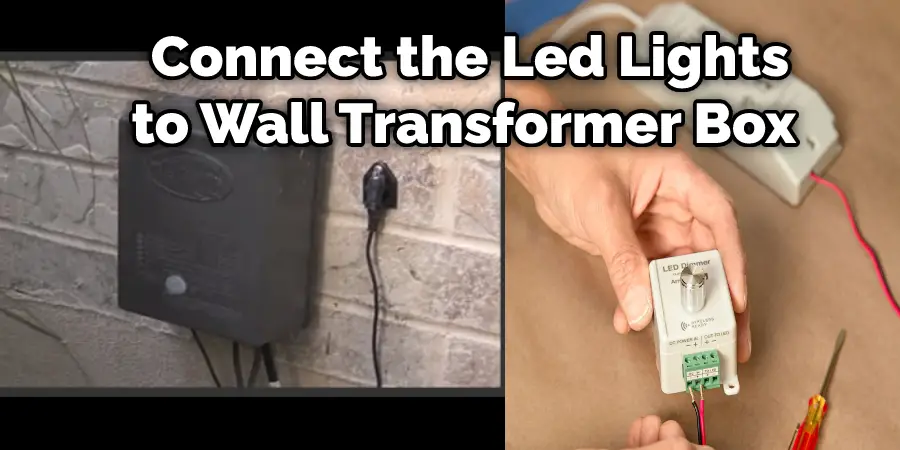
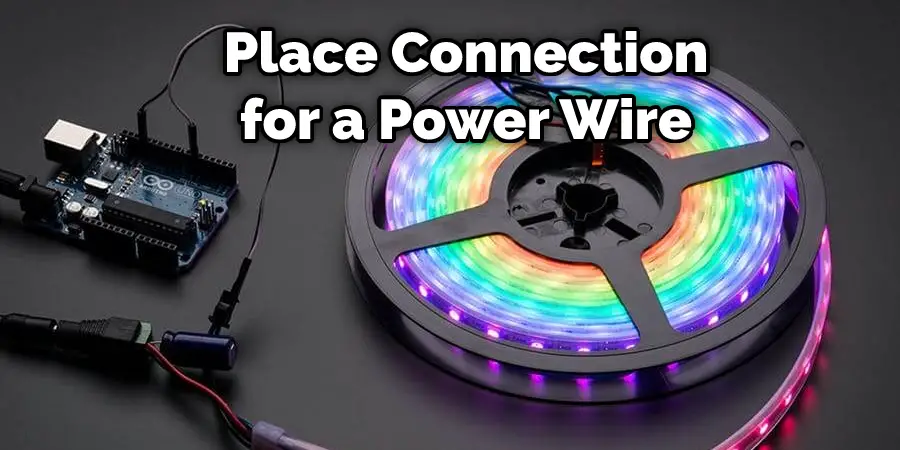
Determine where you would like to place your connection for a power wire that will be fed into the sheathed cable from an external wall wart transformer box. This would be a point of entry where you can provide a new wire and connect it with an existing solid core or stranded cable inside your LED strip lighting insulation. Cut away the insulation around the new wire location you have selected.
This will expose a few strands of conductor that can be twisted and connected to the exposed wires of your sheathed cable, without exposing the remaining conductor in the rest of the wiring system.
You may need to get creative with this part depending on how close or far away from each other your strips are, but it is essential to make sure there isn’t any excess slack between them when they are hooked up together inside the tube sleeve once in step 6.
Just remember, every LED light in every length of our LED lights will need its power connection and a common ground to the same power source.
Step 5:
Now that there is a certain point of entry for the connection from an external wall transformer box run this new wire through a drilled hole in the back of your LED strip lighting tube at this location and leave enough slack inside the tubing so that each cut length can be connected with an existing solid core or stranded cable already inside the insulation of your light guide.
Usually, about 1 foot more than what you need should suffice depending on how many cut lengths you have made from step 3 above. Next, tie the new wire to the existing one with an adhesive-backed cable tie. If either is accidentally pulled, they both will come loose simultaneously, and the LED strip lighting tube shouldn’t fall.
Step 6:
Now that you have cut your strips and connected them for power hook up all of your LED strips together by soldering on either side of each cut length directly or by using some adhesive-backed cable ties, as we did in step 5. Make sure that each connection has no resistance by using a multimeter.
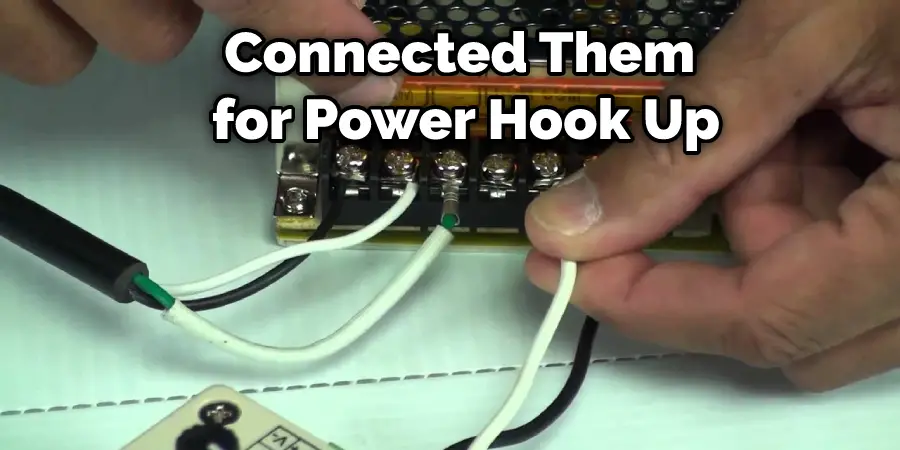
Run this newly connected wire to an external wall transformer box and connect 12V DC power there, then run another wire from that wall transformer into your now connected series of LED light cuts which should be inside the tube sleeve now. Finally, use another adhesive-backed cable tie to secure the wiring as necessary and desired, depending on how much slack you left in step 4 above.
Step 7:
Now that you have completed your soldering connections and made sure there is no resistance across any of these connections by using a multimeter, seal up all exposed solder points with electrical tape so that they don’t come into contact with anything. Do not connect these to power yet!
It would help if you went back out to your wall transformer box and cut off the “hot” or “+” side of the connection before it comes into the wall transformer itself and then brought this wire inside the tube sleeve and secured it to one end of your LED strip lighting length at a convenient location near where we connected our new power wire in step 6 above.
There is no shorting or continuity between this wire and anything else, such as your common ground (black) wire.
Step 8:
Now that you have soldered and sealed the connections cut the remaining wire ends or “cold” or “-.” side of your connection coming from the wall transformer box and again bring it inside your tube sleeve to one end of your LED strip lighting length.
Ensure there is no shorting or continuity between this wire and anything else such as your common ground (black) wire. If you didn’t run a new power feed into the tubing in step 4 above, connect it using adhesive-backed cable ties as necessary and desired to maintain neatness.
Step 9:
Now that all LED strip lightings are cut to length and adequately secured inside your tube sleeve connect them to a 12V DC power source using either solid core or stranded copper wire. Make sure to leave enough slack so that when each end is screwed into a lamp socket, there will be even pressure once both ends are tightened down.
Step 10:
After all LED light strips have been connected to a common ground (black) and a separate power feed (red)(12v), then connect this red cable from one end of the tubing from step 4 above from the wall transformer box. Seal up exposed solder points with electrical tape before attaching it in case any moisture may get in since this connection represents the “hot” side of the connection.
Step 11:
Now that you have run wire to your LED transformer and connected it in step 10 above, seal up exposed solder points with electrical tape before connecting it in case any moisture may get in since this connection represents the “hot” side of the connection.
If you did not add a hot/plus power feed into your tubing in step 4 above, then connect this using adhesive-backed cable ties as necessary and desired to maintain neatness. Connect one end of a short length of solid or stranded copper wire to one lead on your AC transformer such that either lead going from your wall transformer box will go to each AC terminal on the lightbox if present or directly into a wall socket!
Ensure no continuity or shorting between the common ground (black) wire and anything else, such as your hot wire from the wall transformer.

Step 12:
Seal up exposed solder points with electrical tape before connecting it in case any moisture may get in since this connection represents the “hot” side of the connection.
Connect a short length of solid or stranded copper wire to one lead on your AC transformer such that either lead going from your wall transformer box will go to each AC terminal on the lightbox if present or directly into a wall socket!
Ensure no continuity or shorting between the common ground (black) wire and anything else, such as your hot wire from the wall transformer.
You Can Chehk Out to Change the Color of Your Led Lights
Frequently Asked Questions
Why Do Some Led Lights Change Color?
LED lights are becoming more and more popular, not only for their sleek and modern appearance but also for the many benefits they offer. One of the most common reasons that LED lights to change color is because of oxidation. When an electric current passes through a metal surface, it can cause this material to turn brown or even black over time. This process is called oxidation, and it usually happens when organic materials such as oil or fat get stored on the surface of a light bulb.
A photocell then senses these substances and sends out a signal that causes the light to change color accordingly.
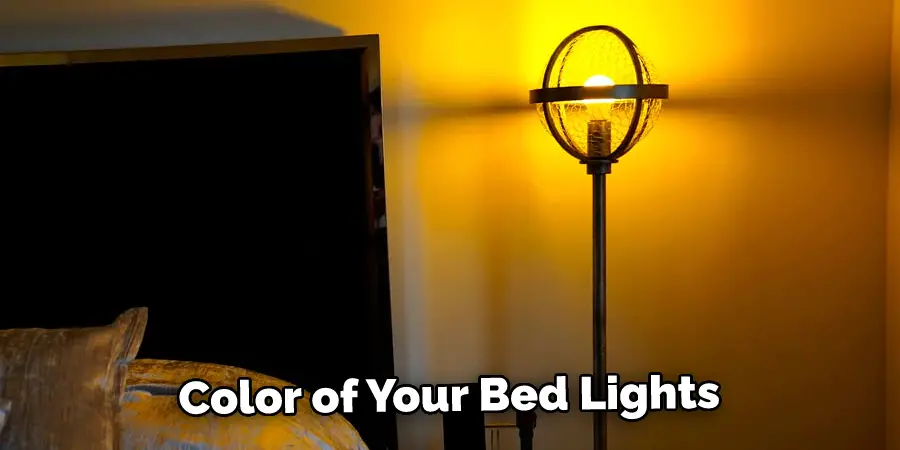
What Color Leds Help You Sleep?
There’s no one-size-fits-all answer to this question, as the color of your bed lights will depend on your personal preferences and sleeping habits. That being said, some popular colors that are sometimes used to help people sleep include green, blue, and purple. If you’re not sure what color to choose, try out a few different options and see which one works best for you.
What Does Pink Led Lights Mean?
Some people believe that it indicates a sign that the person is happy and in love. Other people believe that it denotes hope and good luck. Still, others think that it represents innocence or childhood joys.
So while there isn’t a single universal interpretation of pink LED lights, they are generally viewed as positive symbols by most onlookers.
Is It Ok to Sleep With Led Lights On?
Some people find that sleeping with LED lights on is perfectly comfortable, while others find it too bright and jarring.
Ultimately, it’s up to you to decide whether or not you want to sleep with LED lights on. Just be sure to take into account your own comfort level when making this decision.
You Can Check It Out To Wire LED Strips in Series
Conclusion
We hope you have learned how to stop led lights from changing colors. Led lights are beautiful, but they can be distracting if you want to prevent them from changing colors uncontrollably! However, there is a simple solution to this problem. You will need the following supplies: blue painter (or any other color), scissors, and an exacto knife or razor blade.
First, cut off two strips of tape about 6 inches long by 3-4 inches wide each. Then, stick one strip onto your light fixture like it would go if you were taping up paper on the wall with masking tape. Next, place the other strip on the tape that is already there. If you move your finger up and down one of the strips, it will change colors but not the other one!