
You probably have a few LED light strips around your house if you’re like me. They’re a great way to add extra lighting without taking up a lot of space. The only problem is that they can be a pain to remove if you need to change their location or want to take them down for a while. Luckily, there’s a trick for removing LED lights without peeling paint. This article will discuss how to remove led lights without peeling paint. Please keep reading to find out how it’s done!
Summary: Led lights are a popular addition to homes, but they can be a pain to remove without damaging the paint. This simple trick will help you remove them without any damage: use acetone to soften the adhesive and then use a razor blade to cut it away.
Led lights are a great way to add various lighting options to your space, but they can be a hassle if you ever need to remove them. They can peel the paint off when you try to take them down, leaving unsightly marks on the wall.
A Step by Step Guide on How to Remove Led Lights Without Peeling Paint
Step 1: Prepare Your Work Area
You need to remove any hard or sharp objects from the lights before you start the process of removing the bulbs. This will prevent damage. Make sure you have all the tools you need before you start.
You will need a flat head screwdriver, an Exacto knife with box cutter blade installed, needle nose pliers, microfiber towels (two), and some solvent for removing glue residue after you get done with the Led light removal. If possible, schedule your work for lovely days where you can leave windows open overnight to ensure no solvents are trapped inside your car while you sleep.
Step 2: Unplug the Led Lights
To remove LED lights, unplug them and check both ends of the bulbs for a small tab that needs to be pushed to unseat the plug from the bulb. This often means not having to remove any adhesive residue.
LED lights usually produce very little heat and should not damage paint if left alone for long periods; however, we still recommend removing these items after they burn out or if you plan on painting.
Step 3: Heat the Adhesive
The process of changing a light bulb can be done in a few different ways. One way is to use an oven, and another way is to use hot water on a towel and wrapping it around each light bulb for 10 minutes on each side (roughly 5 minutes on each end).
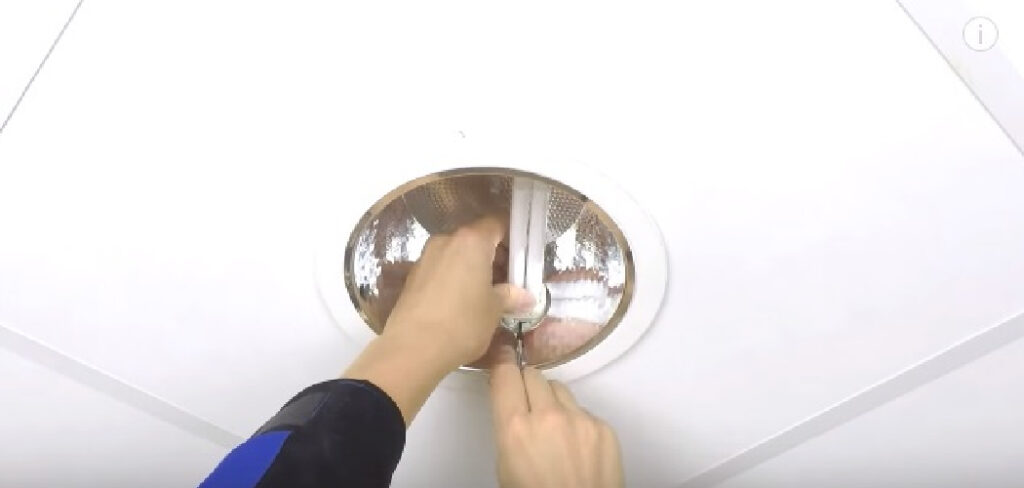
Step 4: Pry Up the Flap
Once the adhesive has heated (around 30 minutes), insert your flat head screwdriver under the center of the flap and gently pry up. This requires moderate pressure and should not take more than 20-30 seconds. If you hear cracking noises, attempt using a larger flat head screwdriver to get under the flap and lift it slightly.
Once that is done, use your Exacto knife or a box cutter blade to carefully run along the length of the edges (not cutting into your paint).Next, try applying about 35 lbs of force on one side by pushing down with both hands; then, move over to another part of the flap and do the same thing. Again, it helps to put some weight on top while pulling upward slowly because this will solve any issues with removing Led light bulbs due to the adhesive not being hot enough to soften up.
Step 5: Remove the Bulb and Clean Residue
Once you have successfully lifted the flap using a screwdriver and Exacto knife, use needle-nose pliers to remove the Led light bulb from its housing. Do this one side at a time while holding down the center of the adhesive tab with your free hand, so it does not spring back into place when released.
Once the bulb is removed, remove any excess sticky residue with your solvent by using either microfiber towels or compressed air. The safest way to do this step is by putting a couple of drops on the adhesive that was just exposed and then wiping it clean with either towel. Sometimes you will need to use your Exacto knife again if there are heavy globs of glue still present.
Step 6: Restick Flaps
Once the adhesive residue has been removed, it is now time to restick the flaps you previously removed. You can do this by rubbing alcohol on a clean towel to dissolve any remaining glue residue. If you have trouble with this step, use your solvent of choice and spray it directly onto the microfiber towel before wiping away any leftover residue. Once done correctly, allow the adhesive to restick for around 15-20 seconds before releasing it from your hand or placing anything on top of it.
Step 7: Test Lights
We recommend testing your new LED light bulbs before reinstalling them into the housing. If they were burnt out, to begin with, you should still be able to notice a difference in terms of brightness after following these steps. On the other hand, if they do not work, it is best to go back and use a higher-temperature compound before reapplying the lights and making sure their flaps have been properly restuck.
Step 8: Cover with Masking Tape and Protect
Lastly, if you want to ensure that no other debris falls into your lights and causes any issues in the future, we recommend covering them up using masking tape. This will help reduce the chances of seeing dirt, dust, or other particulates lodged underneath these flaps when closed. Additionally, use some painter’s tape (blue/non-permanent variety works best) and cover your entire light assembly by wrapping around it twice (overlap each end).
We advise this because a tiny spec of dirt can cause significant damage to your paint if you accidentally run over it. Your masking tape will protect the paint from any further damage and create a barrier between any other foreign contaminants on your floor or in your work area. These steps will help in how to remove led lights without peeling paint.
Additional Tips
• When heating the light, be sure to move back and forth on different light sections. This will allow more heat to get into the adhesive. If you are using an electric heat gun, make sure it does not get too hot or begin smoking.
• Do not point any lights directly at anyone’s eyes while working on them.
• You do not need a lot of force when removing led lights without peeling paint. Just work it slowly around until it comes free from the surface. Be gentle with your fingers near where the adhesive is being heated up because they’ll become very hot if you are holding them in place.
• It is essential that you remove all of the adhesives once you get the led light free from the surface.
• The heat will make the adhesive much softer and easier to work with.
Does Removing Led Lights Without Peeling Paint Hurt
This is a great question, and the answer is no. Removing one’s skin without causing any harm to it can be not easy in some cases. However, there isn’t much that you have to worry about when it comes to led lights. I have researched what might happen when removing led lights without peeling paint over several years. So if you are ready, let’s learn to remove Led Lights without peeling paint.
I noticed during my research that many people were inquiring about how these led lights work in general. So even though I’m not going into too much detail about this today, I will mention one crucial fact you should remember for future reference.
As far as peeling paint goes, there is no reason to worry about your paint getting damaged when removing led lights without peeling paint. Since it’s difficult for these lights to stick to surfaces, you shouldn’t have a problem with them staying on after they’re peeled off.
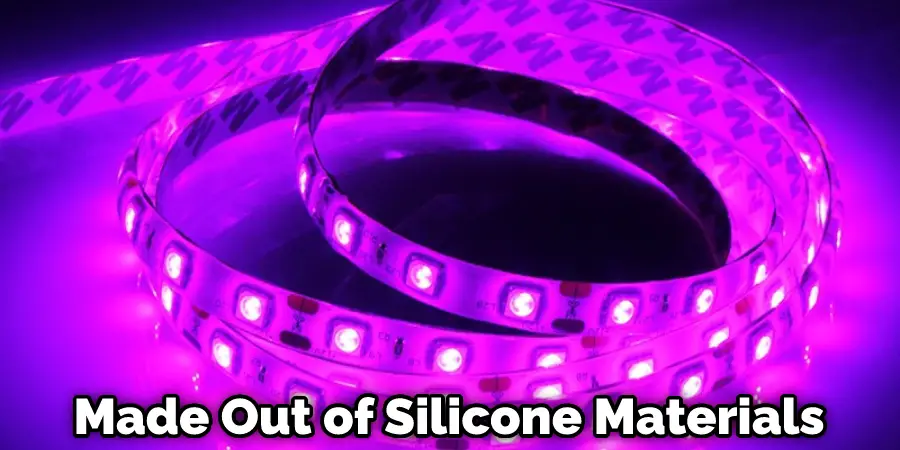
As most of you already know, these lights are indestructible because most are made out of silicone materials. So even though you might struggle a little bit while removing these lights won’t cause too many problems down the road either.
You Can Check It Out to: Remove Stuck Oven Light Bulb Cover
Frequently Asked Questions
What Is a Way to Hang Up Led Lights Without Taking Paint Off the Walls?
While this is a simple and cost-effective solution, it can be difficult if your walls are already painted. One way to avoid taking paint off the walls is to use a coat of clear sealant before hanging your lights. This will protect the wall from moisture and other damage while still allowing you to put up your lights without painting.
Would Removing Led Lights Damage Wall Painting?
Led lights are very bright, and while they may be low-wattage compared to other types of bulbs, they still emit a lot of light. If you’re removing lights without completely taking down the wall painting first, you could potentially strip away too much of the coating that protects the underlying paint. In some cases, this might even lead to peeling or chipping.
What Are Some Led Lights That Won’t Damage the Walls and Can Be Removed Easily?
Some of these lights include the Halogen bulbs, which are a type of LED light that uses a gas or filament to produce light. These bulbs are usually less expensive and can be removed easily, making them a good option for spaces where removal is necessary, such as the kitchen or hallways. Other LED lights that are safe for use in a home include the PAR38 lights, which use 3800K color temperature and emit soft white light. These lights can be used in any room in the house without having to worry about damaging the walls.
Conclusion
Always be sure to test an inconspicuous area before starting your project. If you’re not comfortable removing the light on your own or running into any problems, don’t hesitate to call a professional. With these steps on how to remove led lights without peeling paint, you should be able to get started with confidence and have beautiful new lights in no time!