Suppose you want to know how to use diy buttons on led remote. This article will show you how easy it is to add a little bit of personalization to your devices. So whether you are looking for a new way to control your music or change up your remote look, our diy button tutorial is sure to come in handy! Read on for more information.
Summary: Diy Buttons are a great way to add a personal touch to your led remote! By using a few simple steps, you can create buttons that look great and function perfectly.

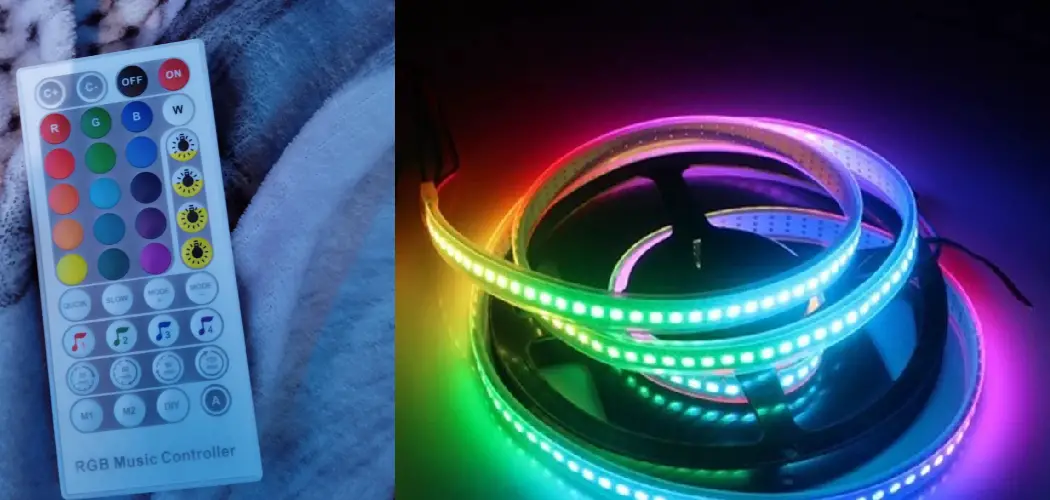
Led remotes are incredibly convenient and easy to use, but there is no denying that they are a little drab. Luckily, adding a little color is as simple as adding a few of the diy buttons!
A Step by Step Guide on How to Use Diy Buttons on Led Remote
Step 1: Project Plan
The Diy Buttons on Led Remote project is designed to work with remote control devices that utilize an infrared (IR) LED, such as the Philips Pronto or Sony Rm-vz220. These remotes can wirelessly adjust most common home theater equipment like TVs, CD/DVD players, and Cable boxes.
Our goal is to map any four buttons found on these remotes so they may be used in place of some standard keys found on Xbox 360 Controllers. This way, you can control your TV volume or quickly navigate menus with ease.
Step 2: Read your Remote
To decode your remote’s buttons, start by reading the functions of each one. Many models list their decoder chip information online, but if you can’t find yours, try entering its model number on Google, followed by “codes” or “file.” For example, a Pronto TSU7000 (pictured below) uses an NEC uPD6706 decoder chip. By searching for that term, you’ll be led to several websites listing the raw hex codes used by this particular model.
Step 3: Input the Codes

In order to use the codes, you will need to open up Xpadder and create a new profile for your remote. This will allow you to configure the controller to mimic any other game controller.
The first thing you want to do is click on “Set Dead Zone” and move it down to 0%; this will remove any variables caused by small changes in the signal sent from the remote and allow our board button presses to correspond.
Next, we’ll need to adjust how frequently each directional pad press is registered as its button input instead of the Xpadder defaults.
Step 4: How Many Controllers?
You need to choose how many buttons to use on your controller. Two is the minimum, but four would be more helpful.
If your remote doesn’t have enough spare keys to map more than one button per device, you can try changing the binding order of those devices in Step 5. If you’ve only got one remote and it still has spare keys, you can add a second instance in Xpadder to map another set of buttons.
Step 5: Processing the Codes
To change how Xpadder reacts when a button on your remote is pressed, right-click on each controller instance in the bottom half of the program window and select “Keyboard” from the list. This will bring up another window with several blank boxes, one for every available keyboard key. You can then assign a different key or mouse action to each unique button press sent by the IR LED.
For Xbox 360 Controllers That Are Not Wireless:
Xpadder should already have all keys set to their defaults by default, but if it doesn’t, simply double-click on each input and type “Xbox 360 controller” in the text box.
To change how Xpadder reacts when a button on your remote is pressed, right-click on each controller instance in the bottom half of the program window and select “Keyboard” from the list. This will bring up another window with several blank boxes, one for every available keyboard key. You can then assign a different key or mouse action to each unique button press sent by the IR LED.
After configuring every button within Xpadder, save any settings changes by right-clicking on one of the controller instance names at the top of the window and selecting Save As.
Then navigate to where you saved Xpadder and overwrite any existing profile with the same name.
For Xbox 360 Controllers That Are Wireless:
Instead of using standard button inputs to trigger actions in games, each wireless controller has a unique identifier that requires the installation of additional software. ScpToolkit, created by the fine folks over at Howchoo, is the software in question. Follow Howchoo’s guide to set up your Xbox 360 controller as a generic gamepad via USB or Bluetooth before continuing the How To.

Step 6: Configure ScpToolkit Parameters
Now that your controller is paired to your PC, you can reconfigure ScpToolkit to send the correct key presses when your buttons are pressed. Howchoo has a guide on how to do this, and it requires very little work (just a few clicks). Assuming you followed Howchoo’s tutorial correctly and downloaded the latest version of ScpToolkit, all that’s left is setting up Xpadder.
Step 7: Configure Xpadder for SCPToolkit
As I mentioned earlier, the wireless Xbox 360 controller should be detected as a generic gamepad and not an official Xbox controller. So you’ll need to click on one of your Pronto profiles (not the one we made in Step 5) and change it from “Xbox Controller” to “Generic GamePad.” After that’s done, save any settings changes by right-clicking on each instance name at the top of Xpadder and selecting Save As. Then navigate to where you saved Xpadder and overwrite any existing profile with the same name.
Step 8: Play It
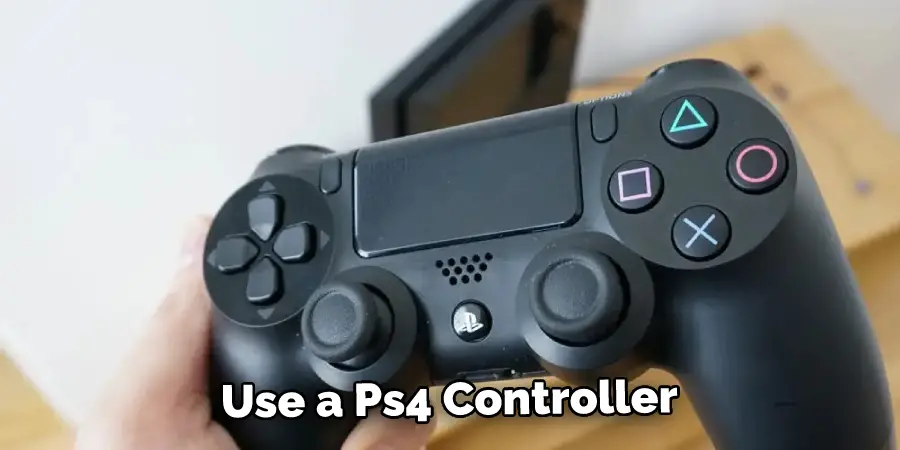
Now that everything is configured correctly, we can put our newly mapped buttons to use within games! Once again, Howchoo’s guide on How to Use a Dualshock 4 on Windows covers this process in detail, along with other controller types.
I spent some time playing around with my newly mapped buttons, and I’ve found that I can do quite a bit of clever vital mappings, which will allow me to finally enjoy some games without having to buy additional hardware or peripherals. For example, I mapped the Pronto’s power button, so it acts as Escape within SWBF2, making changing classes much more convenient than pressing the start/options menu every single time!
Of course, you can also map each button to its unique keyboard shortcut for even more extreme customization. Howchoo has a great list of all possible actions if you want something more explicitly targeted towards gamers!
The Howchoo community also has a list of How-To’s to help you get all of the most popular gaming controllers working on PC.
Finally, Howchoo’s How to Use a PS4 Controller on Windows is an excellent guide if you want to make use of Sony’s Dualshock 4, and it was used as inspiration (along with Howchoo’s How to Use an Xbox One Controller on Windows ) for this article on how to use diy buttons on led remote.
What Are the Benefits of Using Diy Buttons on Led Remote?
There are several benefits of using DIY buttons on the led remote. First, they are straightforward to install since one only needs to drill a hole on the case of their TV or any compatible device they want to control. Second, they have high convenience by helping conserve time and energy because users will not have to turn on their switch manually or pull out remotes from trays every time they wish to control their devices.
Lastly, it is budget-friendly because one can create this set up using simple materials around the house such as wood and screws instead of buying commercialized versions that cost hundreds of dollars and take days before delivery and installation take place.
You Can Check It Out to: Pair Led Light Remote
Frequently Asked Questions
Is Purple Light Healthy?
There is no evidence to suggest that purple light is healthy, but there may be some benefits if you are using it for a specific purpose. For example, people who use purple light to treat anxiety or depression may find the experience helpful. Additionally, those with sleep disorders often use violet and blue light therapy in an effort to improve their sleeping habits. However, there is currently no scientific proof that purple light has any health benefits beyond these limited cases.
What Color Should I Put My Led Lights on to Sleep?

While it’s up to you, studies have shown that people are more likely to sleep better when the lights are blue. This is because blue light has a shorter wavelength than other colors and can penetrate into the eye faster. It has also been shown to suppress melatonin production, which is often associated with sleeplessness. So if you’re looking for an all-around effective way to sleep, then try using blue LED lighting instead of other colors during the day.
Do Led Strip Lights Make Your Bill High?
LED strip lights generally don’t increase your electricity bill. In fact, many people actually find that they use less energy with LED strip lights because they produce a much wider range of colors than traditional light bulbs. Additionally, LED strip lights are often more durable and last longer than traditional light bulbs.
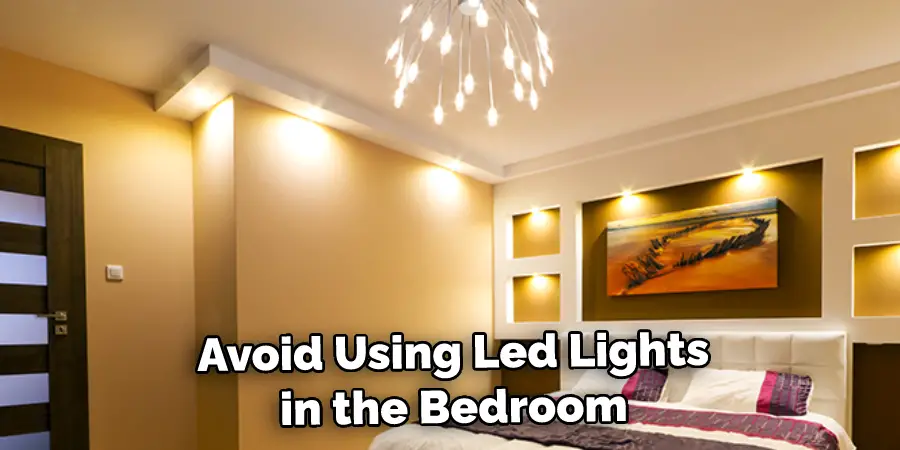
Are Led Lights Safe for Bedroom?
Some experts believe that they may be harmful if used in the bedroom regularly. Specifically, these lights emit blue light which has been shown to suppress melatonin production and disrupt sleep patterns. It is also believed that this type of light might lead to problems such as chronic fatigue syndrome or other stress-related disorders.
Therefore, it may be best to avoid using LED lights in the bedroom unless you have a specific reason.
Conclusion
Diy Buttons on Led Remote are straightforward and can be a great way to show your support for a team, organization, or cause. They are also perfect for events, such as concerts or rallies, where you want to make a statement without saying a word. If you’re looking for an easy and affordable way to show your support, diy buttons on the led remote might be the perfect solution for you. We hope you have learned how to use diy buttons on led remote.