
If you’re like me, you probably take your RV on adventures – whether it’s a quick weekend trip or a cross-country excursion. And as much as I love my rig, some things about it drive me nuts. The interior light covers are always getting in the way, and they never seem to stay appropriately attached. But don’t worry – I’ve got the solution! I’ll show you how to remove RV interior light covers in this article. Let’s get started!
Rv interior lights are annoying. For me, about half the time, I manage to get the cover off properly. The other 50% of the time, when I turn off the light, it sticks out at a weird angle. It looks terrible, and it often gets in my way when I’m trying to set something on top of one of my kitchen counters. Plus, since these covers are always popping off for me, I constantly have to replace them, which is annoying and expensive!
Summary: Looking to remove the interior light covers from your RV? Here are a few tips to get the job done quickly and easily! First, use a flathead screwdriver to pry off the light cover screws. Once they are loose, gently pull the cover off of the light fixture. If the cover is stuck, try using a hair dryer on low heat to heat up the adhesive and help loosen the cover. Finally, use a knife or a razor to cut off the excess adhesive and replace the light cover.
Tools and Materials
- Masking Tape
- Hook and loop fastener (Velcro)
- Screwdriver (Phillips and Flat Head)
A Detailed Guide on How to Remove Rv Interior Light Covers
Step 1: Determine How to Remove Your Light Covers
The first step is to determine how your light covers are attached. For example, if you have a motorhome or RV that uses the metal roof framework, there will be screws from the ceiling panels into furring strips and then into more furring strips on the edge of the metal roof.
The fridge has two layers of thick paper-like foam, with a thin plastic sheet in between. These layers are covered by a thick plastic sheet. When the light inside the fridge is turned on, the foam gets hot and cool air enters it. This air absorbs any moisture from the cooking, breathing, or moisture in the air. When the air leaves the fridge, it takes the water with it, to the outside.
Step 2: Shredding the Masking Tape
Masking tape is a type of tape that is often used to cover things up. It is usually easy to remove from surfaces, but it can leave a sticky residue behind. To avoid this problem, you can shred some of the leftover masking tape on a hard surface before going into your RV. This way, it will be much easier to safely remove any residual pieces of masking tape that may have stuck to your light cover when you’re done removing it.
Step 3: Removing the Light Cover
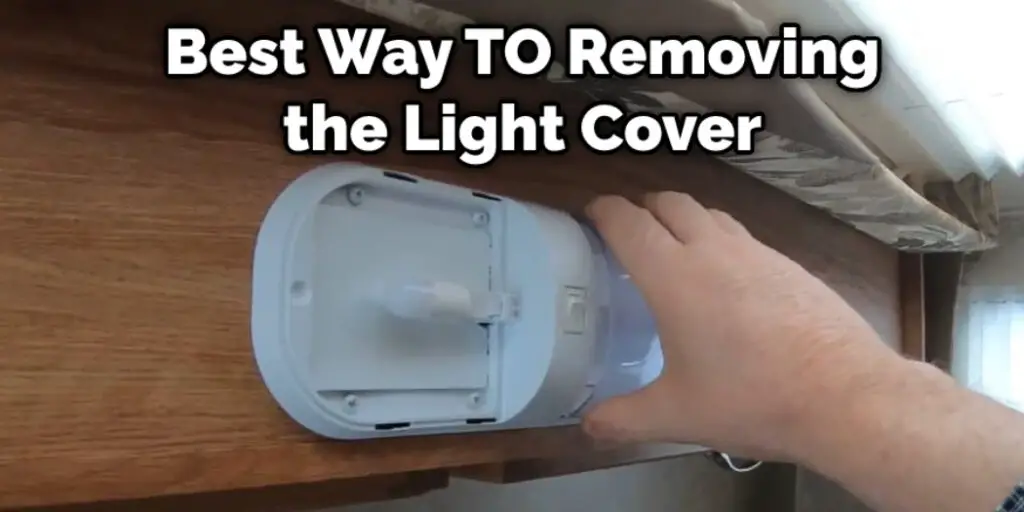
You’ll need to break out your flat head screwdriver and pull off all of those little plastic caps covering up where the screws attach! Now, take your Phillips screwdriver and loosen each screw so they can slide back and forth, but don’t take them out just yet.
Step 4: Remove a Light Cover from Ceiling Panels with Hook and Loop Fastener (Velcro) Attachments
If you have any light covers attached using Velcro, you may want to try applying some gentle pressure around the sides of the light cover before prying it up. If this doesn’t work, you may want to leave your screwdriver in place while pulling upward on the masking tape rather than trying to remove all of these screws first!
It can be more challenging to remove a light cover that has been attached using Velcro, as you can’t get your hand underneath it without taking apart most of the ceiling panel that surrounds it. To avoid this problem, start by pulling off as much of the masking tape as possible.
Then, try wedging your hand behind it and pulling upward on the mask connecting to the ceiling panels. The Velcro should then separate from where it was attached to those ceiling panels!
Step 5: Removing a Light Cover That’s Attached with Screws but Has No Hook and Loop Fastener (Velcro) Attachments
Most light covers will have screws at each corner, and possibly some other screws in random spots surrounding the holes. To minimize how many times you need to detach and reattach any pieces later on, you should start by removing all of the other screws before taking out any of the corner screws.
The only exception to this rule is if you need to remove a light cover that’s located near an exterior door or window. In this case, it’s much easier to take out the corner screws first because there’s more room for your hand to fit between the roof and the ceiling panels!
Step 6: Remove Screws from Holes with Hook and Loop Fastener Attachments
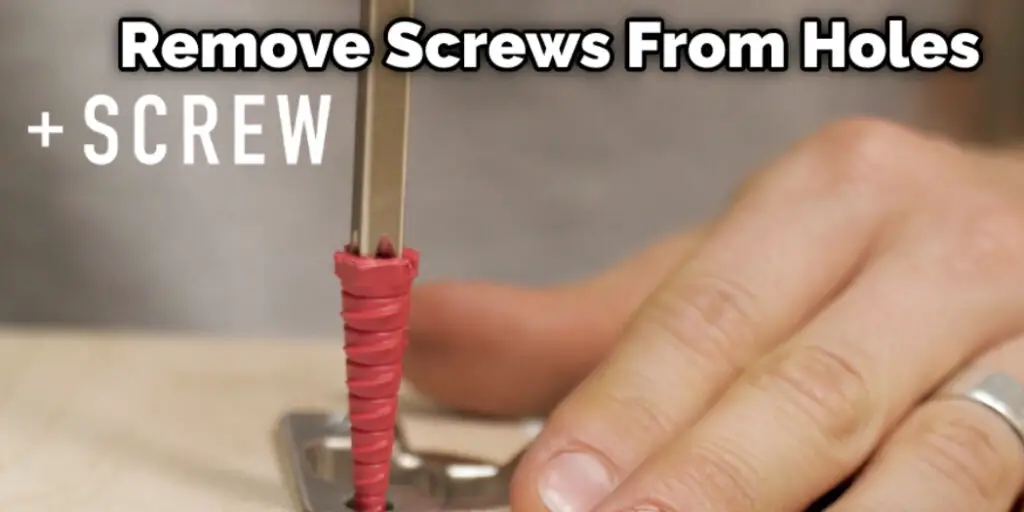
As you can see in the picture above, sometimes light covers are attached with screws with little loops that fit into corresponding holes around their perimeter. This makes it harder for you to remove these screws, but it’s by no means impossible! The first thing you’ll need to do is stick the hook side of the fastener (Velcro) onto one of those rings before taking out any screws.
Once all of those screws are gone, use your fingers or a flat head screwdriver to pry each of those rings away from where they were attached inside the ceiling panel. Once they’re far enough away, take off the fastener (Velcro) before removing the light cover.
Step 7: Remove a Light Cover that’s Attached with Nuts and Bolts
If you’re working with one of these, it can be challenging to get your hands underneath a nut or bolt like this! To start, turn each bolt in a circular direction. This will cause it to extend outward from where it was inserted inside the ceiling panel; use your flat head screwdriver to pry them out when they’ve done enough.
Next, loosen each nut by turning it upwards. It may be necessary to remove some of the ceiling panels around them in order to do this; if so, make sure you leave yourself enough room to apply pressure with your fingers to the top of each nut before removing it.
Step 8: Take Apart Ceiling Panels Around Non-Removable Light Covers Without Damaging Them

When you’ve finished removing all of those light covers, you might notice that some ceiling panels look like they’re damaged. This won’t be a problem, provided these are not visible when you open your roof vents again! If your RV is used for camping, I highly recommend putting in an order for this handy faucet cover.
It’s made specifically to prevent damage caused by opening and closing two kitchen sink faucets simultaneously; if one is opened more slowly than the other, water will come out through both holes rather than through one. The part attaches to the faucet is rubber-coated; it will fit most standard kitchen sink faucets without any modification!
Step 9: Reattach Your Removable Light Covers
Once you’ve finished taking all your light covers away, you’ll need to put them back in their spot (and screw them into place if required). As I mentioned earlier, this process can be complicated because there’s not always much space between these covers and the roof panels above them.
Start by wedging your fingers underneath each light cover corner before lifting. Then, take off both pieces of tape at each side before turning your light cover in a circular motion. Doing this will cause it to come apart in the middle; carefully slide each half out of its spot before putting in a new tape.
Step 10: Put Up New Tapes Around Each Light Cover’s Perimeter
Once your covers are put back together again, you’ll need to reattach them using fresh tapes around their perimeter. How much space you leave between each piece of tape is up to you, provided they’re both thick enough not to tear when you press down on them later on!
I would recommend leaving at least 1/8th an inch away from where these pieces of tape are attached. This should be ample room for most standard light bulbs found in RVs because they’re not very big. If needed, feel free to apply another layer or two of tape over the existing ones if you prefer to do so.
Step 11: Reattach Ceiling Panels to Your RV’s Roof
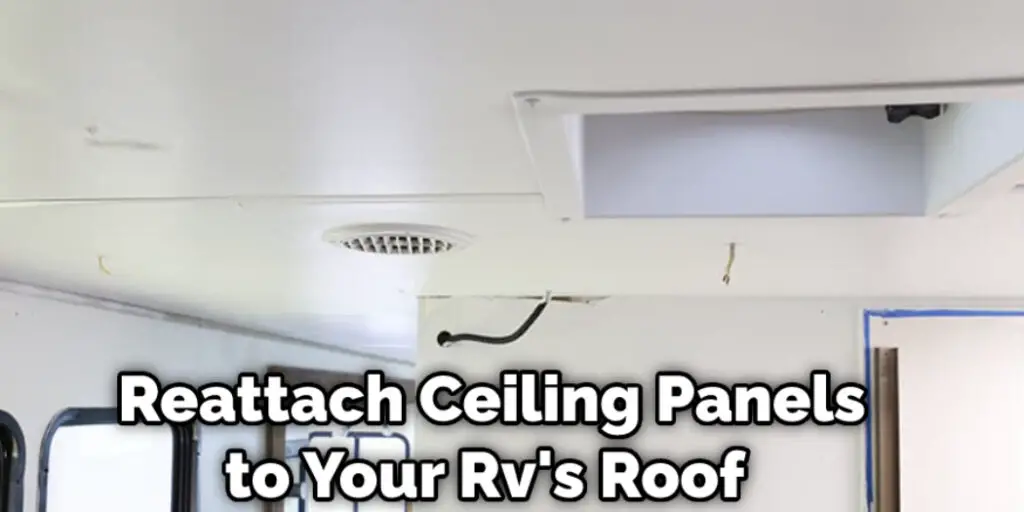
Finally, use your flat head screwdriver to pry each ceiling panel back into place before reattaching all of those screws around their perimeter. How tightly these pieces are screwed in will depend on how much sound insulation you want between yourself and that loud generator running outside!
If needed, feel free to apply more thick layers of duct tape over any light covers that didn’t quite fit back in place without doing so (such as lights with nuts and bolts).
I hope this article on how to remove RV interior light covers has shown you how easy it is for you to make two RVs seem like one without having to tear apart the walls!
You may read also- How to Remove Round RV Light Covers
Frequently Asked Questions
What Are Fluorescent Light Covers Called?
Neon light covers, also known as fluorescent light covers or LED integrated hoods are a type of home improvement that helps to reduce exposure to harmful blue and ultraviolet (UV) radiation. They come in a variety of colors, styles, and sizes and can be attached directly to the bulb or tube of your fluorescent light fixture.
They filter out UV rays by reflecting them away from you instead of letting them enter your eyes. This means that they may help to protect your vision while reducing the amount of eye fatigue that results from exposure to bright lights. Additionally, they may help to prevent skin cancer because blue wavelengths have been shown to promote tumor growth.
What Is the Glass Over a Light Called?
A glass over a light is also known as an Ikebana. This style of flower arrangement typically uses clear or frosted glasses to create different effects when the lights are turned on or off. When the light is off, the pieces of flowers appear to be in shadows and vice versa.
Can You Put Regular Lights in an RV?
Absolutely! If you are looking to save on your energy bill and maintain some degree of light in the RV at all times, then putting regular lights in an RV can be a great solution. There are many different types of bulbs that work well in RVs, including CFLs (compact fluorescents), LED strips, or even recessed lighting. Just be sure to get the right size bulb for your application and make sure it is properly installed.
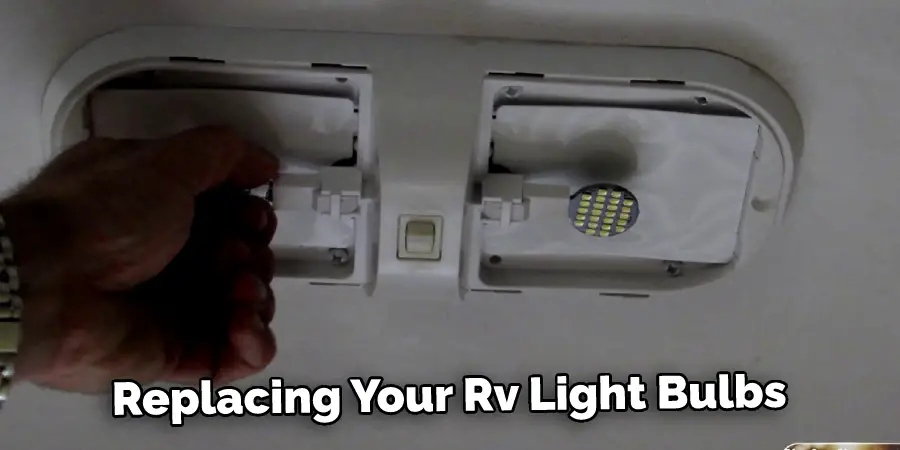
Can I Replace RV Light Bulbs With LED?
Yes, you can replace RV light bulbs with LED bulbs. LED bulbs are a much more efficient and durable option than traditional light bulbs, and they also last much longer than regular light bulbs. Plus, they don’t produce as much heat or noise as traditional light bulbs do. So, if you’re looking to save energy and money on your RVing expenses, replacing your RV light bulbs with LED bulbs is a good idea.
Conclusion
One of the first things you will want to do when buying an RV is cover those lights! It protects them from dirt and dust, but if they are not covered, that can be a major eyesore for anyone entering your home away from home. The process is straightforward as long as you have the right tools handy.
We hope you have checked out this article on how to remove rv interior light covers with all the information about eliminating these pesky lights so you can get back to enjoying life in your new RV sooner rather than later!