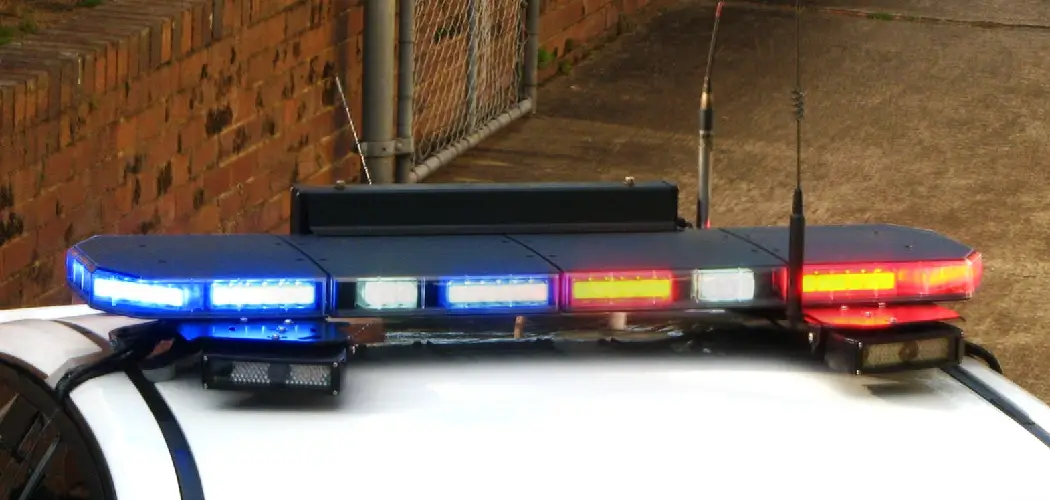
If you’ve ever had a light bar on your vehicle blow, you know how frustrating it can be. It leaves you stranded in the middle of nowhere, but it’s also a problematic and expensive fix. In this article, we’ll discuss a few simple steps, how to fix a blown light bar yourself and get back on the road. Check out this article to learn more.
There are several reasons why your light bar might blow out. One of the most common is because you’ve got aftermarket or substandard wiring hooked up between the battery and the actual lights outside of your vehicle. If this wire isn’t adequately rated, sparks can fly, which can cause an electrical fire in some cases, but more commonly a blown light.
Summary: One way to fix a blown light bar is to replace the entire light bar. This is a more permanent solution and can be done by a car mechanic. If the light bar is only partially blown, a repair kit can be used to fix the light bar.

Another factor to consider when things go wrong is ground points not being adequately grounded themselves, which can create a short circuit straightforward for even experienced mechanics to miss.
Tools and Materials
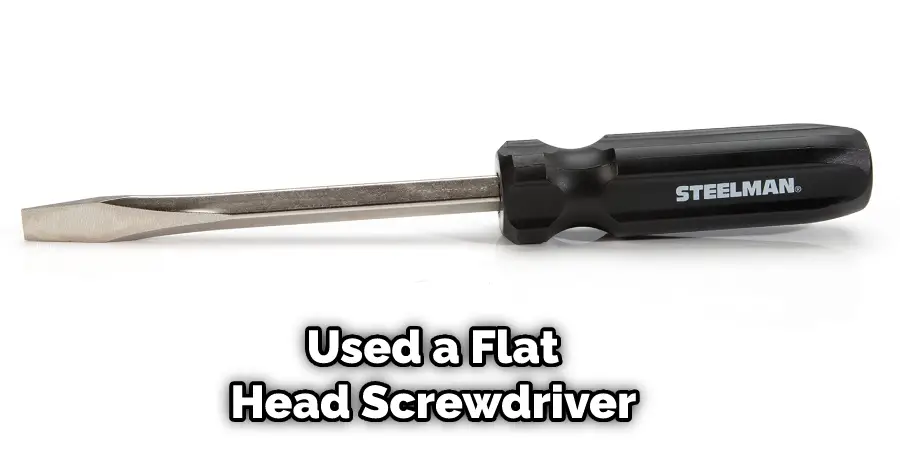
- Flat Head Screwdriver
- Phillips Head Screwdriver
- Vice Grips
- Soldering Iron
- Solder Wick (This is to remove excess solder)
- 5mm LED’s (You may choose the color you wish your Jeep to be after it is fixed)
- Drill
A Stepwise Guide on How to Fix a Blown Light Bar
Step 1: Determine the Cause of Your Light Bar Blowing.
Step 2: Disable the Terminals.
If your light bar is not broken and you want to add LED lights, skip to the next step. If your light bar broke because of metal objects or bolts from under the hood, you should continue to the next step.
After removing the screws that hold your stock lights’ thin plastic outer shell in place, carefully take it off and set it aside for later use. Once you have done so, gently pry the two black plastic housings on either end of our lightbar using a flat head screwdriver while holding them with a vice grip.
Carefully remove each individual LED by sliding a flathead screwdriver underneath its base until it pops out easily. Now find a 5mm LED that fits into the same sized housing as your original light bar LEDs.
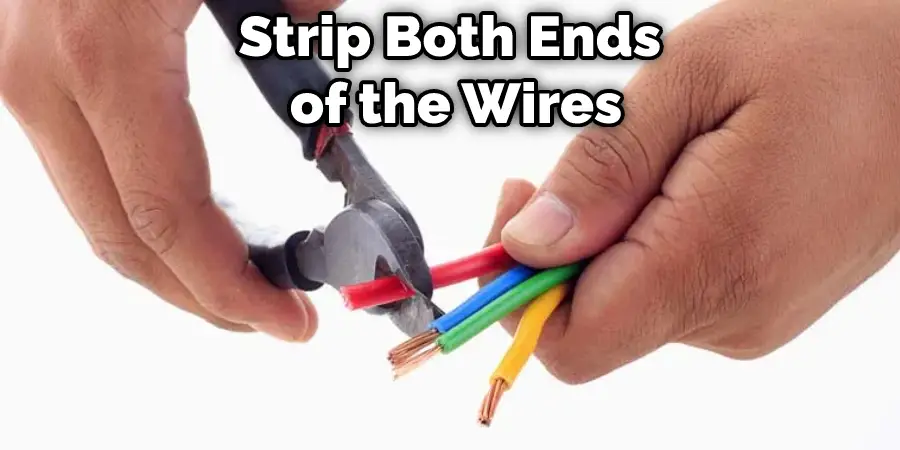
After noting which wire is positive and negative, strip both ends of the wires about half an inch until you see a copper core with a thin plastic coating surrounding it. Be sure not to cut all the way down past the copper or expose it to avoid short-circuiting when soldering in your new LEDs. After stripping both ends, solder on your new LEDs using plenty of solders, so they have good conductivity when connected.
After you finish building your circuit, you need to put the LEDs back in their housings. Make sure that each LED has a little bit sticking out from each end before snapping it shut again. Now go ahead and flip the switch but keep in mind that the wires will be exposed, so do not touch them while operating your switch.
Step 3: Connect the Other Set of Terminals.
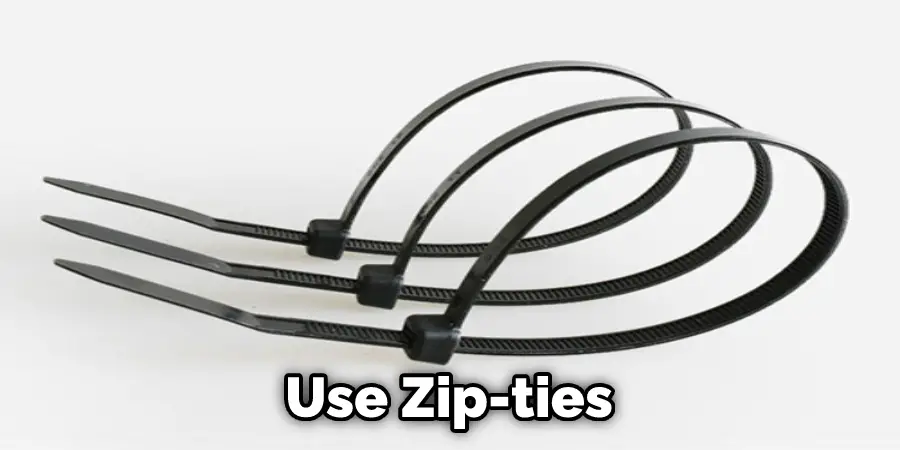
Once your light bar blows again due to touching metal objects or bolts, it should be safe to assume that you must solder something else in place of the LEDs. In this case, I used a flat head screwdriver and a zip tie since they were readily accessible.
After stripping both ends of the wires about half an inch from each end, solder them onto the tip of the flathead screwdriver pointing into one side of its handle and solder a wire on either side of the zip tie. It doesn’t matter which wire connects to which as any positive will make the light turn on while any negative will keep it off. You can also attach LEDs, but I chose not to for this guide.
After connecting them with solder, so they have good conductivity, place them back in their housings, making sure that each LED has a little bit sticking out from each end before snapping it shut again. Now go ahead and flip the switch but keep in mind that the wires will be exposed, so do not touch them while operating your switch.
Step 4: Tap Wire Connected to Fuse Box.
After you have fixed the other issue causing your light to blow, you will need to add an extra wire for both sides to work at once. First, find a suitable location on the bar where you would like it tapped into and carefully pry open one of the neat little ridges holding it together with a flathead screwdriver.
Once done, wrap your stripped wire around the red wire connected to the fuse box and twist them together using needle-nose pliers until it’s snug enough not to move around too much when flipping your switch back and forth. When finished, carefully put everything back in place before snapping them shut again and replace all screws before checking whether or not it works at this point.
Step 5: Route Switch Wherever You Please.
After all the necessary work is done and everything checks out, you can now choose a permanent place to mount your switch and route it wherever you please. For this guide, I decided to use zip-ties and tape instead of drilling holes just so that there’s one more miniature hole for water/dust to get inside the cabin, making it more weather resistant.
After routing both ends of your wire to their respective places, screw the light bar into its original location, then zip ties everything securely. Now find a suitable location on your dash or wherever you would like your switch mounted and drill through the plastic using an appropriate sized drill bit, followed by inserting screws using either glue or caulking before finishing it off with a nice blob of hot glue for good measure.
If you would like, use a soldering iron to poke two tiny holes on either end of the switch before mounting it in place, which will allow you to cut out the excess piece of plastic, protecting it from water/dust making it more weather resistant.
Step 6: Merge Trigger Wire.
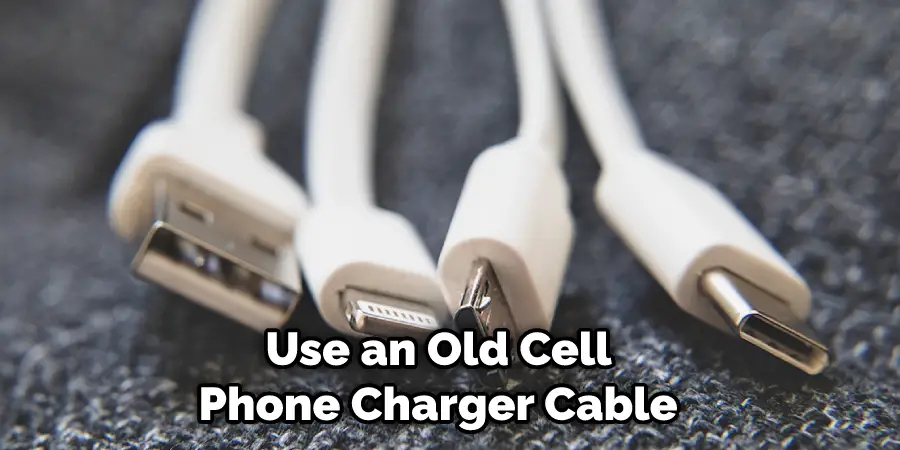
Once everything is finished, go ahead and solder the two trigger wires together, then twist them with a zip tie to keep it nice and snug. If you would like, use an old cell phone charger cable instead of soldering it for this step simply because it’s cheaper and never hurts to have around.
Now go ahead and route your newly added wire up through the dash where your switch will be mounted by drilling a small hole large enough for the wire to fit in and secure it in place using either glue or caulking before finishing it off with some hot glue. When routing both ends of your newly merged wire, make sure that it’s not too close to any of the wipers; otherwise, your light bar might get turned on while driving, making you look like an idiot.
If you would like if any of your wires are too short for you to be able to route it through the dash properly, use some extra cables that you have lying around and solder them together before doing anything else.
Step 7: How It Works.
After everything is finished, turn on your light bar by flipping the switch, then flip up or down depending on what side it’s blown out, and wait until both LED’s turn back on, and that’s about it! Suppose you are still not satisfied with how long they stay on after turning off the switch. In that case, all you need to do is attach a resistor in series before attaching it to one of the LED’s positive terminals and use another capacitor instead of one if you only have one ready.
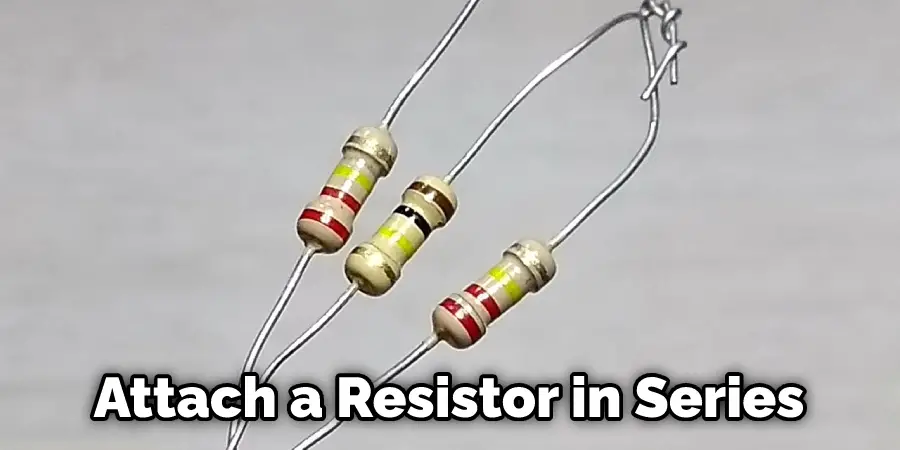
Oh, and I almost forgot to mention that you can now attach both of your LEDs onto the same end by using either resistors or capacitors for both sides to turn on with the switch. You can also use this method if any of your LEDs are too dim compared to the others, resulting in it being more evenly lit.
If none of these methods work out for you, don’t sweat over trying them out because, most likely, they won’t do anything unless you are fortunate. But still, it’s nice knowing about these things. These steps will help in how to fix a blown light bar.
You Can Check It Out to: How to Fix Led Strip Lights Different Colors
Frequently Asked Questions
Why Is My Light Bar Not Working?
If you’re experiencing problems with your light bar not turning on, there are a few things that you can check. First, make sure all of the plugs in the wall are properly plugged in and switch them out if necessary. Next, reboot your smart home system by pressing and holding the “down” button for 3 seconds until it starts flashing white:
If these steps do not work, then it may be time to call an electrician to inspect your wiring. Sometimes issues with electrical wiring can be difficult to identify without additional tests or inspection.
Can You Fix Burned Out Led Lights?
Burned-out lights are not typically reversible. In most cases, the best option is to replace the light bulb. Depending on the severity of the burnout, you may also need to do some repairs or adjustments to your wiring. If that doesn’t solve the problem, you may need to call a professional electrician in order to restore your lighting system back to normal.
What Causes Led to Burn Out?
These can include long work hours, facing difficult challenges, working in a toxic environment, and feeling overworked or unsupported. If you are experiencing any of these symptoms, it is important to take a break and reassess your situation.
Alternatively, you may want to consider seeking out professional help. A therapist can help you deal with any underlying issues and develop a strategy for coping with burnout. In the meantime, here are some tips that may help you feel better:
1. Take a break – Even if you don’t feel like taking a break at the moment, it is important to do so periodically. This allows your brain and body to rest and recuperate.
2. Find your support system – When things start to get tough, it can be helpful to have someone close by who you can talk to openly and honestly. This person should not only be supportive but also knowledgeable about burnout symptoms and how to deal with them.
3. Embrace change – No matter how tough things may seem right now, there is always room for improvement. If you’re willing to embrace change and take on new challenges, burnout is likely not your biggest challenge yet!
Can You Repair a Blown Light Bulb?
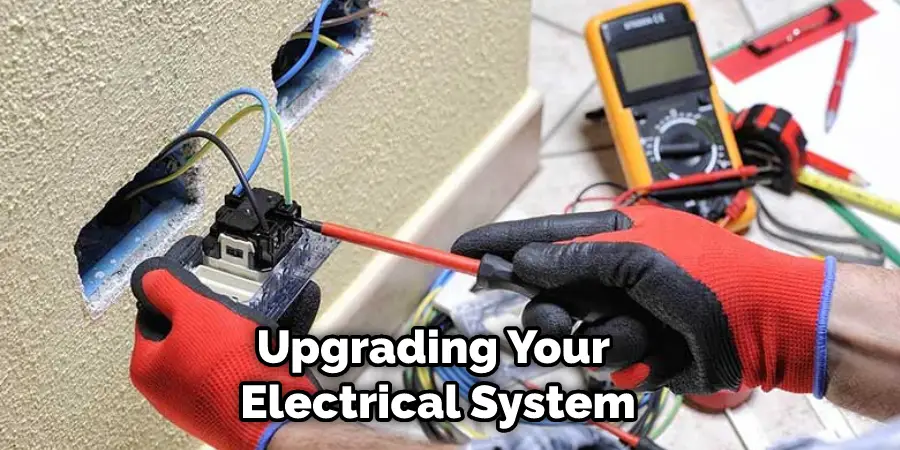
A blown light bulb can result in decreased visibility and safety as well as inconvenience for those living in dark households. It’s important to remember that when you change a light bulb, you are not just replacing one component; you’re also upgrading your electrical system. This means that by changing your bulbs, you will reduce the chances of experiencing any future issues with your lights.
Conclusion
If you have a blown light bar, you can take a few steps to fix it. First, check the fuses and replace them if necessary. Next, ensure that the wires are correctly connected to the light bar. Finally, test the light bar by turning on your car’s headlights. If it still doesn’t work, you may need to replace the light bar altogether. Follow this article on how to fix a blown light bar, and you should be able to get your light bar up and running in no time!