
Neon flex lighting has become an increasingly popular way to add a unique and modern touch to any space. It is important to know how to use neon flex. From clubs and restaurants to home decor, neon flex lighting can be used in a variety of ways.
But if you’ve never worked with neon flex before, the idea of getting started can be daunting. Fortunately, it’s quite simple—as long as you know where to start.
The Basics of Neon Flex Lighting
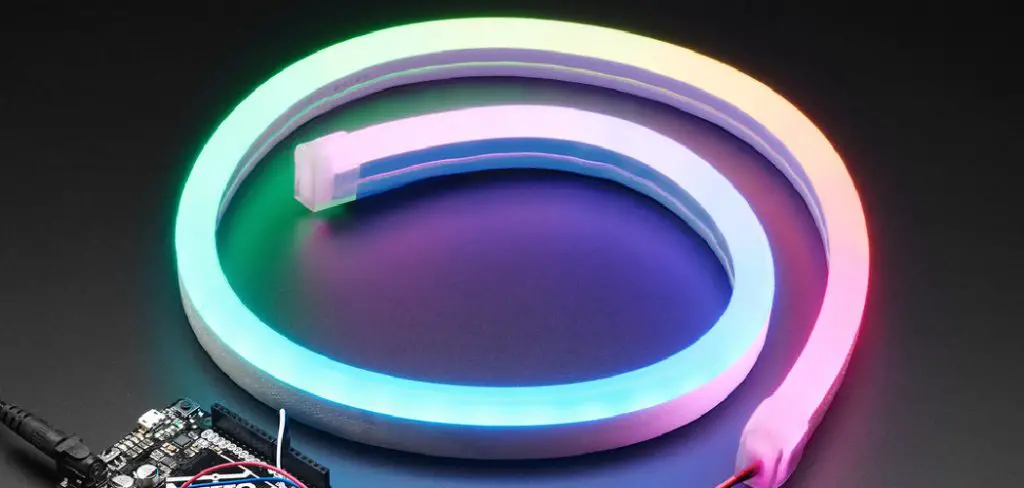
Neon flex lighting is made from LED lights embedded inside a flexible plastic tube filled with a gas mixture (usually a combination of argon and neon). It can be bent into almost any shape, allowing for plenty of creative freedom when it comes to designing your custom pieces. Plus, since it uses LED lights rather than traditional glass-based neon tubes, it’s much safer and more energy efficient than traditional neon lights.
Choosing Your Lights
When choosing your lights, there are several factors you need to consider. First off, decide what type of light you want—warm white or cool white. Warm white gives off a softer glow while cool white is brighter and more intense. Once you’ve decided on the type of light you want, consider how many lights you will need for your project—and make sure they’re compatible with the power supply that came with your kit! Finally, think about how long the cord needs to be; most kits come with cords that are 6 feet or longer so make sure yours is long enough for your project.
8 Steps Guide on How to Use Neon Flex
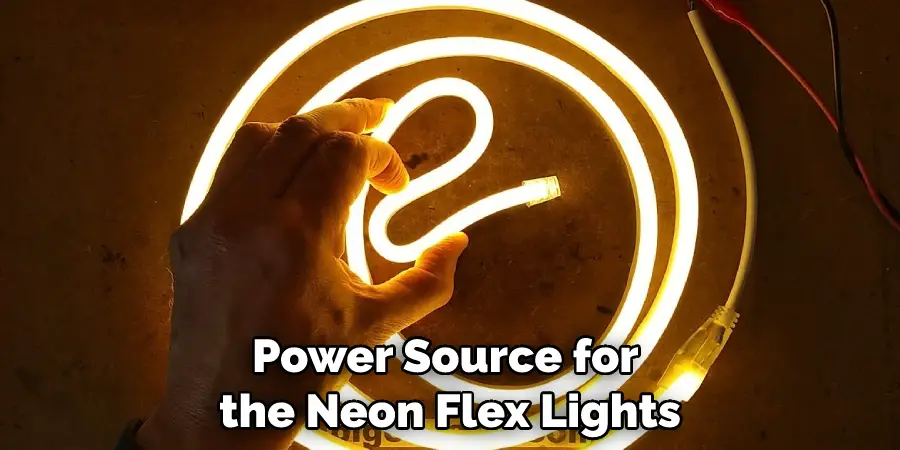
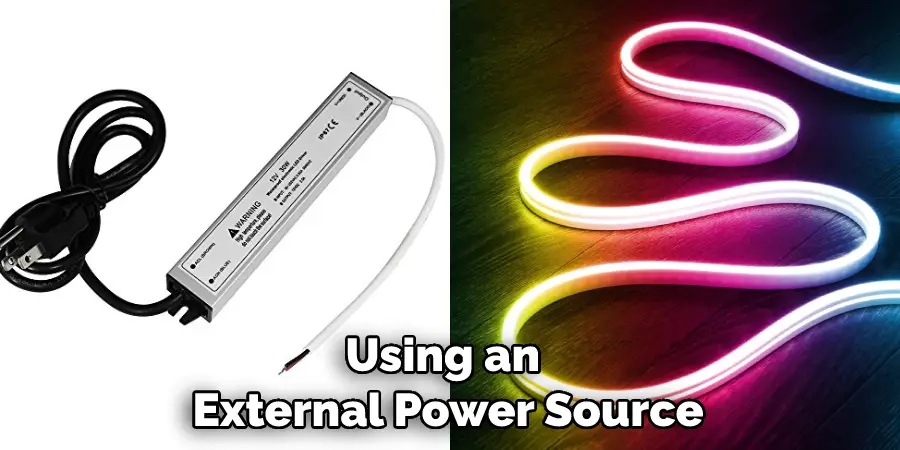
Step 1: Establish a Power Source
Before you start, make sure you have a power source for the neon flex lights. Most kits come with an adapter that allows you to plug into a wall socket, but if yours doesn’t, you will need to purchase one separately. Alternatively, you can use a battery pack or other external power source. Be very careful when working with electricity to avoid any potential hazards.
Step 2: Attach the Power Supply
Once you have a power source established, connect it to the neon flex lights using the appropriate connectors. If you’re using an adapter to plug into a wall socket, make sure it is firmly connected. Alternatively, if you’re using a battery pack or other external power source, make sure the connectors are securely attached. Various kits will have different connectors, so make sure you are familiar with the type you’re using.
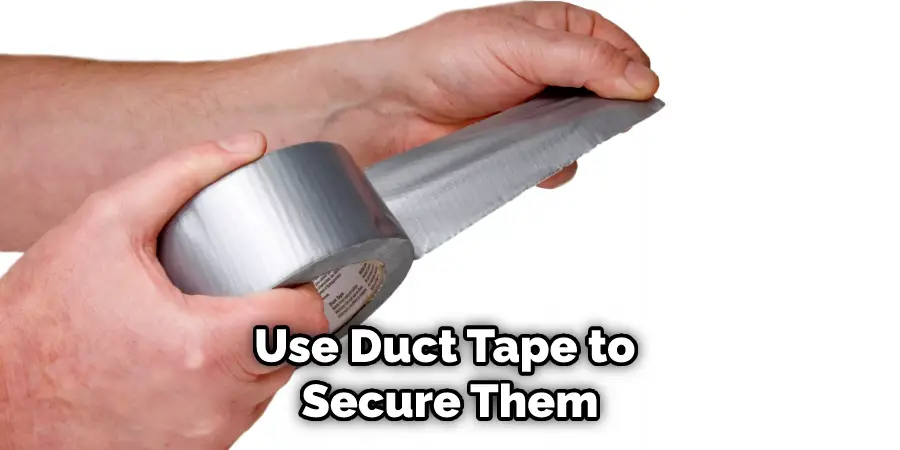
Step 3: Secure the Neon Flex
Once your power source is connected, secure the neon flex lights to whatever surface you’re using them on. This can be done either by using clips or adhesives depending on what type of installation you’re doing. Make sure the lights are firmly attached so they don’t move. If you do not have clips or adhesives, you can also use duct tape to secure them.
Step 4: Connect the Neon Flex Lights
Once your neon flex lights are secured, connect them by using the appropriate connectors. Make sure all of the cables are firmly connected and that there are no frayed or damaged wires. You have to know what type of connectors your kit uses and make sure you are using the right ones for each connection. Proper wiring is essential for your project to be a success.
Step 5: Plug in the Power Supply
Once all of the cables are securely connected, plug the power supply into a wall socket. If you’re using an external power source, make sure it is turned on or activated. Different types of power sources may require different steps, so make sure you are familiar with the type of power source you’re using.
Step 6: Turn on the Lights
Now that your neon flex lights are powered up and ready to go, turn them on by using the appropriate switch. Most kits come with a remote control that makes it easy to adjust the brightness and color of the lights. This is the perfect time to experiment with different settings and get creative. Turning on the lights should be a simple process, but if you’re having any trouble then refer to the instructions that came with your kit.
Step 7: Experiment with Lighting Effects
Once your neon flex lights are up and running, experiment with different lighting effects by adjusting the brightness, color, or pattern of the lights. You can also use multiple lights to create a more dynamic look. Lighting effects can be used to highlight certain areas or add a unique touch to your project. Be creative and have fun!
Step 8: Disconnect the Power Source
When you’re done with your project, make sure you disconnect the power source to avoid any potential hazards. Make sure all of the cables are securely disconnected and that there are no frayed or damaged wires. Be sure to also turn off the power source if you’re using an external one.
Enjoy Your Neon Flex Lights. All that’s left now is to sit back and enjoy the beauty of your neon flex lighting installation! With its vibrant colors, flexible shape, and energy-efficient design, it’s sure to make any space look amazing.
By following these 8 steps, you can easily set up and use your neon flex lights. Whether you’re looking for an eye-catching centerpiece or a subtle accent lighting effect, neon flex is the perfect way to bring your space to life!
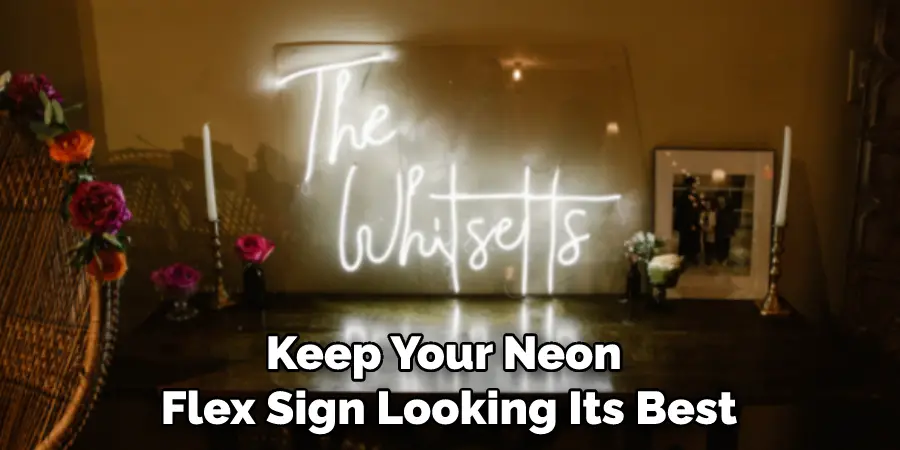
Tips on Using Neon Flex
1. When choosing a neon flex sign, it is important to choose the right size. The size of the sign should be proportional to the space in which it will be installed. If the sign is too large, it will look out of place and may even be disruptive. Conversely, if the sign is too small, it will be difficult to see and may not have the desired impact.
2. It is also important to consider the location of the neon flex sign. The sign should be installed in a location where it will be visible to those who need to see it. Additionally, the sign should be installed in a location where it will not cause any safety hazards.
3. Once you have chosen the right size and location for your neon flex sign, it is important to install it properly. Neon flex signs must be installed by a qualified electrician. Additionally, it is important to follow all local codes and regulations when installing the sign.
4. When installing a neon flex sign, it is important to use high-quality materials. This includes using high-quality electrical wire and connectors. Additionally, it is important to use a high-quality power supply that can provide enough power for the sign without causing any safety hazards.
5. After the neon flex sign has been installed, it is important to inspect it regularly. This includes checking the electrical connections and making sure that there are no loose wires or other potential hazards. Additionally, it is important to check the power supply on a regular basis to ensure that it is working properly.
6. To keep your neon flex sign looking its best, it is important to clean it regularly. This includes dusting off the face of the sign and wiping down the sides with a soft cloth. Additionally, it is important to avoid using harsh chemicals or cleaners on the sign as they can damage the material.
7. If any damages occur to your neon flex sign, it is important to repair them promptly. This includes fixing any loose wires or damaged parts. Additionally, if there are any cracks or breaks in the glass face of the sign, they should be repaired as soon as possible to avoid further damage.
8. When not in use, it is important to store your neon flex sign properly. This includes storing it in a dry and cool location away from direct sunlight or extreme temperatures. Additionally, if you are going to be storing the sign for an extended period, you may want to disconnect it from its power source
How to Use High-Quality Materials When Installing a Neon Flex Sign?
A neon flex sign is a type of sign that uses neon tubes to create a bright, eye-catching display. Neon signs are often used for business purposes, but they can also be used for decoration or personal expression. Installing a neon flex sign can be a bit of a challenge, but the result is usually worth the effort.
To ensure that your neon flex sign looks its best, it is important to use high-quality materials. This includes both the neon tubes themselves and the mounting hardware. Using inferior materials will not only result in a less impressive display, but it could also pose a safety hazard. When installing a neon flex sign, be sure to use only the highest quality materials available. Your sign will look better and last longer as a result.
How to Repair Damages on a Neon Flex Sign?
Damages on a neon flex sign are often difficult and costly to repair. The most common damage is burns caused by electrical arcing. These burns can occur when the power supply is not properly grounded or when the wrong type of power supply is used.
Arcing can also be caused by loose connections or damaged wires. To repair these burns, the damaged section of the neon tubing must be replaced. This can be done by cutting out the damaged section and splicing in a new piece of tubing.
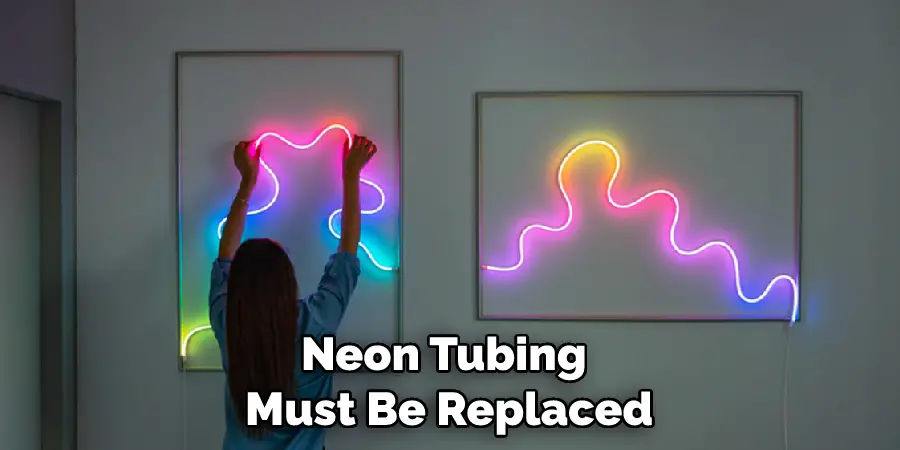
In some cases, it may also be necessary to replace the power supply. If the damage is extensive, it may be necessary to replace the entire sign. Damaged neon signs can be dangerous, so it is important to have them repaired as soon as possible.
Frequently Asked Questions
What Kind of Glue to Use on Neon Flex?
There are many types of adhesives that can be used on neon flex, but the most common is hot glue. Other adhesives that can be used include epoxy, superglue, and marine adhesive. It is important to choose the right adhesive for the job, and to test it before using it on the neon flex.
Where Do You Cut Neon Flex?
Neon flex is a type of plastic tubing used for lighting and signage. It is cut using a process called “cutting to length.” This process involves precisely measuring the length of the neon flex desired, and then cutting it to that size using a special saw or machine.
Is Gorilla Glue Flexible?
Gorilla Glue is a flexible adhesive that is used for a variety of applications, including repairing broken objects and making repairs on delicate surfaces. While it is possible to use Gorilla Glue in some flexible ways, it is not especially suited for this purpose. Gorilla Glue is more suited for use as a rigid adhesive, which makes it more suitable for repairing large objects or surfaces that may be difficult to move or adjust.
Can Neon Lights Start Fires?
Neon lights can start fires if they are improperly installed or used. Neon lights that are used as decorative lighting should only be used in proper luminaire fixtures that are specifically designed for this purpose, and should never be placed near flammable materials such as curtains or fabrics. If you have any questions about the safe use of neon lights, please contact your local fire department.
Conclusion
Neon flex lighting is an easy way to take any space from dull to bright and modern. You should carefully determine how to use neon flex. Whether you’re looking for ambient lighting in your home or eye-catching signage at your business, these flexible LED tubes offer plenty of creative possibilities.
Just remember that safety should always come first when working with electricity—so take care when installing your kit! With just a few simple steps and some cautious preparation, anyone can create their unique display using this versatile product!