Photocells are great for automating your lights, and wiring them to multiple lights is a snap! In this blog post, we’ll show you how to wire a photocell to multiple lights so that you can enjoy the convenience of automated lighting without overspending on your electricity bill. Read on to learn more!
Summary: If you have multiple lights that you want to control with a photocell, you can wire the photocell to the lights in a variety of ways. One way is to use a switch or wall switch to turn the lights on and off. Another way is to use a relay to relay the power from the light source to the photocell.
Wire a Photocell to Multiple Lights?
There are several reasons why you should wire a photocell to multiple lights. First and foremost, wiring a photocell to multiple lights will save you money on your electricity bill. Secondly, it’s convenient to have your lights automatically turned on and off based on the time of day. Finally, wiring a photocell to multiple lights is a great way to keep your home safe and secure.
Required Materials
- One photocell
- Two lightbulbs
- Wire cutters
- Electrical tape
- Pliers
- Wires
How to Wire a Photocell to Multiple Lights Step by Step Guide
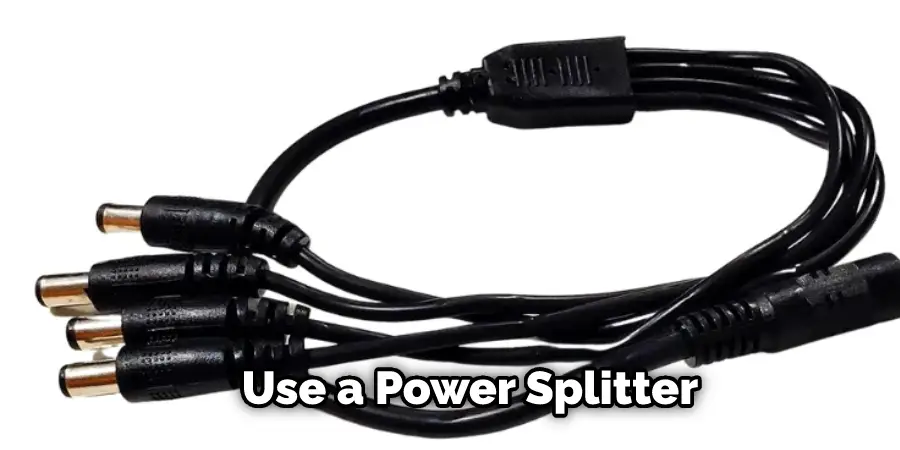
Step 1: Power Splitter
If you want to use a photocell to power more than one light, you’ll need to use a power splitter. This will let you connect the photocell to one light, and then the other lights will get power from the photocell.
Step 2: Power Switch
Now, take the other end of the black wire and strip about ½ inch of insulation off. Twist this exposed wire around one of the screws on the switch. Do the same with the red wire, twisting it around the other screw on the switch. Tighten down both screws so that the wires are secure. Now, your power switch is wired in and ready to go!
Step 3: Relay Box
In order to wire the photocell to multiple lights, you will need a relay box. A relay box is a small device that allows you to control several devices with one switch. You can find relay boxes at most hardware stores.
To wire the photocell to the relay box, connect the black wire from the photocell to the black wire from the relay box. Then, connect the red wire from the photocell to the red wire from the relay box. Finally, connect the green wire from the photocell to the green wire from the relay box.
You should have three wires running from the photocell to the relay box. The black wire is the ground wire, the red wire is the power wire, and the green wire is the signal wire.
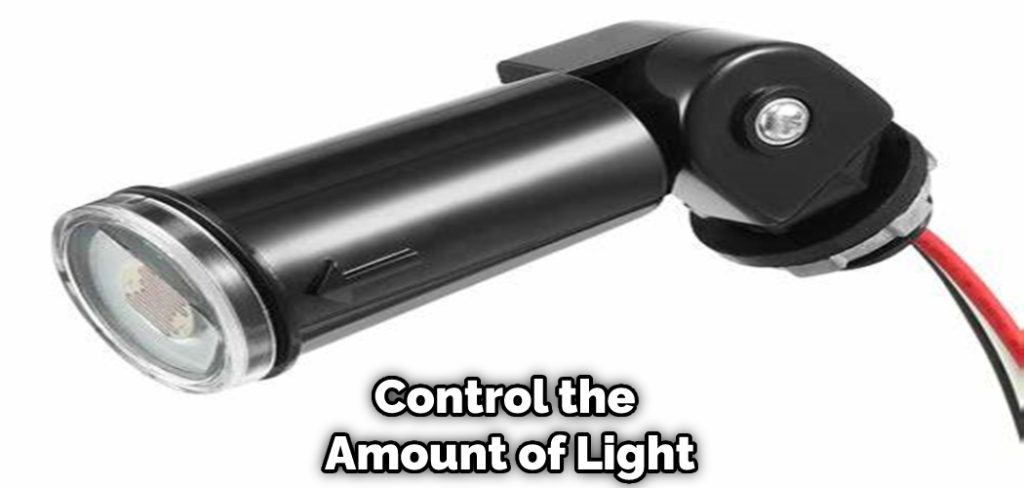
Step 4: Wiring the Photocell
The photocell is a device that helps to control the amount of light that comes into a space. In order to wire the photocell, you must first remove the plastic cover from the back of it. There should be two screws holding the cover in place. Once the screws are removed, you can take the cover off.
Next, find the two wires coming out of the photocell. One will be black, and one will be white. The black wire is the ground wire, and the white wire is the power wire.
Connect the black wire from the photocell to the black wire from the light fixture. Connect the white wire from the photocell to the white wire from the light fixture.
Finally, screw the cover onto the photocell and reattach it to the light fixture.
Step 5: Power Multiplexing
Now that we have our photocell wired up, it’s time to start thinking about how to power our lights. The most common way to wire multiple lights to a single photocell is “power multiplexing.” This involves running a single wire from the photocell to each light in sequence. Then, when the photocell is triggered, it will turn on the first light in the sequence, the second light, and so on.
Step 6: Transfer Box
You will now want to transfer the wiring from the photocell to the light switch. To do this, you will need to create a “transfer box.” This is simply a box with holes in it that will allow you to attach and detach the wires easily.
Take a piece of wood and cut two squares about 2×2 inches. Then, drill a hole in the center of each square big enough for the wire to fit through.
Next, take the wire and twist it around the screw on the light switch. Ensure that the black wire is attached to the “common” screw and the red or white wire is attached to the “line” screw.
Step 7: External Photocell
It is very easy to wire it up to your lights if you have an external photocell. Connect the black wire from the photocell to the black wire from the light, and connect the white wire from the photocell to the white wire from the light. You can then plug the photocell into an outlet, and it will automatically turn the lights on and off.
Now that you know how to wire a photocell to multiple lights, it’s easy to add extra security or convenience to your home. Follow the steps above, and you’ll be able to wire up a photocell to any number of lights.
AC Decoupling/isolation Method to Install a Photocell
This is the most effective way to wire a photocell to multiple lights. It uses an AC coupling technique, which means it can couple the photocell signal to the AC mains voltage using a capacitor. This will allow you to isolate the DC components of the photocell signal from the AC mains voltage. The only downside to this method is that it requires an AC-capable photocell.
To Wire a Photocell Using the Ac Coupling Method, Follow These Steps:
- Connect the photocell’s positive ( + ) terminal to one end of a capacitor.
- Connect the other end of the capacitor to the AC mains voltage.
- Connect the photocell’s negative ( – ) terminal to the ground.
- Connect the load (lights) to the capacitor and the photocell junction.
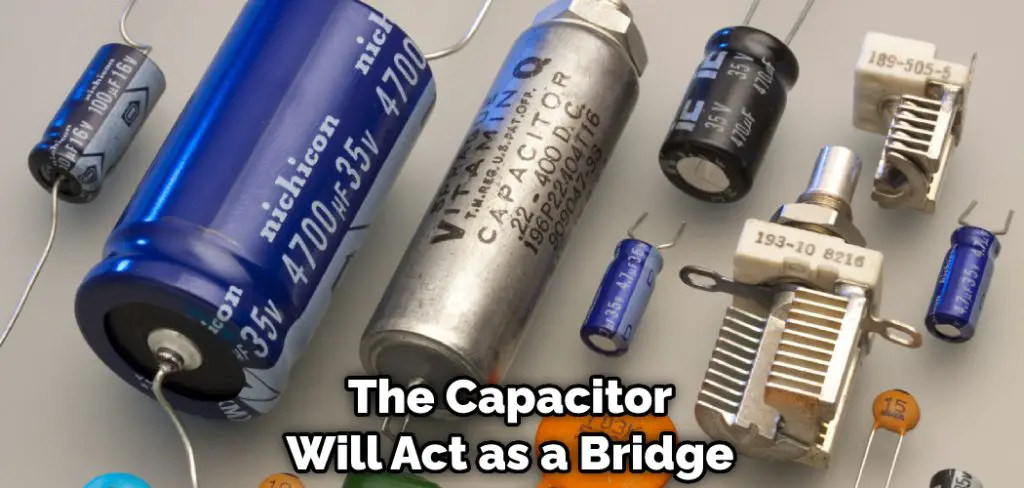
The capacitor will act as a bridge between the AC and DC components of the photocell signal, allowing them to be isolated from each other. This will prevent any interference from the AC mains voltage from affecting the photocell signal.
You can use any capacitor for this project, but it is recommended that you use a ceramic capacitor for the best results. This is because a ceramic capacitor will have a higher capacitance than other capacitors, which will help minimize any interference from the AC mains voltage. The capacitor should be connected between the two terminals of the AC mains voltage. The positive lead of the capacitor should be connected to the terminal that is marked with a plus sign, and the negative lead of the capacitor should be connected to the terminal that is marked with a minus sign.
It is important to note that the capacitor must be connected in the correct direction.
There Are a Few Things to Keep in Mind When Power Multiplexing
- Make sure that your lights are rated for the same voltage as your photocell. If not, you could damage your lights or photocell.
- The photocell should be wired in series with the lights. If the photocell trips, the entire circuit will be broken, and the lights will turn off.
- Depending on the wattage of your lights, you may need to use a resistor to prevent too much current from flowing through the circuit.
When wiring a photocell to multiple lights, it is important to keep these things in mind to prevent damage to your equipment or creating a fire hazard.
If you have any questions about how to wire a photocell to multiple lights, please consult an electrician. Improper wiring can result in serious injury or death.
Safety Precautions When Installing or Using a Photocell
Photocells are a great way to automate turning on and off lights, but it’s important to take some safety precautions when installing or using them. Here are a few things to keep in mind:
- Make sure that the photocell is properly installed and that all wiring is done correctly. If it isn’t installed correctly, it could pose a fire hazard.
- Don’t overload the photocell by connecting too many lights to it. The photocell can only handle so much power.
- Be careful when working with electricity. If you aren’t familiar with working with electrical wiring, it’s best to leave the installation to a professional.
Frequently Asked Question
How Many Watts Can a Photocell Handle?
When wiring a photocell to multiple lights, it is important to know how many watts the photocell can handle. A photocell will typically only be able to handle a certain amount of wattage before it burns out. Therefore, be sure to check the specifications of your photocell before wiring it to multiple lights. This will help ensure that your photocell does not overload and that your lights are getting the power they need.
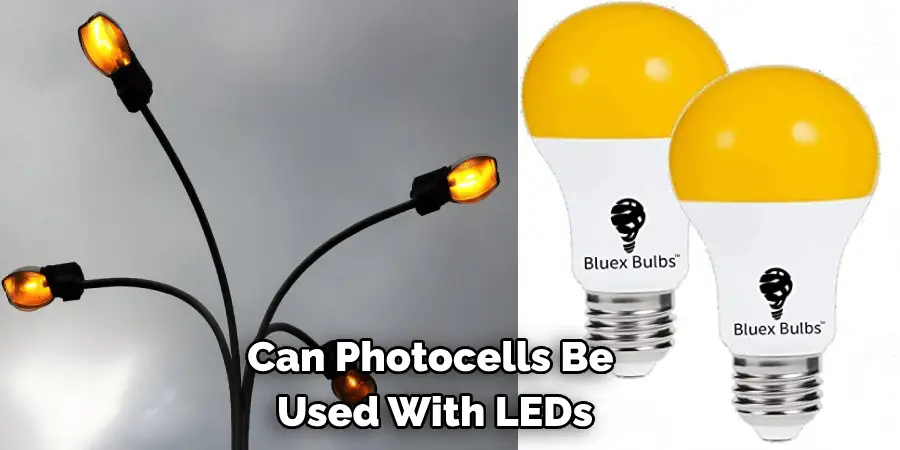
Can Photocells Be Used With LEDs?
There is some debate over whether photocells can be used with LEDs. Some people say that it’s not possible because LEDs are low-voltage, while others say it’s possible as long as you use a resistor. I haven’t tried it myself, so I can’t say for sure, but I’d recommend doing some research online or in a book before trying it out.
Do Photocells Need Neutrality?
The LECLSTAR 160W Deformable LED Garage Ceiling Light is a new and improved light that is very bright and efficient. It can be easily directed in many directions, making it perfect for any garage.
Can One Photocell Control Multiple Lights?
Yes, one photocell can control multiple lights. However, to wire a photocell to multiple lights, you’ll need to connect each light to its terminal on the photocell.
You Can Check It Out To Change Batteries in Coleman Led Flashlight
Conclusion
Now that you know how to wire a photocell to multiple lights, it’s time to put your new knowledge into practice. By following the simple steps outlined in this post, you can easily add photocell lighting to your home or garden. Experiment with different light settings and find what works best for you. And if you have any questions, don’t hesitate to ask us in the comments section below. We love helping our readers get the most out of their projects! Have you tried wiring a photocell? What tips would you share with others?
You can check it out to Change Trunk Light Bulb