
Adding a light bar to your vehicle can provide extra illumination when driving at night or in bad weather conditions. While many light bars come with their switches, you may want to use a toggle switch instead. Wiring a light bar to a toggle switch is easy and can be done in just a few minutes. This article will discuss how to wire a light bar to a toggle switch.
Wiring a light bar to a toggle switch is simple, but many people get confused when connecting the two properly. Follow these steps to wire a light bar to a toggle switch.
Summary: Wiring a light bar to a toggle switch allows for easy control of the light bar’s operation in various applications, such as off-road vehicles or workspaces. The process involves connecting the light bar’s power and ground wires to the toggle switch and the vehicle or power source, respectively. It is essential to follow safety precautions, use appropriate wiring and connectors, and ensure proper grounding to achieve a reliable and secure installation.
Begin by disconnecting the power source to ensure safety while working with the electrical components. Next, connect the light bar’s power wire (usually red) to the toggle switch’s power input terminal, often marked as “power” or “+” on the switch. Use a suitable connector, such as a spade terminal or a solder joint, to ensure a secure connection. Then, connect the toggle switch’s output terminal, which is typically marked as “load” or “ACC,” to the power source using an inline fuse.
The fuse rating should match the light bar’s current requirements to avoid overloading the circuit. Finally, connect the light bar’s ground wire (usually black) to a suitable grounding point on the vehicle or the power source’s negative terminal. Secure all connections and carefully route the wiring to avoid sharp edges, heat sources, or moving parts that may damage the wires.
Once the wiring is complete, test the light bar’s functionality by reconnecting the power source and activating the toggle switch. The light bar should turn on and off as expected. If the light bar does not function correctly, double-check the connections and ensure proper grounding. Following these steps will result in a secure and efficient installation, providing convenient control of your light bar with a toggle switch.
Things You’ll Need
- 12 volt light bar (with wiring harness)
- Wire cutters/strippers
- Wire crimping tool
- Electrical tape
- Toggle switch (rated for 12 volts)
A Step by Step Guide on How to Wire a Light Bar to a Toggle Switch
Step 1: Determine Your Wires and Wire Harness Length
First, determine your light bar’s wiring harness wire color. Refer to the diagram below to reference standard colors used in car stereo wiring. Once you’ve selected your wire color, use the wire cutters/strippers to strip approximately ¼” off of each end of the wire harness.
Once you’ve stripped both ends of the toggle switch, place it into a vise grip with the bottom of the switch facing up. This will ensure that it doesn’t get damaged during the next phase! A vise grip will help secure it from slipping or bumping while you’re crimping on your wires. Now take one red & black wire from your light bar wire harness and place them on either side of the toggle switch, as shown below.
Step 2: Use a Relay Over Switch
To make your switch work with a relay (thereby protecting it), we will need to cut one of the black wires and leave the red wire intact.
Now strip 1/4″ off both ends of your remaining black wire from your light bar harness and also strip ¼” off either end of the red wire coming from your toggle switch (the same color as you used for step 1). Once all wires are stripped, take each end and twist them tightly. Ensure that there is no space between the solder points when soldering.
If you want to connect two pieces of metal using solder, you need to make sure the solder melts quickly and easily. If it doesn’t, you’re not using enough heat, or your iron isn’t hot enough. The solder should melt into the connection within 5 seconds of applying heat. You can also use a crimping tool if you don’t want to solder, but make sure to put some heat shrink tubing over the connection afterwards to insulate it.
Step 3: Choose a Fuse
In order to install a new fuse, you must first select the appropriate size from the list of options. Once you have selected the fuse, use wire cutters or side cutter pliers to cut it to the appropriate length. It is important to be careful when cutting the fuse, as it can contain metal fragments that could be dangerous if they are not properly contained. After cutting the fuse, strip 1/4″ off of the black wire from the light bar harness. Then, insert the stripped end of the wire into one terminal on the new fuse. Finally, take the red wire from step 2 and insert it into the opposite terminal.

Step 4: Make Sure Your Grounds Are Good
You must make sure your grounds are clean and free of corrosion. This includes testing both the ground wire on the light bar harness (the black wire) as well as the ground wire on your toggle switch. If either one tests bad, sand it with sandpaper or scrape it off with a knife until the shiny metal is exposed. Now attach each end of your remaining red wire to the exposed metal using solder & heat shrink tubing.
Now take the black wire coming from your light bar harness and attach one end to the back of the toggle switch. Once soldered, slide over some heat shrink tubing and heat it up to seal it! Make sure there is no moisture getting in when you heat the tubing. Now take the other end of this black wire and attach it to any exposed metal on the car.
Step 5: Wire The Switch Itself
Now you need to wire the toggle switch to the light bar. First, choose a good spot for the toggle switch on your dash or center console. Remember that you won’t be able to use the cigarette lighter jack anymore once this is done! Now take two pieces of electrical tape and secure one end of each red & black wire coming from your dash somewhere near where you’ve chosen to mount the toggle switch.
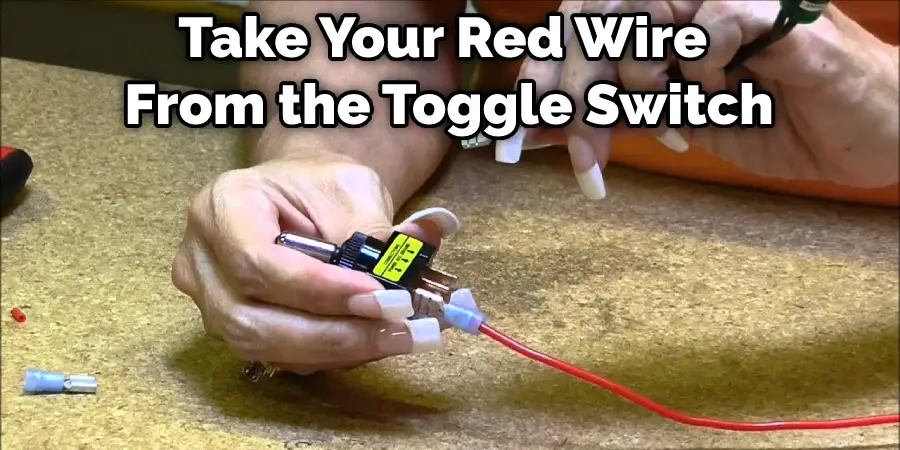
Make sure they are long enough to reach both terminals on your toggle switch without stretching too far. Next, take your red wire from the toggle switch and attach it to one terminal on your new light bar toggle switch (labeled as F). Next, take your black wire from the light bar harness and connect it to the opposite terminal of this switch.
Now take a final length of electrical tape and secure both wires coming from your dash so that they do not interfere with anything else in the console or block access to other parts under your hood/dash. You can also use zip ties if you prefer. This is a crucial step in how to wire a light bar to a toggle switch.
Step 6: Mount Your Light Bar Toggle Switch
Now slide your newly wired toggle switch into its mounting location and fasten it down using the nuts included with every toggle switch kit. Once mounted, be sure to secure any loose wires by wrapping them around or connecting them with a zip tie or wire loom.
Step 7: Test Your Toggle Switch
Now that everything is mounted and wired, it’s time to test your new light bar toggle switch! Turn on your vehicle and flip the toggle switch up to turn power to your new accessory.
When you’ve confirmed all of your connections are secure or have been resoldered, try flipping the toggle switch off then on again – keeping in mind that you need to hold it down for 3 seconds before it will power back off. This ensures that you won’t accidentally turn it on every time you hit a bump. If this fails, recheck your work and go over the entire installation for any missed connections or wires that have come loose.
Step 8: Enjoy Your New Accessory!
Now that your light bar toggle switch is complete, you have a couple of options. You can connect the switch to an auxiliary power source or even wire multiple switches so that each accessory has its turn on/off button. When connecting to a 12v power source, you will need a resistor wired in line with the accessory’s positive wire going back to your battery positive terminal.
How you determine the value of this resister depends on the draw of your LED light strip and how much voltage it needs to pull from your battery (usually around 2A). If you aren’t sure, go for something along the lines of 100ohm 1watt. One resistor per switch will usually suffice but if not, continue adding more until there is no dimming or flicker of the lights with each consecutive switch you add. These steps will help in how to wire a light bar to a toggle switch.
You Can Check It Out To Wire Fog Lights to a Toggle Switch
Precautions
- Ensure all connections are secure.
- Cover any exposed wire with electrical tape to prevent short circuits.
- Properly insulate the back of the toggle switch and cover any exposed wire with electrical tape to prevent short circuits.
- Turn off the power to your switch at the breaker box.
- Make sure all connections are insulated.
- Turn the power back on to the switch and test your work.

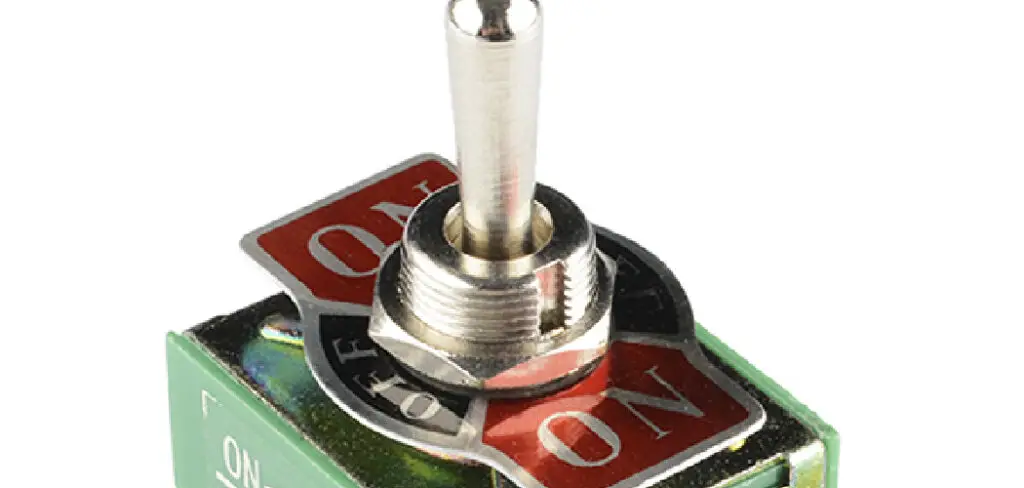
What is a Toggle Switch, and How do they Work
A toggle switch is an appliance that has one or more levers for making or breaking the connection. When you flip the toggle up, it connects to the next terminal through the open window in between. Flip it down, and it disconnects from that terminal. For example, take a look at the diagram on the right of a single-pole double-throw (SPDT) toggle switch. You can see two terminals, A and B, which connect when the toggle is flipped up (connected).
If you want to control multiple circuits with your toggle, you’ll need some relay. A relay allows you to use a low current signal (like 5 volts DC) to switch a high current circuit (like the lights in your car).
You Can Check It Out to: Keep a Light Bar From Draining Your Battery
Frequently Asked Questions
Can You Wire a Light Bar Without a Relay?
While it is possible to wire a light bar without a relay, this may not be the best option for your installation. A relay allows you to send electrical current directly from the wiring circuit to the light fixture, which can make troubleshooting and repairs much easier. Without a relay, you will need to connect each individual lightbulb directly to the wiring system.
This could lead to problems if something goes wrong with any of those bulbs, and it might also result in reduced efficacy because all of the lights will be using up more power than necessary. If you are unsure whether or not you need a relay for your installation, contact an electrician for help!

Does My Led Light Bar Need a Relay?
A relay is a small electronic component that can control the power going to your lights. When your lights are turned on, the relay sends a signal to the headlight controller telling it to turn on the lights. If your light bar doesn’t have a relay, the headlight controller will just keep sending power to the lights no matter what, which can eventually damage them. Replacing a relay is usually a quick and easy fix that won’t require any wiring or drilling.
Can You Hook Light Bar Directly to Battery?
This is not recommended as it can cause damage to the light bar and battery. Instead, it is generally recommended to hook the light bar to an external power supply (such as an AC adapter or solar panel). This way, you will be able to maintain charge and avoid any damage.
Why Does My Light Bar Have 3 Wires?
Most car headlights use three wires because this is the standard configuration for most light bars. The white wire supplies power to the LED lights, the blue/white wire provides illumination control (like turning headlights on and off), and the green/yellow wire transmits signals from your turn signal or brake light to other vehicles.
Conclusion
We hope you have learned how to wire a light bar to a toggle switch. You’ve successfully wired your light bar to the power supply. Congratulations! Now you can continue wiring it up to a toggle switch, as we discussed in the previous blog post of this series. If you’re new here and want more information about how to wire up a toggle switch, be sure to check out that article for some helpful tips before continuing with this one.
For now, though, let’s get started by connecting all of our wires, so they are ready when needed later on down the line.