Are you looking to upgrade the fluorescent lighting in your business or home? Ballast bypass LED tubes are a great way to improve energy efficiency, reduce maintenance costs and create brighter and brighter illumination. But what does it take to install them correctly? With this step-by-step guide, you’ll learn how to wire ballast bypass LED tube properly—without wiring mishaps or other costly mistakes.

From safety tips for tackling the task at hand, as well as understanding volts and amps of power requirements, we’ll get through the entire process together so that you can complete the job safely and effectively. Let’s dive into learning about how you can easily switch out your old equipment with new ballast bypass LED Tubes.
Needed Tools and Materials
Given below are the materials and tools you’ll need for this task:
- Ballast Bypass Led Tubes
- Wire Strippers
- Wire Connectors
- Electrical Tape
- Screwdriver or Drill
- Step Ladder (if Needed)
- Safety Glasses
- Work Gloves
- Wire Nuts
- Voltage Tester
Safety Precautions
Before we get into the process of wiring a ballast bypass LED tube, it is essential to follow some safety precautions:
- Always Make Sure That the Power Supply is Switched Off Before Handling Any Electrical Equipment.
- Wear Protective Gear Such as Safety Glasses and Work Gloves While Working With Electricity.
- Use a Voltage Tester to Check if There is No Current Running Through the Wires Before Starting Any Work.
- Never Touch Any Bare Wires or Components With Wet Hands.
- Keep All Tools and Wires Organized to Avoid Confusion and Mishaps.
- If You Are Not Comfortable Working With Electricity, It is Best to Seek Professional Help.

10 Simple Step-by-step Guidelines on How to Wire Ballast Bypass Led Tube
Step 1: Prepare the Materials and Tools
Before starting, make sure you have all the necessary tools and materials listed above. This will save time and prevent any interruptions during the process. It is also essential to have a clean and well-lit workspace. Otherwise, you may end up making mistakes or even hurt yourself. You can use a step ladder if you need to reach higher areas.
Step 2: Turn off the Power
As mentioned earlier, make sure the power supply is switched off before beginning any work. This is crucial for your safety and also prevents damage to the equipment. If you are not sure which switch controls the power supply, it is best to switch off the main circuit breaker. This ensures that there is no electricity running through the wires.
Step 3: Remove the Old Ballast
Remove the fluorescent light tube and its ballast from the fixture. You can do this by unscrewing any screws holding it in place or gently pulling it out of the fixture. Make sure to carefully disconnect all wires connected to the ballast before removing it. If you are unsure which wires to remove, take a picture or label them beforehand for reference. But remember, do not touch any bare wires.
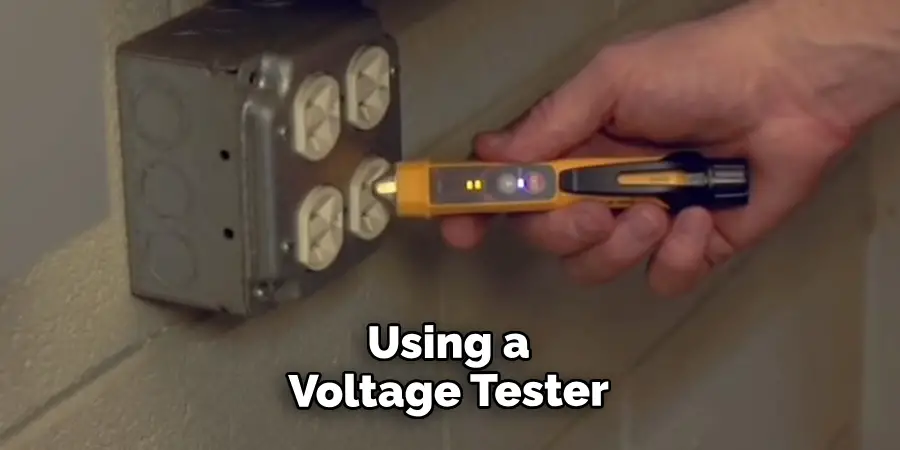
Step 4: Check the Voltage of the Wires
Using a voltage tester, check the voltage on all wires to ensure there is no current running through them. This will prevent any electric shock while handling the wires. It is essential to check the voltage on both the black and white wires. You can do this by connecting the voltage tester to each wire and checking if it registers any voltage. By doing this, you will know which wires are live and need to be disconnected.
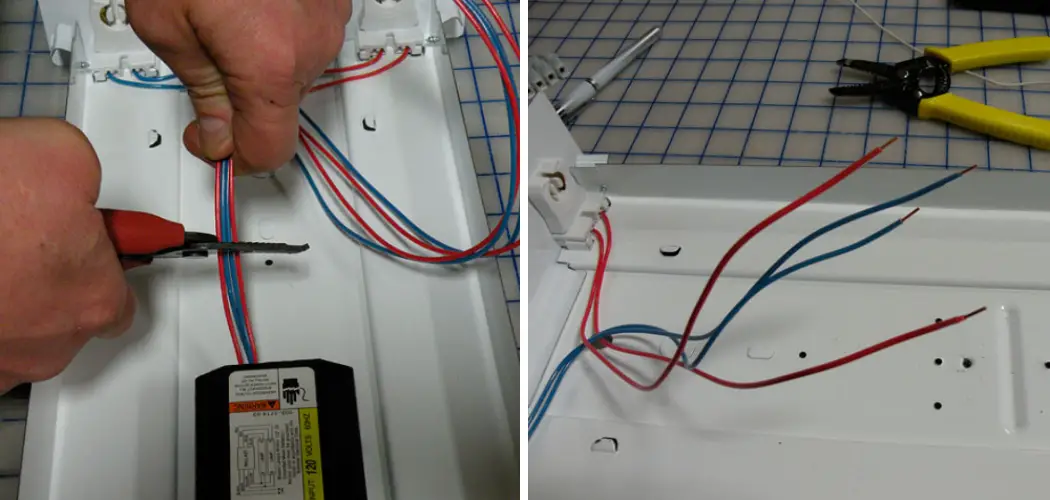
Step 5: Cut off the Wires
Now that you have identified which wires are live, use wire strippers to cut off the ends of those wires. This will remove any excess length and ensure a clean connection with your new ballast bypass LED tube. It is best to leave about 1/2 inch of exposed wire for proper connection. It is also essential to cut off any extra wires that are not needed for the new LED tube, such as the ones connected to the now-removed ballast. This will make the wiring process more straightforward.
Step 6: Connect the Wires
Take your new ballast bypass LED tube and connect its wires to the corresponding wires in your fixture. Make sure to use wire connectors to secure the connection properly. Twist each wire together with its matching color, then screw on a wire connector until it forms a tight and secure connection. Repeat this process for each of the wires, ensuring that all connections are secure.
Step 7: Cover Exposed Wires with Electrical Tape
Once all the wires are connected and secured, cover any exposed wires with electrical tape. This will prevent any short circuits or accidents from happening due to exposed wires. It is essential to cover all exposed parts of the wire, leaving no gaps where the wires could touch. It is best to use electrical tape that is the same color as the wires for a clean and professional look.
Step 8: Insert the New LED Tube
Now that everything is properly connected, you can insert the new ballast bypass LED tube into your fixture. Make sure it fits snugly and securely in place. If there are any screws or clips on your fixture, use them to secure the LED tube in place. This will ensure that the tube does not move or fall out once it is turned on.
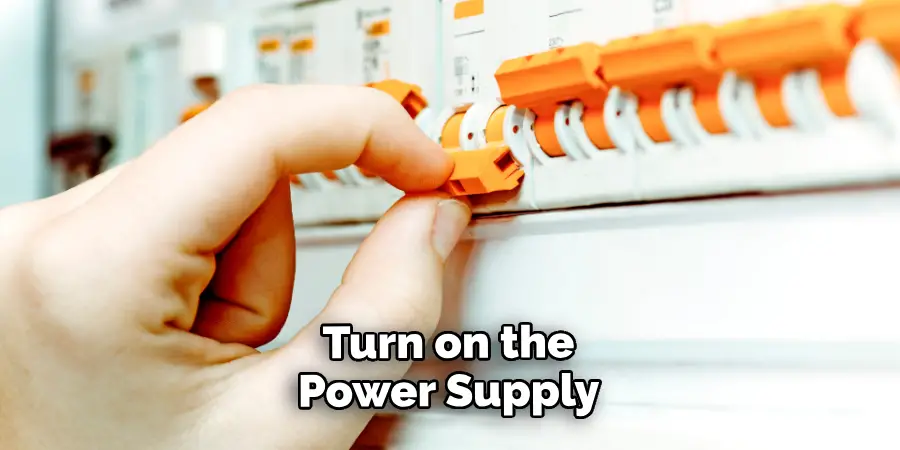
Step 9: Turn on the Power
Once you have completed all the steps above, turn on the power supply and test your new ballast bypass LED tube. If everything was wired correctly, it should turn on without any issues. If it does not turn on, switch off the power and check all your connections again. Make sure to use a voltage tester before touching any wires to avoid electric shock. Otherwise, seek professional help.
Step 10: Clean up and Dispose of Old Parts
Finally, clean up your workspace and dispose of the old fluorescent light tube and ballast responsibly. You can recycle these parts at a recycling center or local hardware store. It is essential to dispose of them properly as they contain hazardous materials that can harm the environment if not disposed of correctly.
It is also a good idea to double-check your connections and make sure everything is working correctly before considering the project complete. Congratulations! You have successfully wired a ballast bypass LED tube. Enjoy your energy-efficient lighting!
Following these simple step-by-step guidelines on how to wire ballast bypass led tube will ensure a safe and proper installation. It is essential to take all necessary precautions when working with electricity and always seek professional help if you are not comfortable or experienced in electrical work.
Upgrading to LED tubes has many benefits, such as energy efficiency, longer lifespan, and lower maintenance costs. So, if you are looking to replace your old fluorescent tubes, consider switching to ballast bypass LED tubes for a more cost-effective and environmentally friendly lighting solution.
Frequently Asked Questions
Q1: Can All Fluorescent Fixtures Be Converted to Led?
A: Most traditional fluorescent fixtures can be converted to LED with a ballast bypass. However, it is best to consult a professional if you are unsure or have a unique fixture. It is also important to check the compatibility of your LED tube with your existing fixture.
Q2: Do All Ballasts Need to Be Bypassed for Led Tubes?
A: Yes, all ballasts must be bypassed in order to use LED tubes. This ensures proper functioning and prevents any damage to the LED tube or the fixture. Using a ballast bypass LED tube eliminates the need for a ballast altogether, making it more cost-effective in the long run.
Q3: Can I Use Existing Wiring When Installing a Led Tube?
A: Yes, you can use existing wiring as long as it is in good condition and compatible with your LED tube. However, it is recommended to check the voltage and make necessary changes if needed for a safe and efficient installation.
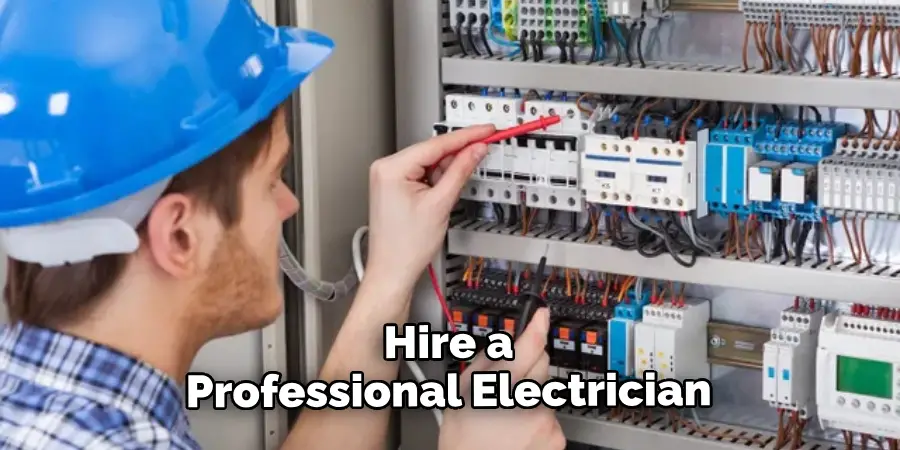
Q4: Do I Need to Hire a Professional to Wire a Ballast Bypass Led Tube?
A: It is always recommended to hire a professional electrician for any wiring work, especially when dealing with electricity. If you are not experienced or comfortable with electrical work, it is best to seek professional help to ensure a safe and proper installation.
It may also be required by law in some areas to hire a licensed electrician for such tasks. So, consider your own ability and the laws in your area before attempting this project yourself. Overall, the safety of yourself and others should be the top priority when working with electricity. If you are unsure or have any doubts, it is best to leave it to the professionals.
Conclusion
In conclusion, rewiring a ballast bypass LED tube is an inexpensive yet fulfilling task that can elevate any room’s aesthetic with the help of modern LED technology. You can easily accomplish the wiring process yourself following some simple steps on how to wire ballast bypass led tube, or enlist professional aid if needed. Ultimately, it doesn’t matter what route you decide to take.
As long as you choose a quality product with proper UL safety ratings and utilize appropriate safety measures when wiring, you will have successfully wired your new LED tube––making your environment better than ever before! So what are you waiting for? Wire your home with LED light fixtures today and experience comfortable and efficient lighting tomorrow.