It’s happened to all of us. We’re in the dark, and we need to find a light switch. Maybe we’re looking for the button to turn on a reading lamp before bed, or perhaps we need to find the main light switch in a new house. Either way, finding the light switch can be tricky in the dark. This article will teach you how to trace a light switch.
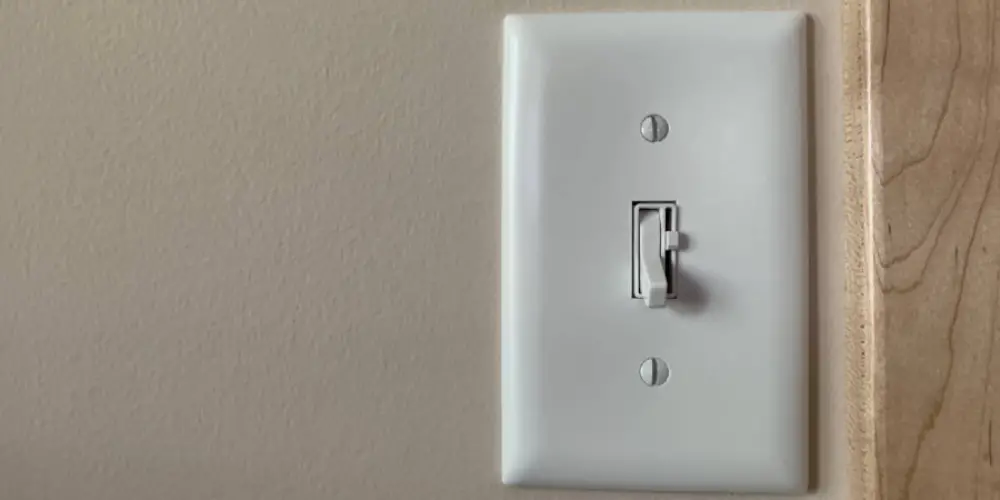
Fortunately, you can use a few tricks to help you find that elusive switch. So try these steps the next time you’re in the dark and need to find a light switch!
Summary: In order to trace a light switch, one must first determine the location of the light switch. Once the location is determined, one can begin tracing the switch by following the electrical wire that connects it to the electrical outlet.
A Detailed Guide on How to Trace a Light Switch
Step 1 : Determine How You Would Like to Trace the Light Switch
Different situations call for different tracing methods. Some switches are simple and can be outlined with a single line, while others require multiple steps to complete the trace.
Before you begin tracing your switch, determine how many lines you want to draw on your map and where those lines should go. This will help you to understand the wiring of the switch before you turn the power back on. How a switch is wired depends on if it’s a single or multi-switch box and what position the light switch is in (ON or DOWN).
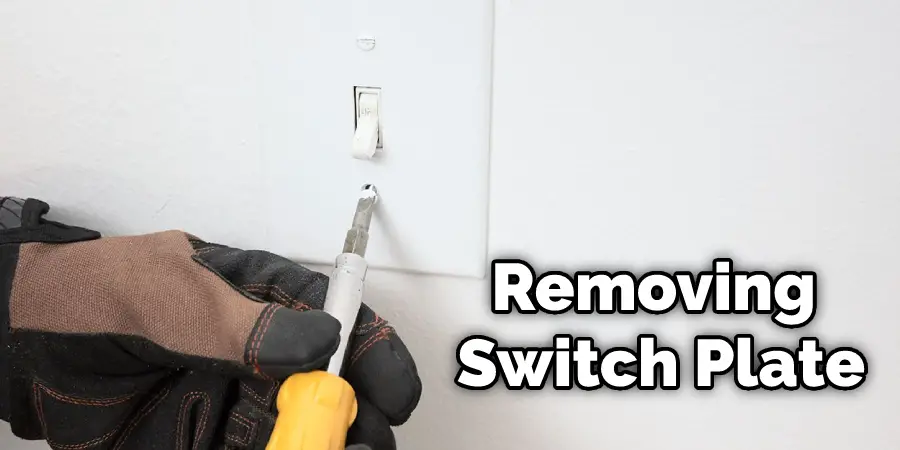
Step 2 : Turn Off the Power and Remove Switch Plate
Turn off the power to your circuit at the appropriate breaker and remove the switch plate. Once you have safely exposed your wiring, please take a picture of it with your cell phone or digital camera before disconnecting any wires. After completing your map, this will help you remember which wire is which when reconnecting them to their appropriate screw terminals.
Ensure that all electrical connections are secure, including light switches and outlets, as well as inside the junction box (if applicable). A loose connection can cause an overload or, worse, a fire!
Step 3 : Trace One Line at a Time
Start by tracing the neutral wire(s) back to its source. The neutral wire returns electricity from lights and outlets back to the primary service panel, so this line will likely go straight down your wall or back towards the center of whatever room you are working in.
Once you have located your neutral line, determine which is the hot wire. Locate the screws on the device (switch/outlet) and use a voltage sensor to check for power coming through one of them. If there is only one hot wire leading away from the device, mark it accordingly. Remember that HOT wires are always black! If there is more than one hot wire, you should call a professional electrician to help you.
This device has three hot wires that connect to other lines. If the switch is in the ON position, the wiring depends on whether it’s a single or double-pole light switch. If the switch is in the DOWN position, the wiring also depends on whether it’s a single or double-pole light switch. If you’re unsure about the wiring, it’s best to call a professional.
After completing your first line, trace the live wires back to their source. This line was marked will depend on how it was wired (red tape, black marker, etc.). If you are unsure where it goes, use a voltage sensor to test which screw terminal is hot. If several screws appear hot, then you should call a professional electrician.
Step 4 : Locate the Main Service Panel
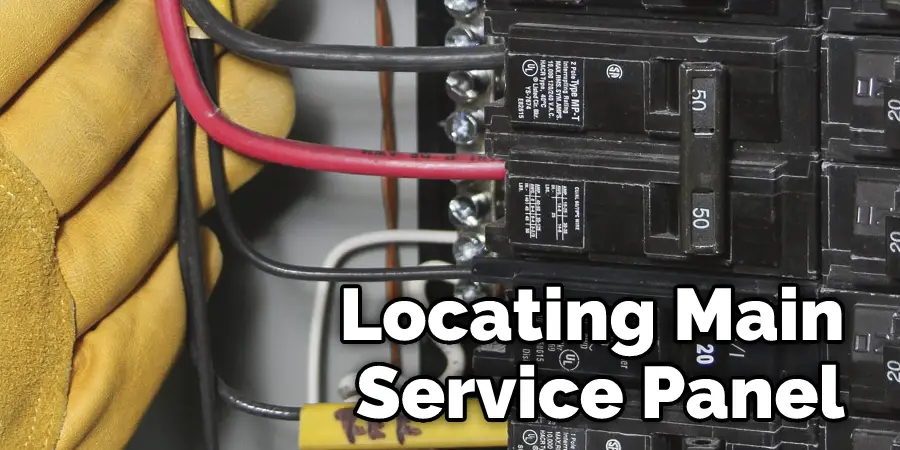
Before turning the power back on, locate your main service panel and label all of the circuit breakers. This will help prevent overload if something goes wrong during the reconnection process. If your house is pre-wired for solar or another alternative energy source, then you can skip this step.
Once you have located your main service panel, markdown which circuit(s) each switch controls. How this was done will depend on how the previous homeowner labeled it. If you are unsure what to do, use an ohmmeter to test continuity between each wire terminal (black to black and white to white) to determine which wire goes where before turning them back on.
Step 5 : Restore Power
If you don’t have the main service panel or feel uncomfortable working with live wires, get a professional electrician to help with this How-To. Also, use caution when restoring power after completing your wiring map. Test each device with a voltage sensor before plugging it back in, as too much current flowing through one wire or another can trip fuses and circuit breakers.
Before turning the power back on, make sure all connections along both lines are secure, including those inside the junction box (if applicable). A loose connection from light switch to wiring can trigger an overload or, worse, a fire! These steps will help in how to trace a light switch.
You can check out it to Remove Led Light Strips From Wall
Precautions
- Put on gloves.
- Use a mask to avoid breathing in dust.
- Wear old clothes that you won’t mind getting dirty or painting on them.
- Be careful with the tools you are using, don’t cut yourself.
- Don’t stay alone if your feel scared.
- Unplug the light switch to avoid electrocution.
- Shut off the power to the circuit at your home’s main electrical panel before beginning your work.
- Turn off the lights that are attached to the switch.
- Turn on a flashlight to help you see better.
- Cover any exposed wires with electrical tape to prevent insulation from touching and causing a short circuit.
What Are Some Good Tools for Tracing Electrical Problems?
Many tools can be used to trace an electrical problem. These include different types of voltage testers, multimeters, and detection probes. Each device works based on the voltage or amperage it detects through the circuit. Detection probes also can measure resistance in live circuits.
One of the most popular tools for tracing electrical problems is the voltage tester. A voltage tester works because it tests for voltage to confirm that electricity exists and can be found where you expect it to be. The presence of an active circuit will cause the meter to light up and its needle to move depending on how much power is present and how sensitive the device is.
A multimeter is a versatile tool for tracing electrical problems. How it works is that it reads the amount of voltage present in an outlet, wire, or another piece of equipment. How sensitive this meter is can also be adjusted. This device is a great way to determine if the power exists where you suspect it might not be.
Detection probes are also popular tools for tracing electrical problems. This tool works to measure the resistance in live circuits to determine if an open or short exists within that circuit. A detection probe works by sending out low voltage along the wire, similar to how a tester would detect power. It can then see whether there is any voltage leaking from where it should be grounded.
What Is the Best Way to Trace a Light Switch?
Tracing a light switch is not difficult, but there are many different ways to do it. The best approach depends on the type of wiring present in your house, as well as how badly you need the electricity running.
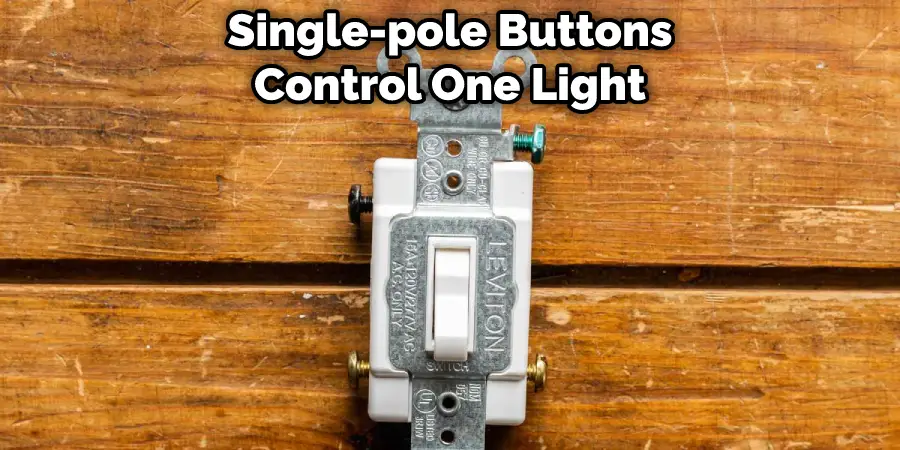
The two most common types of light switches are single-pole and three-way. Single-pole buttons control one light from a single location, while three-way switches control two different lights from two other locations. How to Trace a Light Switch for Each of These Types Is Described Below :
Trace a Light Switch With a Three-way Switch :
A three-way switch allows you to control a light from more than one location. In addition, tracing a light switch with a three-way switch is simple.
- Turn off the electricity at your electrical panel, and remove the cover of the switch box using a screwdriver or an old key so that you have access to the screws holding the switch in place. If you need just a little more room to work, you can also remove the button from its box.
- Unscrew the three existing switches and carefully pull them out of their box.
- Purchase a replacement three-way switch with a metal clamping device on the side instead of a two-wire twist mechanism. This is done so you can attach the power wires to the switch.
- Loosen the screws on each side of the three-way switch clamping device. This lets you loop your wire through either screw, enabling you to attach your power wire or leads. Trace a light switch with a three-way switch is now complete.
You Can Check It Out to: Keep Led Light Strips From Falling Off
Frequently Asked Questions
Is There a Way to Trace Wires Through Walls?
Wire tracing through walls is possible, but it requires a specialized tool known as an electronic walkie-talkie scanner. This device can be used to transmit audio and images over short distances, making it easy for experts to find and repair damaged wires or circuitry.
The scan also allows technicians to locate obstacles that may have blocked the path of the wire, such as tiles or furniture.
Can I Drill Above a Light Switch?
As to whether or not you can drill above a light switch, it is important to consult with an electrician if you are unsure. An electrician will be able to assess the situation and advise you on the best course of action.
Do Wall Socket Wires Run Up or Down?
In general, wall socket wires run up. This is because the electricity moves from the power line down to your home and then out to all of your devices. However, if there are any problems with the wiring in your home or if you have a particularly high demand for electricity (like when you’re using a lot of appliances at once), then the electricity can move down instead. In this case, it may be difficult to charge devices like phones or laptops as they will not be able to receive enough energy from the plug sockets.
Can I Drill Into Wall Below a Light Switch?
It’s generally not a good idea to drill into walls, no matter what – it can lead to accidents and other problems. That being said, if you’re absolutely sure that you need to drill into the wall below the switch, make sure to do it safely and properly. This may involve hiring a contractor or using one of the many safe drilling methods available online.

Conclusion
With this guide on how to trace a light switch, you’ll be able to trace a light switch in no time. You can use it yourself or print out copies and hand them out during your next power outage! Better yet, share the link with friends so that they have their copy on standby just in case of an emergency.
And don’t forget about our flashlight app if you need some extra help finding where the breaker is at night-time, whether it’s five minutes before bedtime when all the lights go off or 30 seconds after someone flips the circuit breaker.
Check it out also – How to Change Light Bulb Above Stairs