
Suppose you are having trouble with your light switch. If it’s not working correctly, it may be time to ground it. Grounding a light switch is a simple process that anyone can do, and it only takes a few minutes. In this article, we’ll show you how to ground a light switch so you can get back to using your lights without any problems. Let’s get started!
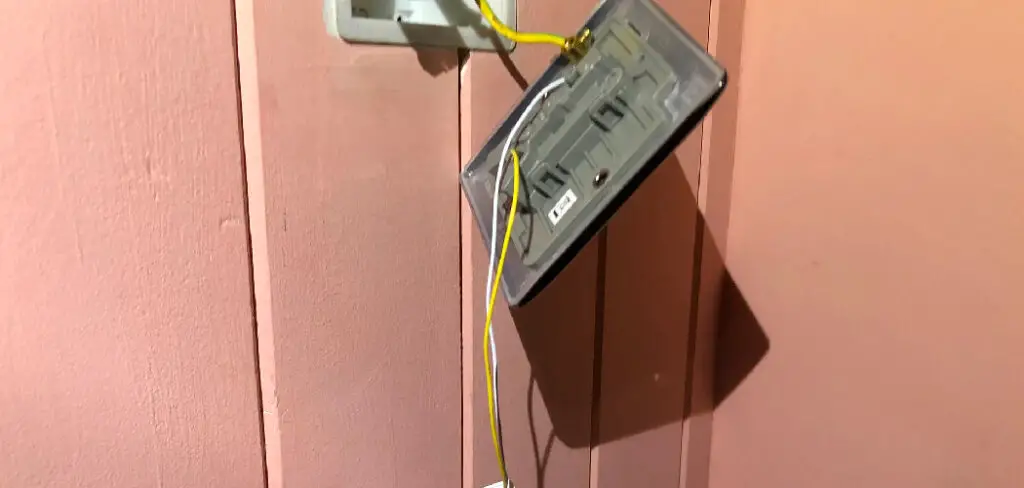
Light switches are typically grounded by attaching them to the metal box in which the wiring is housed. This box is then attached to the ground wire, which completes the circuit and ensures electricity flows appropriately. You’ll need to find this metal box to ground a light switch.
Summary: If you’re having trouble grounding a light switch, try using a coat hanger. Cut the coat hanger in half so that the wire is long enough to reach the light switch. Touch one end of the coat hanger to the screw on the light switch and the other end to the metal plate on the wall.
What is Grounding
Grounding is a safety measure in electrical work. It is the process of connecting an electrical circuit or system to the earth. This helps protect users from electrical shock.
To ensure a safe and effective installation, be sure to use the right size ground wire when grounding a light switch – the NEC (National Electrical Code) requires a minimum 10 AWG (American Wire Gauge). Using a smaller wire could lead to overheating and fire.
The ground wire should be connected to the green screw on the light switch. The other screws on the switch are for the hot and neutral wires. Be sure to connect the wires correctly, or you may create a dangerous situation.
Why Would You Ground a Light Switch
Some people choose to ground their light switches as a safety measure. This means that the switch is less likely to cause an electrical shock if someone touches the metal part of the switch while it is turned on.
It’s important to ground your light switch because it can help prevent electrical fires. A grounded light switch can help reduce the risk of an electrical spark igniting something flammable and starting a fire.
If you want to protect your electronics from power surges, grounding a light switch can help. Grounding the switch can absorb some of the surge’s energy, protecting your devices from damage.

A Detailed Guide on How to Ground a Light Switch
Method 1: The Traditional Way
A grounding wire is used with the light switch to make sure it is safe. The wire connects the switch to the electrical box and the ground. If there is a problem with the wiring, the grounding wire will help protect people from being shocked.
Things You’ll Need:
- Electrical box
- Grounding wire
- Screwdriver
- Wire strippers
- Pliers
Step 1: Disconnect the Power
Before you do anything, you’ll need to disconnect the power to the light switch. This can be done by flipping the breaker switch to the “off” position.
Step 2: Remove the Old Switch
Use a screwdriver to remove the screws that hold the light switch. Then, pull the switch out of the electrical box.
Step 3: Strip the Wires
Strip about an inch of insulation from each wire using wire strippers.
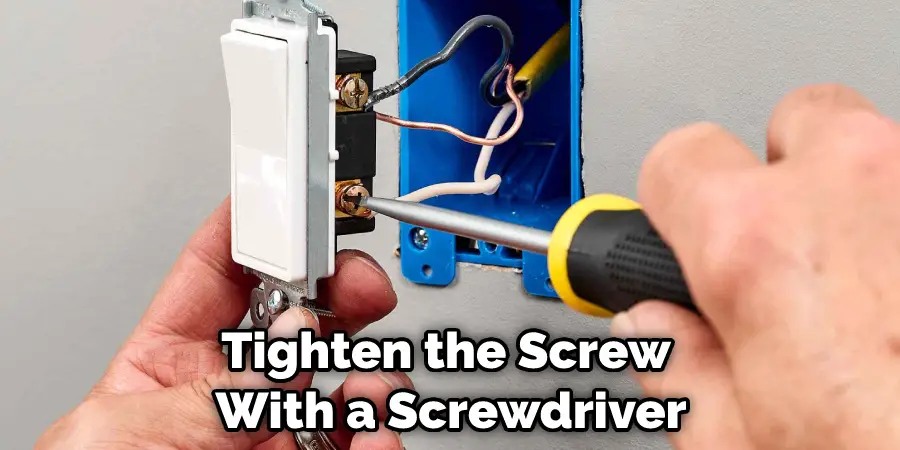
Step 4: Connect the Grounding Wire
Connect one end of the grounding wire to the green screw on the light switch. Tighten the screw with a screwdriver.
Step 5: Connect the Other Wires
Connect each of the other wires to their corresponding screws on the light switch. Then, tighten the screws with a screwdriver.
Step 6: Put the SwitchBack In Place
Put the light switch back in place and reattach the screws using a screwdriver.
Step 7: Reconnect the Power
Reconnect the power to the light switch by turning on the breaker that powers it.
Method 2: With a Grounding Rod
If you want to ground more than one light switch, you can use a grounding rod or a grounding plate. A grounding rod is a metal rod that is buried in the ground and connects to the electrical system. A grounding plate is a metal plate that is mounted on the wall and also connects to the electrical system. Both the rod and the plate provide a path for electricity to travel to the ground.
Things You’ll Need:
- Grounding rod
- Wrench
- Wirecutter
- Electrical tape
Step 1: Install the Grounding Rod
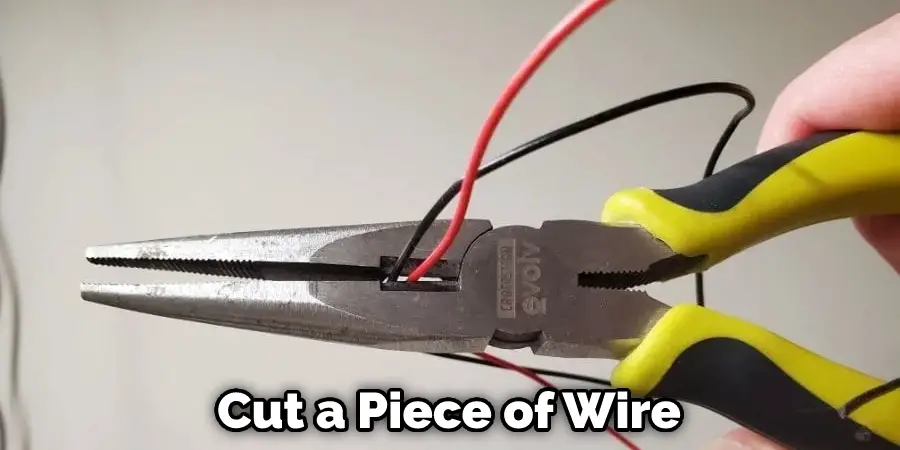
A grounding rod is a metal rod that helps to protect against electrical shocks. To install a grounding rod, first find an area where it will be easy to access. The ground should be wet, and the soil should be soft. Then, use a wrench to loosen the clamp on the top of the grounding rod. Next, cut a piece of wire about 6 feet long with a wirecutter. Finally, strip about 1/2 inch of insulation from each end of the wire.
Step 2: Attach the Wire to the Grounding Rod
Attach one end of the wire to the grounding rod. Use pliers to twist the wire around the connector on the rod, making sure the connection is tight. Tape over the connection with electrical tape to secure it.
Step 3: Connect the Wire to the Light Switch
To connect the wire to the light switch, twist the wire around one of the screws on the switch. Make sure that the connection is tight, then tape over the connection with electrical tape.
Step 4: Test the Connection
To ground a light switch, you first need to turn off the power to the light switch at your breaker box. Next, use a voltage tester to test the connection between the grounding rod and the light switch. The tester should show a reading of 0 volts. If it doesn’t, there may be a problem with your wiring, and you should consult a professional electrician. Next, turn on the power to your breaker box and test the light switch. It should now be adequately grounded.
Method 3: Use a Metal Plate
If you don’t have an electrical box or a grounding rod, you can use a metal plate to ground the light switch. A metal plate is a piece of metal attached to the wall near the light switch. It provides a path for electricity to travel to the ground. To install a metal plate, turn off the power to the light switch at the breaker box. Remove the light switch cover plate and unscrew the light switch from the electrical box. Place the metal plate over the hole in the electrical box. Screw the light switch back into the electrical box. Turn on the power at the breaker box.
Things You’ll Need:
- Metal plate
- Screwdriver
- Drill
- Hole saw
Step 1: Drill a Hole in the Metal Plate
Drill a hole in the metal plate using a hole saw. The hole should be big enough for the screw on the light switch to fit through.
Step 2: Mount the Metal Plate to the Wall
Mount the metal plate to the wall near the light switch using screws. Ensure that it is in a location where it will not be damaged.
Step 3: Connect the Ground Wire to the Metal Plate
Connect the ground wire to the metal plate using a screwdriver. Make sure that the connection is tight.
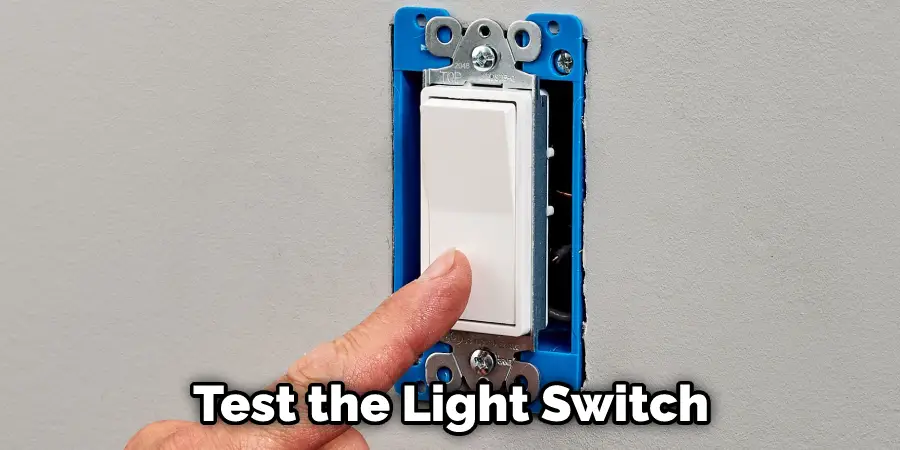
Step 4: Turn on the Power
Turn on the power and test the light switch. It should now be grounded.
Method 4: Connect a Wire to the Grounding Screw on the Switch
If you want to ground a light switch, you can attach a wire to the wall near the switch. The wire provides a path for electricity to travel to the ground.
Things You’ll Need:
- Wire
- Electrical tape
- Pliers
- Screwdriver
Step 1: Connect the Wire to the Wall
Use the pliers to twist a wire around the screw on the wall near the light switch. Make sure that the wire is attached tightly to the screw.
Step 2: Connect the Other End of the Wire to the Switch
Connect the other end of the wire to the grounding screw on the light switch. Use the screwdriver to tighten the screw.
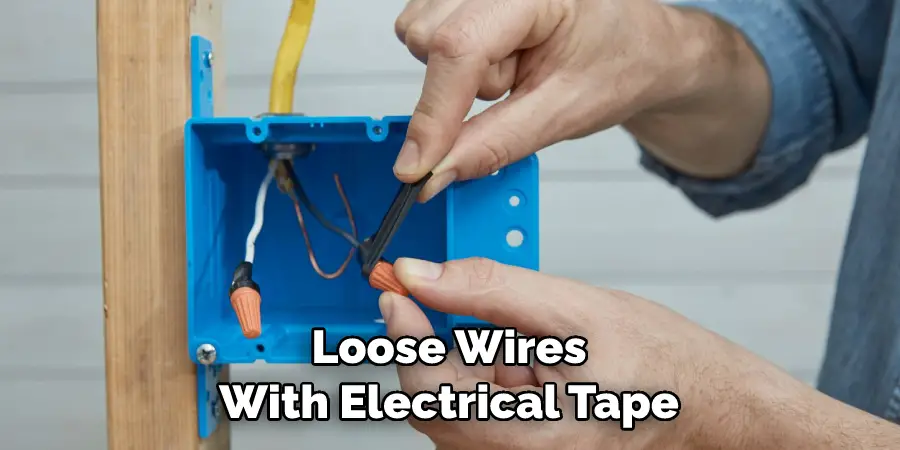
Step 3: Tape Up Any Loose Wires
Tape up any loose wires with electrical tape to don’t touch each other and create a fire hazard.
These methods will help you ground a light switch. Now your light switch is properly grounded! Next, test it by flipping on the power and ensuring no spark or noise when you flip the switch. Finally, you’re ready to start using your light switch if everything looks good. Enjoy!
Precautions
1. Make sure your hands are dry before touching the light bulb socket.
2. If you are not comfortable working with electricity, please consult a qualified electrician.
3. Always unplug the light switch before attempting to ground it.
4. Be aware of potential electrical hazards when working with the wiring.
5. Use caution when working around high voltage wires.
6. Always work in a well-ventilated area.
7. Make sure the power is turned off before beginning any electrical work.
8. Disconnect the power supply before making any repairs to the wiring.
9. Never touch bare wires or metal fixtures while the power is on.
How Do I Know if My Light Switch Box Is Grounded?
The first step is to determine if the light switch box is grounded. The easiest way to do this is to check the box’s cover. If there is a green grounding screw, then it’s likely that the box is already grounded. However, if the screw is not green, you’ll need to follow a few more steps to verify that the box is grounded. Check the back of the switch box for a green grounding wire. If there is one, then it means that the box is grounded and you can move on to installing the new fixture.
If your switch box isn’t already grounded, you’ll need to use a grounding rod to ground it. This can be done by driving an 8-foot copper rod into the ground and attaching it to the switch box with a wire. Once the box is grounded correctly, you can install your light switch. How to Wire a Light Switch Step-by-Step Instructions for Wiring a 3-Way Light Switch Jera Winters Updated March 08, 2017 01:00 AM . Now playing: Watch this: Wire a ceiling fan and light switch Jera Winters.
Frequently Asked Questions
Do You Need to Ground a Light Switch?
If you are uncomfortable with this situation and want to protect your home from potential electrical hazards, you may want to ground the switch. This can be done by connecting the black wire of the switched outlet directly to an appropriate metal screw on your wall or by using a grounding conductor (usually green) that’s attached to both black and white wires in a circuit.
What if a Light Switch Has No Ground?
If a Light Switch Has No Ground, You Can Try the Following Solutions:
1. Find an outlet and connect it to the electricity grid. This may be the easiest solution if you are near an electrician or have someone who can do this for you.
2. Use a battery-powered lantern or flashlight to see what is happening in your room (use caution when doing this as light sources can also create electrical hazards).
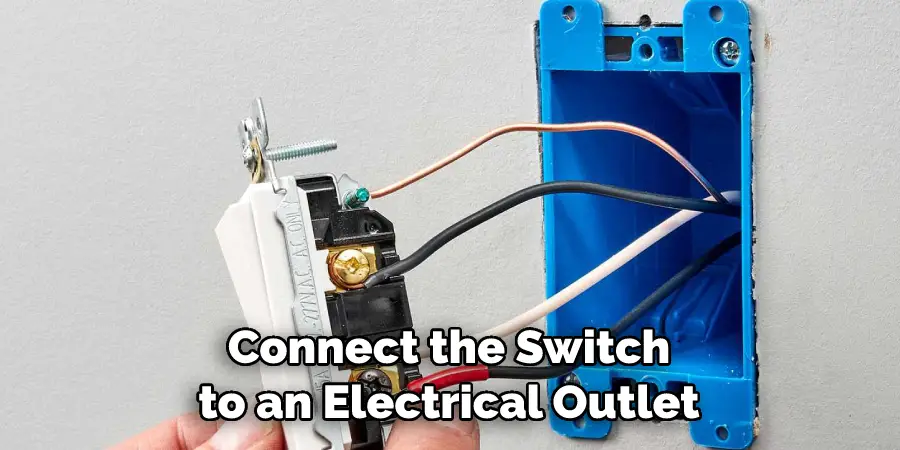
Where Do I Put the Ground Wire on a Light Switch?
This wire is used to connect the switch to an electrical outlet and protect it from being shocked when you turn on lights or appliances.
If you do not have a ground wire attached, run an electrician’s assistant around the screw at the base of your light switch. It should be tight enough so that water couldn’t get in but loose enough so that air can circulate. If you can’t find a ground wire, screw the plate back on and turn the switch off.
What Happens if You Don’t Connect the Ground Wire?
There is a high potential for an electrical shock if you don’t connect the ground wire. If this happens, it can create an unsafe environment and potentially result in serious injury or even death. Make sure to attach the ground wire securely to a grounded location such as the wall or another metal object.
Conclusion
If you’re looking for an easy way to ground a light switch, all you need is a piece of copper wire. First, strip the insulation off one end of the wire and twist it around the screw on the light switch. When you’re done, attach the other end of the wire to a metal object in your home that’s connected to the ground. Now you can safely turn on your lights without worrying about getting shocked! We hope you find this article on how to ground a light switch helpful.
You Can Check It Out to: Change a Light Switch Without Turning Off the Power