When it comes to changing a dome light, many people feel like they are in over their heads. However, this process is a lot easier than you might think. All you need is a few simple tools and some basic knowledge about how your car works. In this article, we will walk you through the process of how to change dome light, so you can do it yourself the next time your light burns out.
Summary: If you’re looking for a way to change your dome light bulb without having to go to a mechanic, there are a few simple steps you can take. First, find the light bulb’s wattage. This can be found on a label affixed to the light fixture or on the light itself. Once you have the wattage, use this information to find the correct replacement bulb. Finally, replace the bulb with the new one.

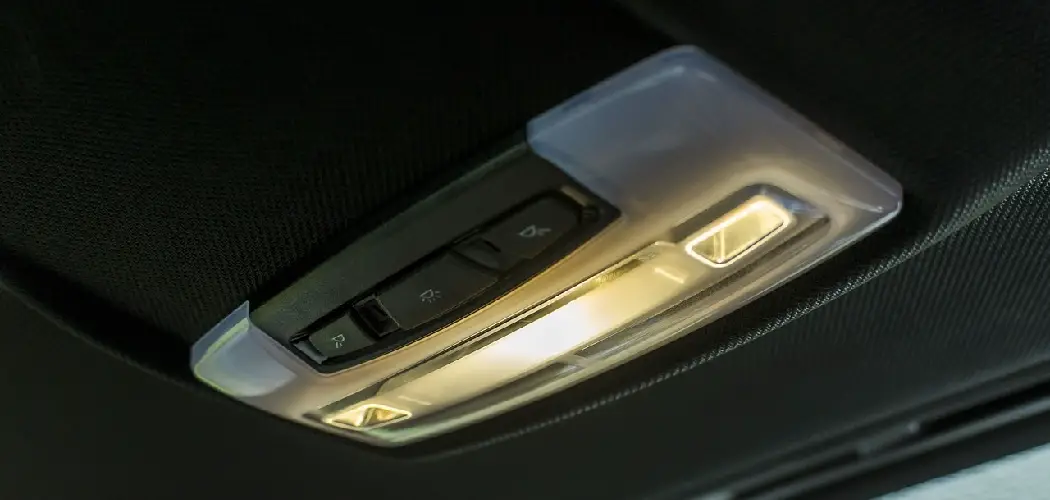
Dome lights are a necessary evil in every car. They’re not particularly pretty, but they provide much-needed light when you need it. However, dome lights can get annoying quickly if they’re not working correctly. Fortunately, fixing them is usually a relatively straightforward process.
Tools and Materials
- Dome light
- Door panel tool (or flat head screwdriver)
- 10mm socket wrench with ratchet and extension
- Phillips screwdriver
A Step by Step Guide on How to Change Dome Light
Step 1:
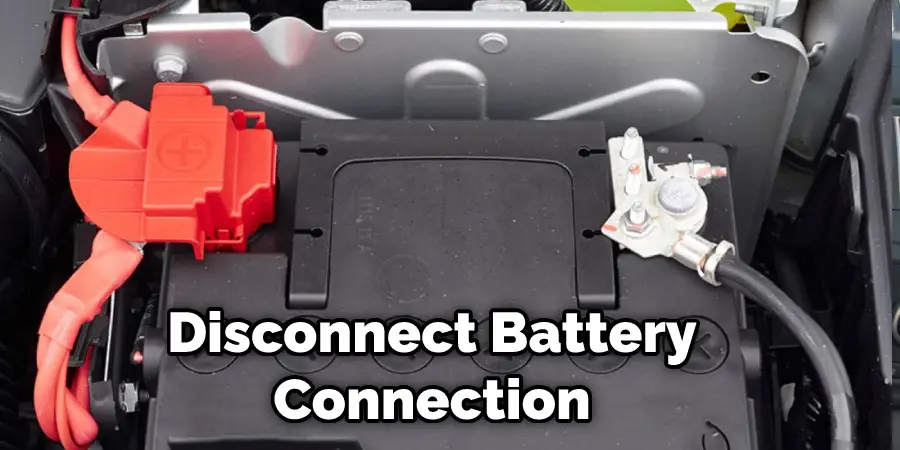
Remove the key from the ignition and put your car in the “Off” position. Next, open the hood to access the battery terminals. Disconnect the battery terminals at this point. It would be a good idea to wear eye protection.
Next, move around to either side of your vehicle and locate a tab used for securing panels that cover your engine bay. Slide-out the tab until it pops off. If you see two tabs on each side of your engine bay, repeat this process for each tab/panel until all panels are removed.
Step 2:
After the panels have been removed, locate a 10mm bolt used to secure your battery in place. Use a ratchet and extension if necessary to remove the bolt. Once the bolt has been removed, lift on the clamp holding your negative cable and slide it off your post. Next, swipe on the positive cable and slide it off as well.
At this point, you can disconnect the wires from their posts if needed, or let them hang outside of their respective holes/posts/holders so they won’t get in your way during the next few steps. With both cables disconnected, set them out of your way for now (preferably somewhere safe where nobody will trip on them).
Step 3:
Start this step by locating a Phillips head screwdriver. Two screws need to be removed before the dome light assembly can be accessed. The first one is located just above the “PUSH TO START” logo near your steering column, and the second is found at the bottom of your dome light.
Once both screws have been removed, place them somewhere safe to avoid losing them later. Then, with both screws out of your way, grab your flat-headed tool or door panel removal tool and wedge it between your defroster vent towards the back of the car (see images for reference). Pry up on the front part until it pops out/off completely. Now set this small vent cover aside where it won’t get lost.
Step 4:
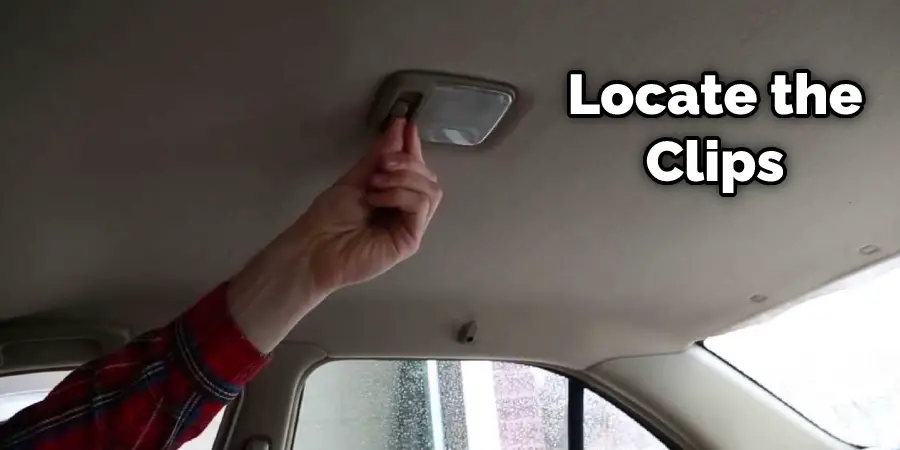
Next, locate the clips that secure your dome light to your roof. Once found, use either your flat-headed tool or door panel removal tool and press down on both of them until they release. Likely, both clips will not pop out at the same time, so be patient while wiggling each side of your dome light gently until you feel it starting to come loose.
Once you have successfully unclipped both sides, set the entire assembly somewhere safe (preferably in a box or something similar, so it doesn’t roll around the engine bay). Proceed to Step 5 if you are replacing just the bulb itself; otherwise, continue reading for instructions on how to remove the entire assembly.
Step 5:
Locate a screwdriver and begin to pry out the tabs on either side of your dome light. With all of them removed, lift on the front part of your old dome light and slide it off towards you (see image for reference). At this point, go ahead and unplug the wiring harness that is plugged into your Dome Light. Set everything aside for now where it won’t get lost and move onto Step 6 if you are only replacing the bulb or continue reading if you need to remove both components. This will help in how to change dome light.
Step 6:
If you are only changing the bulb itself, pull out the tab at the top of your existing bulb and gently pull it down. This should pop the bulb right out, where you can then go ahead and replace it with a new one. Once the replacement has been completed, push the old bulb back into its socket until it pops into place. Next, plug your wiring harness back into the dome light assembly and slide it back onto your roofline, being sure to press down firmly on both sides of your dome light until you hear/feel it click back into place (essentially replicating what you did in Step 4).
Step 7:
If you are replacing both components, you will also need to remove two screws that hold each piece together, located at the bottom of your Dome Light assembly (see image for reference). With those removed, pull up on both parts simultaneously, making sure not to pull out your wiring harness (unless you want to replace it as well). Once both pieces are free of one another, press down on the locking tab at the top of your Dome Light assembly and slide it off towards you (see image for reference).
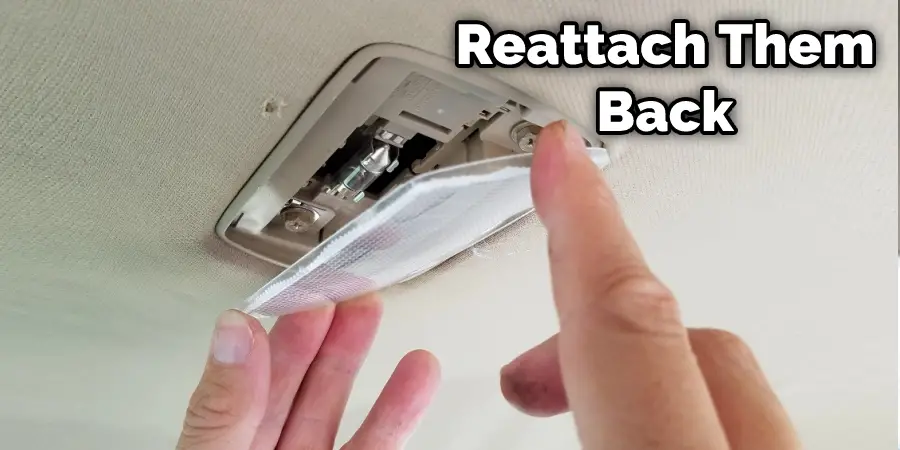
To replace your dome light, unplug the wiring harness from your old dome light and push in your replacement. Once complete, reattach them back together by pressing firmly until they lock in place.
Plug your wiring harness back into the dome light assembly and slide it back onto your roofline, being sure to press down firmly on both sides until you hear/feel it click back into place (essentially replicating what you did in Step 4).
You Can Check It Out to: Change Light Bulb in Wax Warmer
Frequently Asked Questions
Can You Change Dome Light?
Now is the time to unplug the wiring harness from your Dome Light. Simply pull out the old dome light assembly and push in your replacement. Once complete, reattach them back together by pressing firmly until they lock in place.
If you’re undecided about changing your dome light, it’s always a good idea to consult with an experienced contractor or electrician. They will be able to give you advice on which option would be best for your home and situation.
Is It Hard to Change a Light Fixture?
There are several options available that will make the replacement process easier and less time-consuming. One option is to hire a professional contractor who specializes in this type of work. They will have all the necessary tools and equipment and will be able to complete the job quickly and efficiently. Another option is to use an automated system like Starlite’s LIFX LED Lighting + Control System. This system includes a wireless controller that allows you to switch lights on or off remotely from any location in your home, as well as adjust their brightness and color settings.
Why Is It Called a Dome Light?
A dome light is a type of light that is used in automobiles and other vehicles. It is similar in shape to a doughnut and is often used as a marker or indicator light. Dome lights are also known as “driving lights,” “running lights,” or “flashing lights.” Dome lights are generally found in the center of the vehicle’s roof, near the windshield. They may be operated manually or automatically, and typically stay lit when the vehicle’s engine is running. Dome lights can be used to illuminate the interior of a vehicle, making it easier to see at night or in dark areas. They can also be used as a courtesy light, coming on when a door is opened or when the vehicle’s ignition is turned on.
You Can Check It Out To Remove Car Dome Light Fixture
Conclusion
If you’re looking for a quick and easy DIY project, how to change dome light is an excellent idea. You can find the instructions here, but be sure to have all of the tools on hand before starting!