As someone interested in home improvement and energy efficiency, you may wonder how to convert 12v led lights to 120v. It is a very simple process, and in this blog post, we will outline the steps for you. So whether you are planning on converting your whole house to LED lighting or just a few rooms, read on for tips on how to do it yourself!

Converting your 12v LED lights to 120v is important for a few reasons. First of all, it will help you save energy and money on your electric bill. Second, it will make your LED lights last longer since they are designed to run on 120v. Finally, it will make your LED lights function more efficiently and give you better light quality. So if you’re ready to switch to LED lighting, follow the steps outlined in this blog post to convert your 12v lights to 120v!
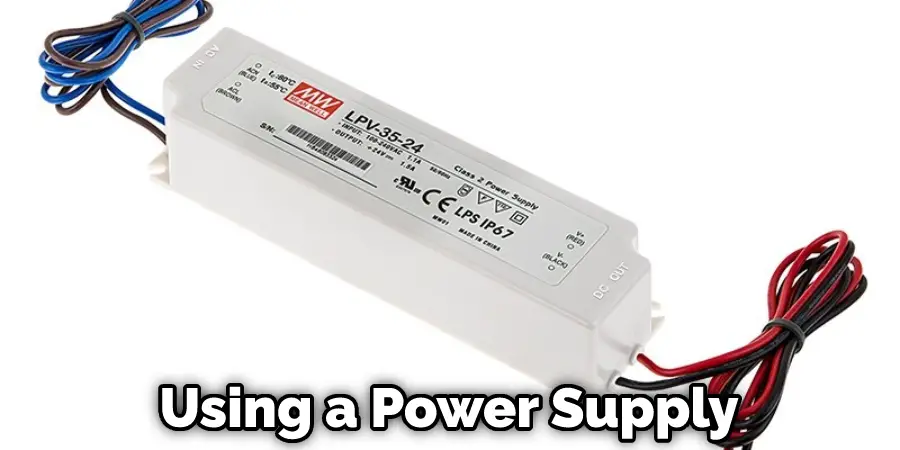
Summary: Converting 12V LED lights to operate on 120V power requires the use of a transformer, also known as a power supply or driver, which reduces the voltage from 120V to 12V. These transformers are readily available in various wattage capacities to match the power requirements of your specific LED lights. To determine the appropriate transformer wattage, add the total wattage of all the LED lights you plan to connect and choose a transformer with a slightly higher capacity to ensure efficient and safe operation.
When converting 12V LED lights to 120V, first disconnect the lights from any existing power source and plan the new wiring layout. Connect the LED lights to the output side of the transformer, which is typically marked as “12V” or “low voltage.” Ensure that the connections are secure and properly insulated to prevent short circuits or other electrical hazards.
Next, connect the input side of the transformer, marked as “120V” or “high voltage,” to the 120V power source, following local electrical codes and safety guidelines. Once the connections are complete, turn on the power to test the LED lights and ensure that they are functioning correctly. By using an appropriately sized transformer and following proper wiring practices, you can successfully convert 12V LED lights to operate on 120V power.
Required Materials
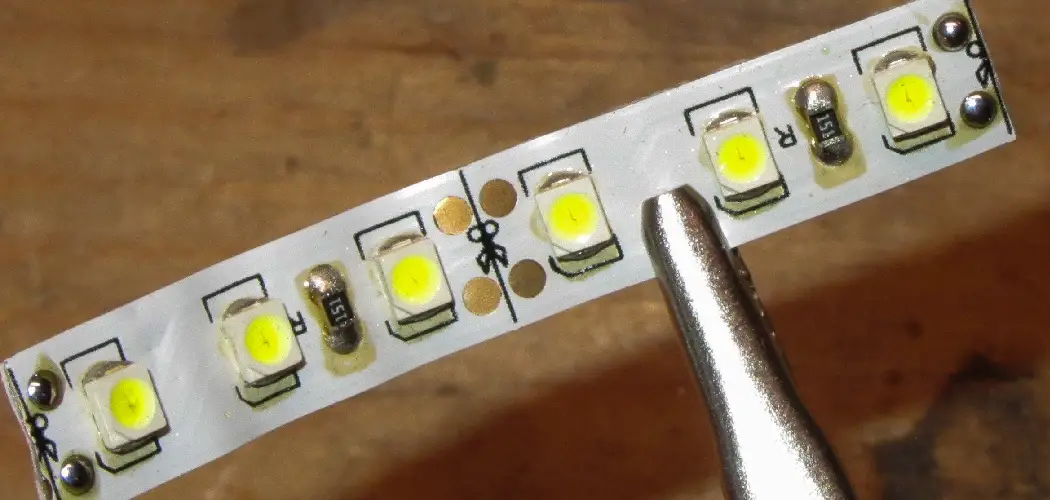
- 12v LED lights
- 120v to 12v transformer
- Wire strippers
- Pliers
- Screwdriver
- Electrical tape
How to Convert 12v Led Lights to 120v Step by Step Guide
Step 1: Get Some LEDs:
The first step to how to convert 12v led lights to 120v is getting some LED lights. You can purchase these either online or at a local hardware store – many people like Home Depot and Lowes for their quality home improvement materials. Make sure the LEDs you purchase are 12v instead of 24v, as those will function differently and will not be addressed in this how-to convert 12v led lights to 120v.
Step 2: the Led:
The next most important part is how many LEDs you want. Be sure that the power supply that you have can support however many LED lights you plan on using at one time. You can start with a 20 watt or 40 watts supply and add more as needed if your LED strip does not have enough power to run all of your lights from the power supply.
Step 3: Power Supply:
The power supply is how 12V of electricity gets converted to 120V of electricity. There are many different power supplies, but the most common ones used for led lights put out a very clean and pure sine wave. The only difference between powering your lights from a wall outlet and using a power supply is how you hook up the connections. Using the diagram above, the positive wire from your lights will connect to the red lead of your power supply, and the negative or ground wire will connect to the black lead on the power supply.
Step 4: Soldering The Connections:
When doing any electrical work (especially with something like led lights), you should always use heat shrink and solder for a secure and lasting connection. Heat shrink is like electrical tape but made of rubber, and its purpose is to insulate the soldered joints from exposure to outside elements such as water, oil, dirt, etc. When you solder the connections of your lights, make sure that you only ever turn on the power supply while you are soldering to be sure that you have a secure connection. Solder the positive wire from your lights to the red lead of your power supply, and solder the ground or negative wire from your lights to the black lead on your power supply.
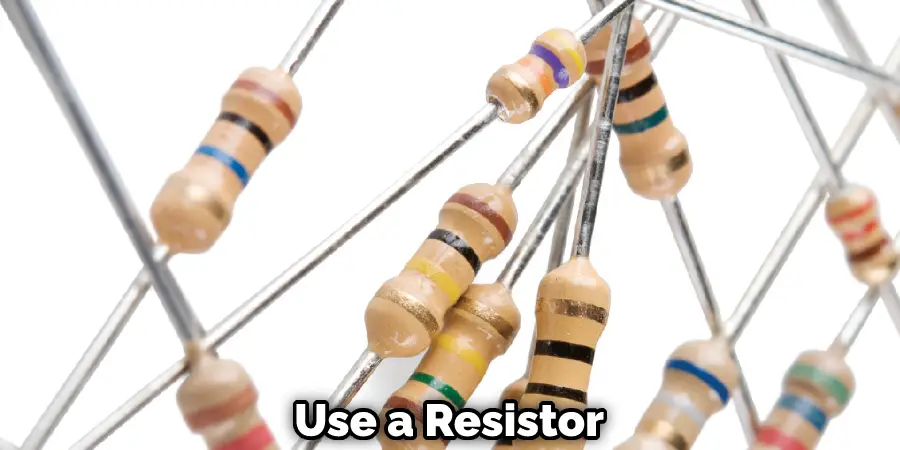
Step 5: Resistors:
Now that you have the LEDs in the correct circuit, there is only one more thing to do. It would help if you had a resistor. David found a 150ohm 1/4 watt resistor was needed for each LED. You can get these at your local hardware store, RadioShack, or order them from us. Click here for resistors.
Step 6: One Led, No Resistor:
If you only have one LED and no resistors, we found that a 150ohm 1/2 watt resistor worked well for one LED, but anything over 75ohms may dim the LED.
Step 7: One Led With a Resistor:
If you have one LED and a resistor, we used three 150ohm resistors to power two LEDs.
Step 8: Wiring Up Multiple LEDs in Series:
David has wired up two LEDs in series for a 36-volt circuit.
David used three 150ohm resistors to power two LEDs connected in series. There is a resistor between each connection. The line coming from the battery goes to all of the negative connections, and there is a wire going back to the positive side of the battery. David found that putting a resistor on each line coming from the negative side of the LEDs and not ground worked the best as it took less wattage to power them (It is actually how we wire our 12-volt lamps).
Another option for wiring up multiple LEDs together in series is to use one 150ohm 1/4 watt resistor and solder it to the strip where all your LEDs are. If you want three LEDs in series, use two 150ohm 1/4 watt resistors and solder them together, so it is one long strip. Then connect both strips to the line from the negative side of the LEDs and run a wire back to the positive side of your battery.
Step 9: Wiring Up Multiple LEDs in Parallel:
The image on the right shows how David wired up two LEDs in parallel.
David used one 150ohm 1/4 watt resistor for each LED, soldering them both to the strip where all of his LEDs were. Then he connected both strips to the positive side of the battery and ran a wire from each strip back to the negative side of the battery.
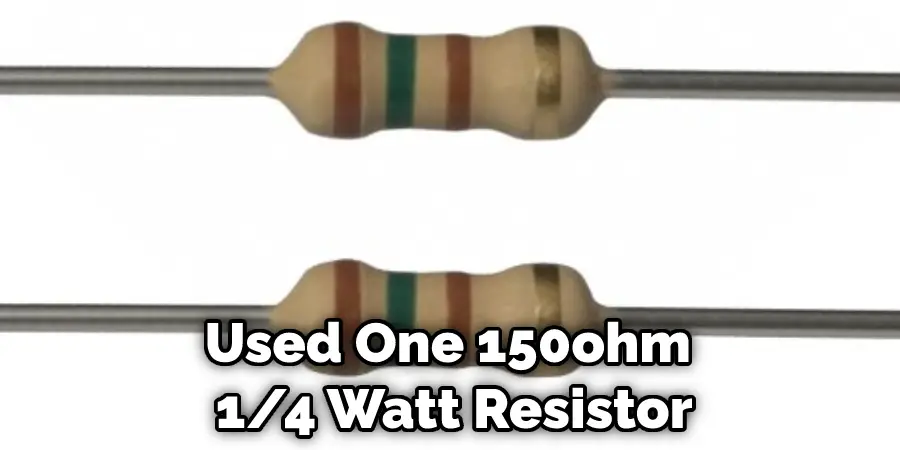
David used one 150ohm 1/4 watt resistor for each LED, soldering them both to the strip where all of his LEDs were. Then he connected one wire from each strip back to the negative side of your battery, but this time on two different lines on the positive side of the battery. This way, you are powering each strip individually.
Note: if the resistor is on the line between LEDs, it does not have to be in line with how you are wiring your circuit.
If you want to wire more than two in parallel, just add another line from the negative side of your LEDs and one resistor for each strip.
Step 10: Extrapolation:
If you have more than three LEDs that you want to be hooked up in series or parallel, keep adding LED strips and resistors for each strip.
Go ahead to post your thoughts on how well these instructions helped! David also found it useful to draw diagrams of how he wanted the wiring done so he could get his ideas across better. You can draw how you want your circuit to be wired up on a separate sheet of paper and take a picture of it with your phone.
Will 110V LED Work on 12V?
The answer to this question is not a simple yes or no. It depends on how many LEDs are in the circuit, how many volts the LED is rated for, and how many watts the resistor is rated for.
David found that if you have more than three LEDs in series or parallel, it is best to use a resistor for each strip. This way, you are powering each strip individually. If you have fewer than three LEDs, a 110V LED may work on 12V, but it is not recommended. Keep reading for more information about how to convert 12v led lights to 120v.
Can You Convert a 12v Light to 110?
Converting a 12v light to 110v can be a bit of a process, but it can be accomplished with a few steps and the right components. The first step is to determine where the 110v power will come from. This can be from an outlet or a generator. Once you have established the power source, you’ll need to check the light’s wattage to ensure it can handle the increased power. If the wattage is too high, it can cause problems with the bulb, the light fixture, or the inverter.
The next step is to install a power inverter. This device converts the DC power from a 12v battery into AC power, which is necessary for 110v lights. You will need to properly install the inverter between the power source and the light. Be sure to connect the inverter to the battery terminals properly.
After the inverter is properly installed, you can connect the light fixture to the inverter. Follow the instructions provided with the inverter and light fixture for proper connection. Once you have connected the fixture to the inverter, you will want to test the connection to verify that the light is working. If the light fixture is not functioning, re-check the wiring connections and try again.
You Can Check It Out To Wire Led Lights to 120v
Frequently Asked Question
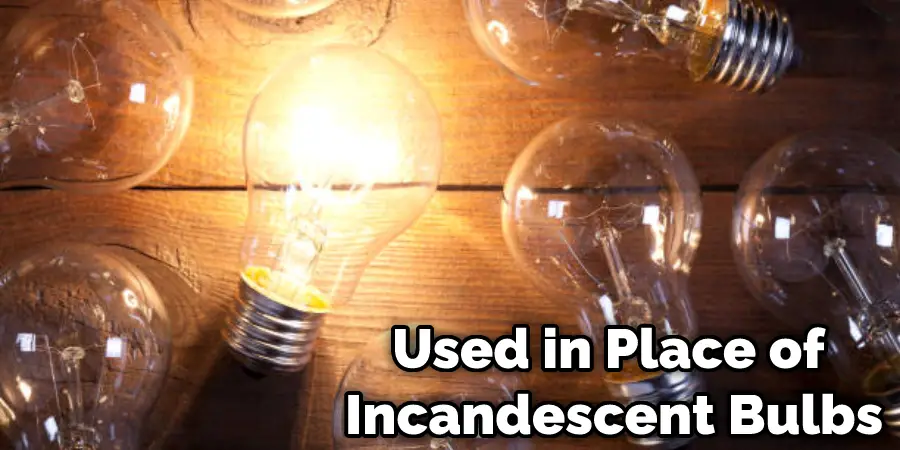
Are There Any Downsides to Using Led Bulbs Instead of Incandescent Ones?
There are a few downsides to using LED bulbs instead of incandescent ones. The first is that they can be a bit more expensive. The other downside is that they don’t always work with dimmer switches.
Can I Use Led Bulbs in Place of Incandescent Bulbs?
Led bulbs can be used in place of incandescent bulbs, but there are a few downsides to using them. The first is that they can be a bit more expensive. The other downside is that they don’t always work with dimmer switches.
What Is the Best Way to Convert 12v Led Lights to 120v?
There are a few ways to convert 12-volt LED lights to 120-volt. The best way to do it is by using a resistor. You can use one resistor for each LED or put them all in series or parallel. Another option is to use a transformer, but it is not as efficient as using resistors.
Can you use a 12v LED on 120v?
The short answer is yes; you can use 12v LED lights on 120v. However, you will need to use a resistor to do so. You can buy resistors at your local hardware store, RadioShack, or online.
Are all LED lights 12 volts?
No, not all LED lights are 12 volts. Instead, LED lights come in various voltages, including 12 volts, 24 volts, and 110 volts.
Can you run 12V LED lights on 18v?
Yes, you can run 12V LED lights on 18v. You will need to use a resistor to do so.
Conclusion Paragraph
If you are looking for how to convert 12v led lights to 120v, look no further. Our simple guide will take you through the process step-by-step. Follow these instructions, and in no time, you will have converted your 12v light fixtures to run on 120v electricity.
You Can Check It Out to: Hook Up a 12v Light to 110