If you’ve ever needed to get your car moving as quickly as possible, you know that the hazard light switch can be a real pain. This article will show you how to bypass the switch so that your car can be driven without the flashers on.

Keep in mind that doing this is not legal in all states, so please consult your local laws before proceeding. However, you can learn how to bypass hazard light switch and save yourself some time with this simple guide! With that said, let’s get started!
Summary: Bypassing a hazard light switch can be a temporary solution when the switch itself is malfunctioning or damaged, causing your hazard lights to be inoperative. This procedure involves creating a direct connection between the power source and the hazard light relay, allowing the hazard lights to function without using the switch. Bypassing the hazard light switch should be considered a temporary measure, and it is advisable to consult a professional mechanic for a proper repair or replacement of the faulty switch.
To bypass the hazard light switch, first, locate the hazard light relay in your vehicle, which is typically found in the fuse box under the dashboard or in the engine compartment. Consult your vehicle’s owner’s manual or wiring diagram for the specific location and relay identification.
Once you’ve located the relay, identify the power input terminal and the output terminal for the hazard lights. Disconnect the battery before proceeding to ensure safety. Using a jumper wire, create a connection between the power input terminal and the output terminal of the hazard light relay. This connection will effectively bypass the faulty switch, allowing power to flow directly to the hazard lights when the ignition is turned on.
Keep in mind that with the hazard light switch bypassed, the hazard lights will be active whenever the ignition is on, which may not be ideal in some situations. It is essential to address the root cause of the malfunctioning switch and replace or repair it as soon as possible. Remember that working with your vehicle’s electrical system can be hazardous, so if you’re unsure or inexperienced, it is always best to consult a professional mechanic to avoid potential damage or injury.
How to Bypass Hazard Light Switch Stepwise guide
Step 1 : Determine the Hazard Switch Lead
Turn the ignition to position II (not start) to see which terminal is positive and negative. If you do not have a voltmeter, disconnect the battery and find out which wire is positive and negative by using a continuity test.
To find continuity between the two terminals on the hazard light switch connector, you will need to know which wire is positive and negative. Hooking up the LED correctly will ensure that the light is switched on in the event of a hazard.
Step 2 : Identify the Terminals
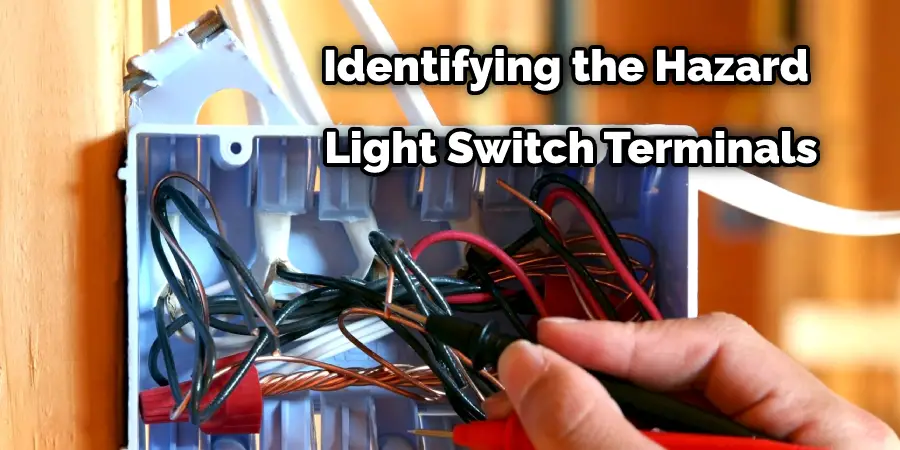
The hazard light switch has two terminals with a lock pin mechanism. The pins are located at the bottom of the connector under a metal tab. To release the pins, push down on the metal tab.
Note : In some cases, it may be easier to remove them by pushing up on the tab instead.
The positive wire has a red stripe. The negative wire is your standard black wire.
Step 3 : Release the Lock Pins
When you have determined which wire is positive and negative, turn on the hazard lights on your car to determine which terminal on the switch is positive or negative.
To figure out which terminal is positive and which is negative if they are not marked, turn on the hazard lights and place one lead on each terminal. The terminal with more voltage is positive, while the negative terminal will have less voltage.
You need to find out which wire is positive and which is negative. To do this, push down on the metal tab. The pins should be at their lowest point when they are in their standard position. However, you will find that they are raised slightly due to the internal spring mechanism.
Pushing them down can be difficult because there is not enough room to get down there. The best way I have found is to use needle-nose pliers.
Note: You can also release the pins by pushing up on the tab instead of pushing it down. However, this may take more pressure than you can apply using your fingers.
Step 4 : Disconnect the Pins
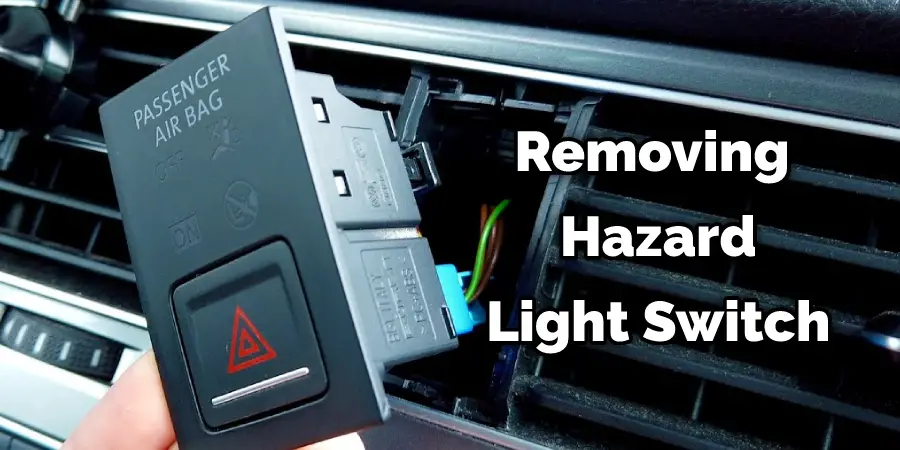
Unlock the hazard switch by pushing down on the tab and pulling out both switches. After removing both buttons from their locked position, be careful as some fluid from the hazard light switch may have started to move into the connector. Also, the leads may still be connected to the controller.
Step 5 : Prepare the Led
Strip about 1/4″ of insulation off of the end of each wire that you are going to use for this project. You will need two total – one for the positive lead and one for the ground lead.
Next, push the exposed wire into each of the terminals on the hazard light switch.
Do not crimp any connectors onto the exposed wire until you are certain that it is in its correct position. Always solder your connections instead of using a crimp connector for a stronger hold that won’t come undone if tugged on by accident.
Step 6 : Connect the Led and Resistor
Now it is time to attach your LED and resistor. Plug the LED into the positive lead of the hazard light switch. If you want, you can also cover it with some heat-shrink tubing or electrical tape to help reduce any chance of the LED shorting out.
A resistor is a small device that is placed in between the negative lead and the ground. The resistor helps to lower the amount of current going through the LED, which reduces heat and makes the LED last longer.
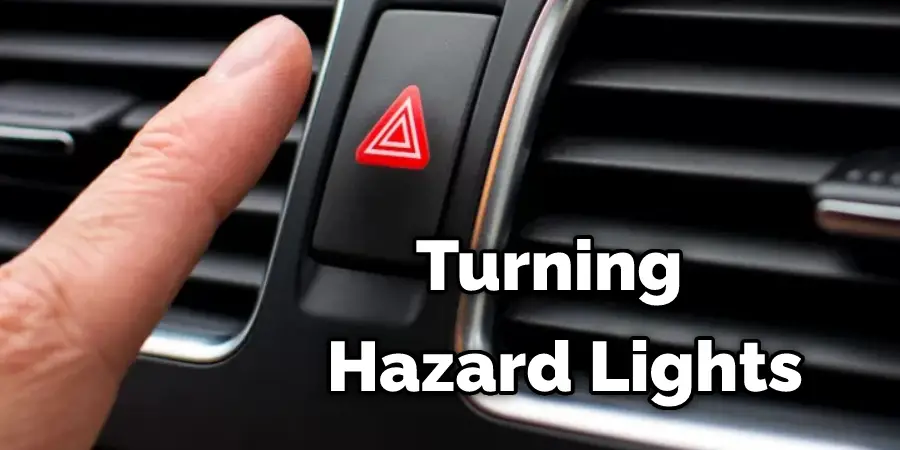
Step 7 : Bypass the Switch
After making all of your connections, it is time to close up the connector and bypass the hazard switch. Go ahead and plug both of the terminals into their respective positions on the hazard light switch.
At this point, you may want a final test before putting everything back together to ensure that all connections are correct. To do this, turn your hazard lights on and plug in the connector.
One of Two Things Should Happen :
- The light should not come on at all, or 2) it will come on for a split second and then back off. If #2 happens, you have an issue with one of your ground terminals being loose, so recheck it to ensure that everything is secure.
- If the LED does not light up, you have an issue with the polarity of one of your LEDs being backward, so simply swap which wire goes to which terminal on the switch.
- Once you are sure that everything is correct, go ahead and take a pair of needle-nose pliers and push down on both of the metal tabs at once. This will make both pins go down simultaneously and lock them into position until you push on one of them.
Step 8 : Reconnect Battery Cables
The final step is to reconnect your battery cables again. If you are using a test light for this project, simply remove it before reconnecting your battery. Otherwise, you may need to disconnect the negative terminal first and reinstall it last.
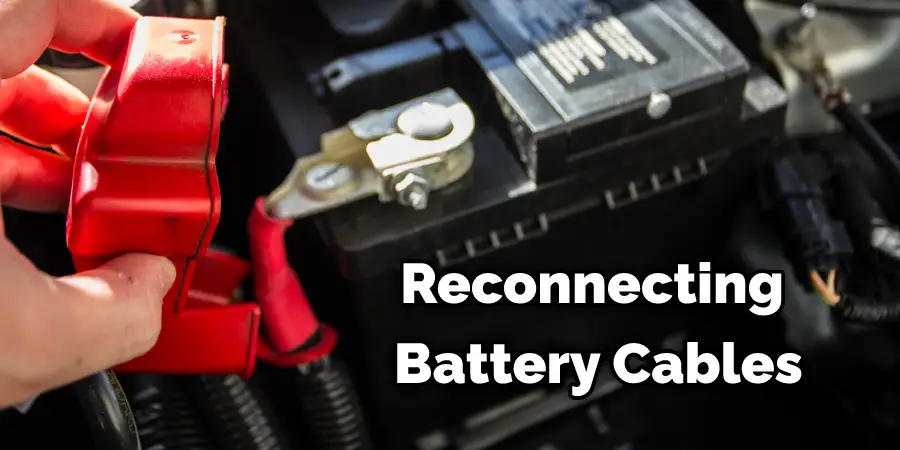
Once everything is back together, and all connections are secure, go ahead and turn on the hazard lights again to make sure that they work as expected. If not, check over all links one more time to be specific.
Step 9 : Enjoy!
After everything is verified to be working as expected, go ahead and put your interior back together. If you want to turn the hazard lights on from outside of the vehicle, you can hook a switch-up in a convenient location that will activate when the current runs through it.
You can check out it to Make Third Brake Light Flash
Tips and Warning
Tips
- If you are not sure about what type of LED to use, I’d recommend getting one that has a resistor built into it. This will make your life easier by eliminating the need for the resistor in this installation.
- While you have everything apart, check over the hazard switch itself to ensure no fluid leaking out of it. If there is, it will need to be replaced, so contact a certified mechanic or local dealership to have it serviced.
- If you are having trouble with any of the connections coming loose, then feel free to solder them on instead of using crimp connectors. This makes for a much more permanent installation that will last longer.
Warning
- If your machine has airbags, then you MUST ensure that any modifications do not interfere with the bags or their operation. This includes removing the orange connector from inside the seat to gain access to this particular hazard switch.
- If you are unsure if this mod will affect them in any way, then consult a certified mechanic before you start anything to make sure everything is clear.
Frequently Asked Question
How Does a Hazard Switch Work?
A hazard switch is a switch that is used to turn on the emergency flashers or hazard lights on a vehicle. It is usually located in the cabin of the car near the driver’s seat. When it is activated, it will send a signal to the flasher unit to turn on the emergency flashers.
Where Is the Hazard Light Relay?
The hazard light relay is a part of the car’s electrical system that turns on the emergency flashers. It is usually located in the fuse box or near the battery.
How Do You Test a Hazard Switch?
Testing a hazard switch is a relatively simple process. All you need is a test light or multimeter. If you are using a test light, then simply remove it from the circuit before reconnecting the battery.
If you are using a multimeter, then set it to continuity mode and touch the probes to each of the terminals on the hazard switch. There should be a beep or audible tone when you touch them together if the switch is working correctly.
You Can Check It Out to: Keep a Light Switch Always on
Conclusion
The Hazard Light Switch is a safety feature that prevents the car from being turned on without first checking for danger. It’s important to know how this switch functions to avoid future problems.
Most importantly, you should never bypass the hazards light switch because it can lead to severe consequences! Thanks for reading our post about how to bypass hazard light switch.
You may read it also – How to Remove Ceiling Light Cover With Clips