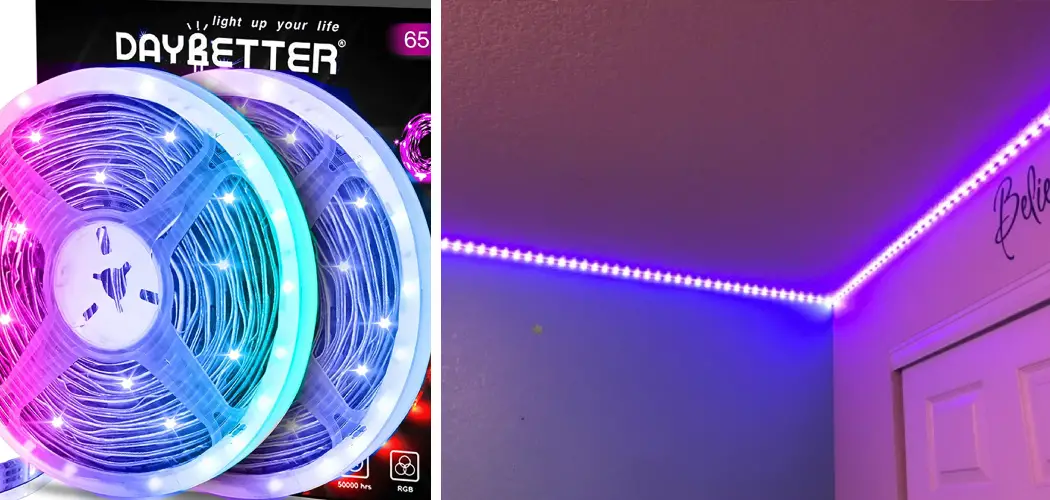
Installing Daybetter led strip lights is a great way to improve the look and feel of your home or office. However, it can be tricky to know which type of light strip is right for you with so many different options. In this article, we’ll discuss how to install daybetter led strip lights step-by-step so that you can get started as quickly and efficiently as possible. Let’s get started!
Daybetter ked strip lights are great for adding light and style to your home or office. However, there are a wide variety of different types of strip lighting available, so it can be tough to know which is right for you. Therefore, it’s essential to consider the purpose of your strip lights before you make a purchase.
Summary: To install daybetter led strip lights, start by cutting the desired length of wire using a wire cutters. Strip one end of the wire and solder it to the positive (+) pole on one light fixture. Strip the end of the wire opposite the solder joint and solder it to the negative (-) pole on the same light fixture.
Things to Know Before Installing Led Strip Lights
Density:
We buy LED strip lights because they use less power than regular light bulbs. However, if the cable is too thick, it will produce a lot of heat. The heat will reduce the life of the cable and produce a whitish glow at night.
Sometimes you can use up to 100 or 120 LEDs per watt without any problems. However, on some occasions, using aluminum faceplates on your cabinets can cause the number of LEDs per watt to be reduced significantly. Therefore, we recommend not using more than 60 LEDs per watt.
Selection:
Different LED strip lights come from different suppliers, and some of them provide better quality LEDs than others. So it would help if you considered this before buying your lights. To tell the difference, for starters, look at the power consumption of your strip light (take note if it says “per foot” or “per meter”), which is stated on the power supply box.
To determine whether a LED light is good or bad, divide its power consumption (in watts per foot) by 3 to get its power consumption in watts per meter. This will give you an idea of whether it’s good or bad. However, be aware that higher power consumption doesn’t necessarily mean it is better, just that the manufacturer has paid more attention to detail on their product.
Color:
White is the standard for LED strip lights; however, if you want something that has a color-changing feature to match your mood or the season, then there are other options available. For example, 3-in-1 kits have warm white, cool white, and multicolor styles in one kit.
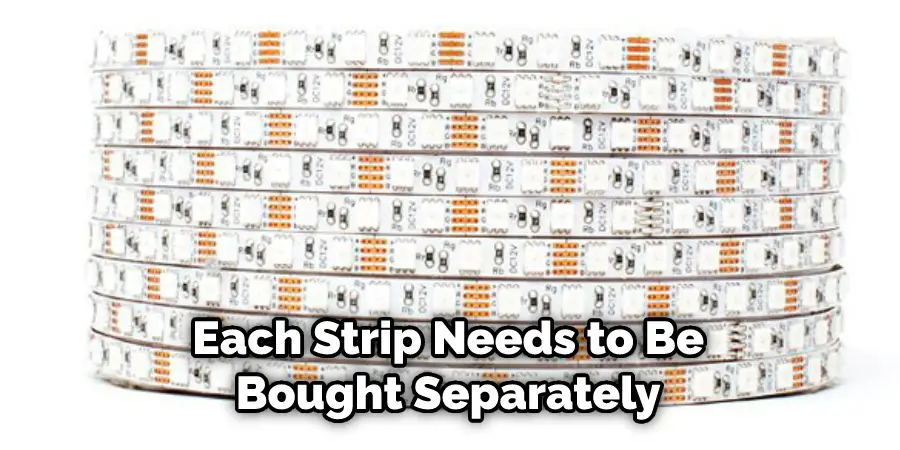
You will need to get separate strips that all emit the same color; each strip needs to be bought separately and then connected using connectors (comes with most kits). In addition, you need to know about LED strip lights because they only pump out one single-colored light (red, blue, green, etc.) and therefore cannot produce a mixture of colors.
There are four primary LED colors: Red, Green, Blue, and White. By mixing these four colors in different quantities, you can produce any other color, not on this spectrum (e.g., yellow).
If you want a light strip that can emit all the colors, you would need to buy either RGB or RGBA strips which tend to cost more than single color strips. Also, ensure your power supply has enough watts for the number of LEDs, or they might start dimming over time due to heat production.
Wattage and Powering:
The wattage of the strip does not matter for this application. You can use any 5-volt power supply or battery to fit inside your box. Just be sure to double-check the amperage of the LED strip you choose! Many strips will recommend a suitable power supply based on its length and number of LEDs, so read up on your selected strip first!

Daybetter uses 12″ lengths, which would consume around two amps at full brightness. It is recommended to go for an external 5 volts DC power brick instead of powering it directly from the Arduino’s USB port. The reason is that some Arduinos cannot provide enough current for all 32 RGB LEDs (2 amps), even when set at maximum brightness through the serial monitor.
If you are powering your board directly from the Arduino or an external power supply, connect GND to familiar ground with the strip! The pins on the Daybetter go by this order: VCC, DIN, DOUT, CLK. If using external power, please be aware that your LEDs will require the reverse voltage across the red and green channels after drawing current through it. Please follow below polarity recommendations below when powering externally with a DC power supply.
Powering from outside:
You would only need to give your strip 5V on one of its connectors (i.e., whichever is closer to the input GND point). The board will automatically sense the incoming voltage and step it down to 3.3 volts before powering itself on. How cool is that? 🙂
Powering from inside:
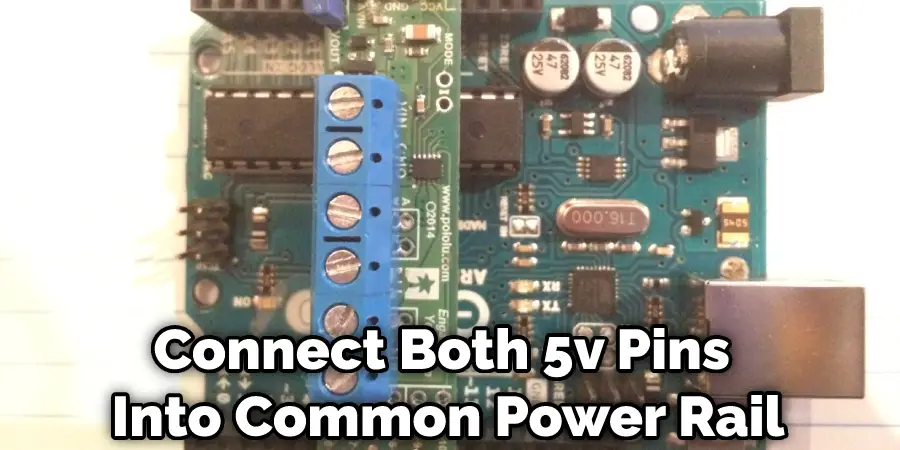
If, for some reason, you want to let your led strips light up even when they’re not receiving power wirelessly, then be sure to connect both 5V pins into common power rail and wire GND of D10/D11 pin as well.
Dimming LED Strip Lights:
If you are using a 5-volt power supply, then the strip will be on maximum brightness. If you are using an Arduino, connect it to your computer and set the correct number of pixels across by changing the corresponding value in the code. For example, if you have 30 LEDs per meter, change pixels across = 30 into pixels across = 60.
To test this out, remove all connections until only DIN is connected to Digital Pin 10 on your Daybetter board. Then open up your Serial Monitor window at 9600 bauds speed and give it some color commands (e.g., R 255, G 0, B 127 ). This will produce excellent results! You can also control them with potentiometers or buttons! Also, when you are finished playing with the LEDs, close the Serial Monitor window and connect all your wires back.
Tools and Materials
- Daybetter RGB LED Strip Lights (of course)
- Soldering Iron and solder
- Wire strippers and cutters (needlenose pliers work in a pinch)
- Fire extinguisher or bucket of sand (for soldering mishaps, you never know!)
A Step by Step Guide on How to Install Daybetter Led Strip Lights
Step 1:
Determine where you want to install the lights. I wanted my strip on the back of an entertainment center, so I got some measurements and decided where I wanted it before taking more steps.
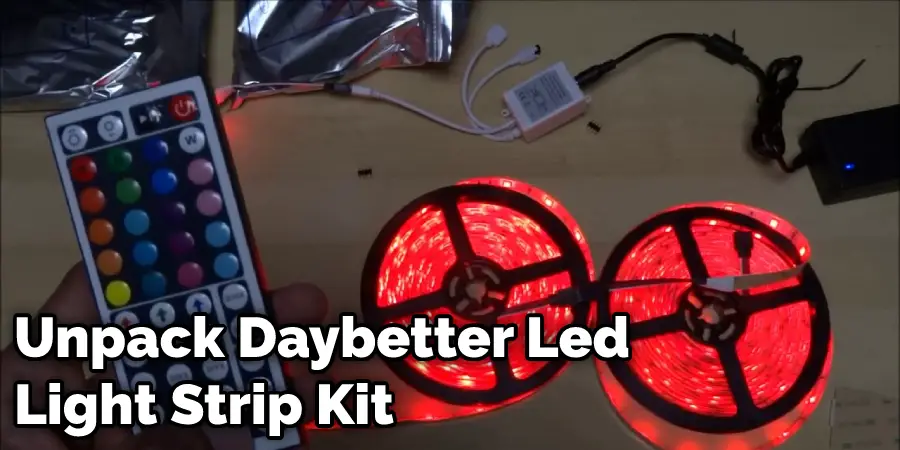
Step 2:
Unpack your Daybetter LED light strip kit! The kits come with everything you need to get running. Step 3: Start by cutting off one end of the power connector that is already run through the entire length of the LED Strip. Peel back a bit of heat shrink material and expose about 1″ or so of wire inside– it doesn’t matter which color, pick one side to start with, either positive or negative (I began on negative).
Strip away about 1/4-1/2″ of insulation from each wire and twist them together to get a good connection. If you are using the Daybetter strip lights, there is no polarity–so it doesn’t matter which wire goes positive, negative, or even on both ends of the connector. Solder these two wires together and then use heat shrink tubing to cover them for insulation purposes.
Step 4:
Now that you have one end run through the entire length of LED Strip light (you might want to cut off an extra 6″ or so in case you need it later if something goes wrong) and soldered together let’s connect it to the power input side of your connectors.
Here I used some spare wire I had laying around because I didn’t feel like using up all my solder for this project (my soldering iron hasn’t had fresh solder put on the tip in a few years now, and it is getting pretty bad). Strip away about 1/4″ of insulation from each wire and twist them together to get a good connection.
Step 5:
Do the same thing you did for the power cable that runs through your LED strip light kit. -Solder these two wires together and use heat shrink tubing to cover them for insulation purposes.
Step 6:
Now we need to connect those extra wires from those connector pieces to our Daybetter LED strip lights inputs- this way, your plain white LEDs will turn into gorgeous colors! In my example here, I am using red+wire input and black ground input– match up which color wire goes to which information and solder them together. Then use heat shrink tubing to cover for insulation purposes.
If you are using the Daybetter strip lights, there is no polarity–so it doesn’t matter which wire goes positive, negative, or even on both ends of the connector. So instead, solder these two wires together and then heat shrink tubing to cover them for insulation. This is a crucial step in how to install daybetter led strip lights.
Step 7:
Connect your power supply’s DC jack to the other end of the power cable that runs through your LED strip light kit– match up + with +, – with – (if you get confused at all).
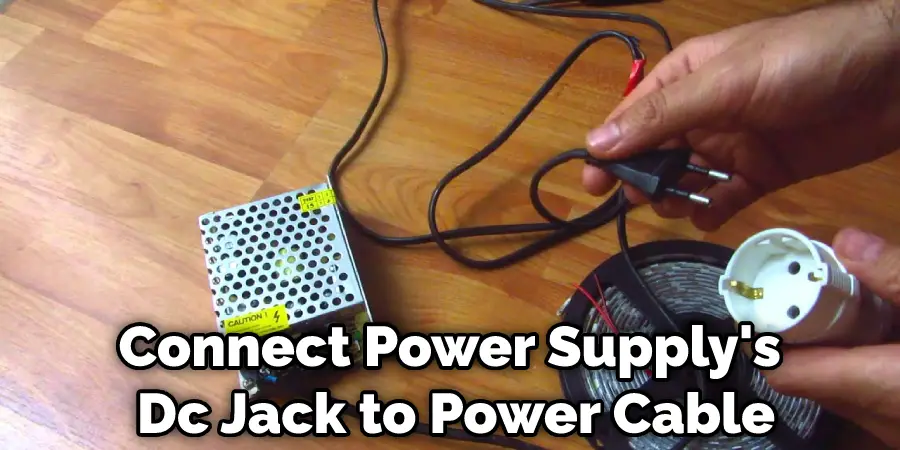
Make sure not to cross any wires when connecting it! Once again, if you are using one of our kits, I made sure to take a picture of which wire should go to the positive terminal, negative terminal, and where you have some extra slack–it doesn’t matter on our kits which way it goes unless you short out the power supply.
Step 8:
Now that all your soldering is done, you can test your LED strip lighting! First, connect both ends of your cable to the terminals on the back of our power adapter- + with + first, then – with -. You will need to make sure you are putting it in the right direction, or else this won’t work- if it isn’t working, try switching each wire connector around on both ends.
Once it’s connected properly, flip one switch up for total voltage output (you want at least 12 volts) and the other down for a lower voltage output (if you want it to be dimmer, which is usually preferable).
If your lights are still not working at all, flip both switches up, and you should have full brightness– if they are flickering or plain don’t work, then the chances are that there is a wire that isn’t connected correctly somewhere in the system. In this situation, I recommend starting from scratch and checking all of your solder connections.
Step 9:
Make sure your Daybetter LED strip lighting kit comes with the adhesive backing already attached– if not, peel it off and apply it to a flat surface before sticking them onto whatever you want! The adhesive on our strips will last forever, so there’s no need to worry about it peeling off.
Once they’re stuck somewhere, you can use a power drill to drill holes through each strip’s back and run your LED lighting wires through them so they aren’t visible from your board’s front.
Step 10:
I used a Dremel tool with a cutting wheel attachment to cut out a few openings for my Daybetter LED strip lights since this is going on top of a desk where cords may potentially get run over by people’s feet or chairs if they aren’t careful.
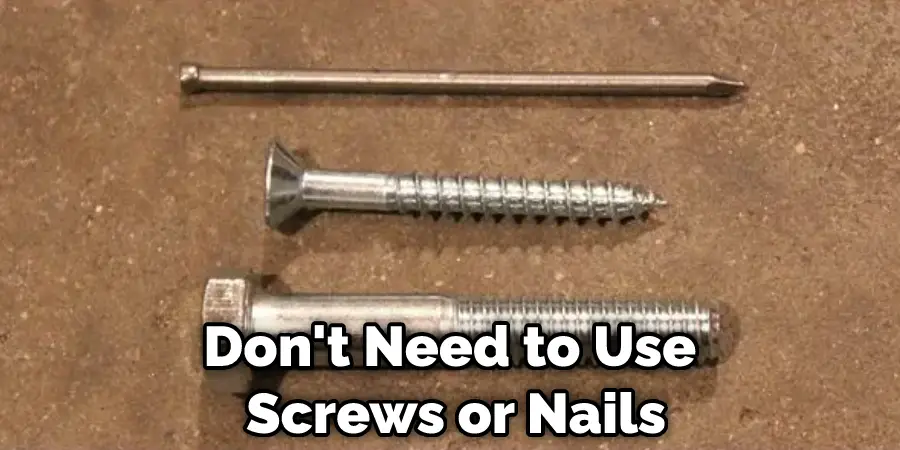
You can also do things like put loom over your wires here. However, that will significantly increase the cost of materials (get some 1/2″ 4-way loom). In my case, I am using standard LED strip lighting mounting brackets to hold it up– the adhesive on the strips is strong enough that I don’t need to use screws or nails, though. So now you’re done with your LED strip light installation! These steps will help you in how to install daybetter led strip lights.
Frequently Asked Questions
Can You Connect Daybetter Led Strip Lights?
DAYbetter Led Strip Lights are designed to connect easily and wirelessly with other DAYbetter products such as dimmers, motion sensors, the DAYbright controller app, or door/window contractors. This means that you can create a custom lighting solution that is tailored specifically to your needs.
Additionally, the integrated microcontroller ensures that all your lights are managed seamlessly from one location. You can also programmatic changes in brightness and color using the Daybright controller app for increased control over your environment.
The included mounting hardware makes it easy to install these strips on any flat surface. And because they are energy-efficient, these LED strips consume very little power, so you’ll never have to worry about bills or wasted resources again!
Where Do You Cut Daybetter Led Strip Lights?
Day better makes it easy to cut your led strip lights into the perfect shape by providing a simple guide with each order. Simply peel off the protective film and cut around the desired shape using a sharp knife. Then, just press down firmly on both sides of the light piece to secure it in place, and you’re ready to go!
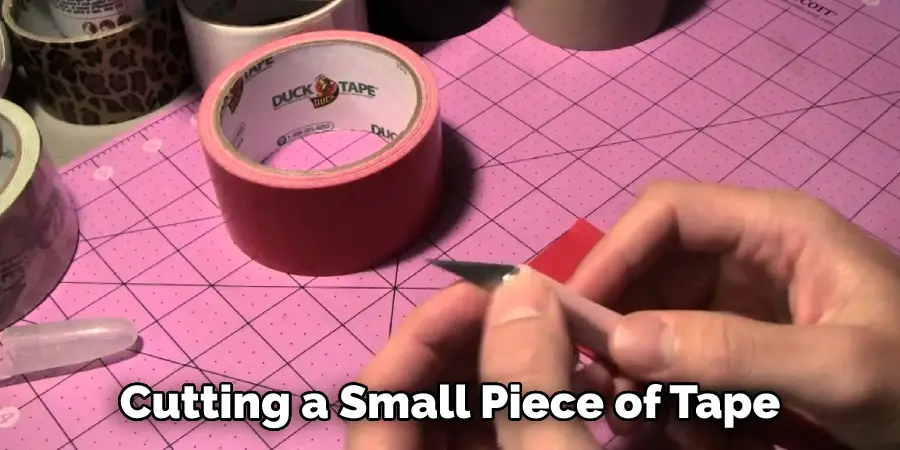
Do Led Strip Lights Still Work When Cut?
This will help to ensure that the LEDs are still working and providing the desired level of illumination. You can do this by cutting a small piece of tape across one end of the LED Strip, then testing how brightly the light shines when lit from that end. If it’s not bright enough, you may need to replace some of your LEDs.
Can You Trim Led Strip Lights?
There are a few things you need to keep in mind, though. First, be sure to use the correct tools for the job. You’ll need an oscillating tool or a blade to cut the wires and a wire stripper if the lights have secure connections (most do). Secondly, be careful not to cut too much wire – just enough to remove the unwanted section. Thirdly, make sure to use a temporary connector to connect the wires while you’re working so you don’t lose any continuity (and thus power).
You Can Check It Out To Connect Led Strips Without Soldering
Conclusion
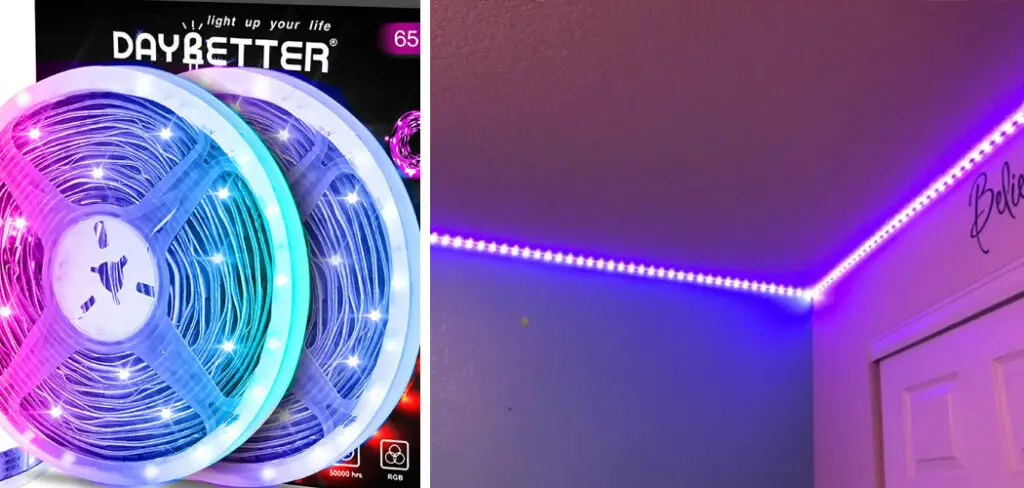
Daybetter LED strip lights are the perfect addition to any home. They can be used for different purposes, from accent lighting in a hallway or under cabinets in your kitchen to providing light on an outdoor patio, so you don’t have to worry about tripping over anything while entertaining guests. You can also use them as mood lighting with color-changing options!
We hope you have gone through the article on how to install daybetter led strip lights follow every step of the installation, and make sure that everything is set up correctly before they leave at no extra cost.