We’ve all been there. You go to bed but leave a light on so you don’t have to worry about getting up in the dark. Then, you come down the stairs the following day and trip on something because the light switch was off. Ugh! In this article, we’ll discuss how to keep a light switch always on, so you never have to worry about it again.
Light switches are mechanical devices with a life expectancy of approximately 10,000 to 20,000 from the time they are manufactured. Therefore, if your light switch doesn’t seem to be working like it previously did, you may need to replace it entirely. However, in most cases, the cost of labor and parts is well below the cost of purchasing a new fixture for your home or business.
Summary: Keeping a light switch always on is sometimes necessary when you want to ensure continuous power to a specific device or fixture, such as a smart home device or security system, without the risk of accidentally turning it off via the switch. There are a couple of methods to achieve this: either by disabling the switch itself or by bypassing the switch at the electrical wiring level. It is crucial to follow safety precautions and, if you are not experienced with electrical work, to consult a professional electrician for assistance.
Before attempting any modifications, turn off the power supply to the light switch at the circuit breaker to minimize the risk of electrical shock. The first method involves disabling the switch itself. Remove the switch cover by unscrewing it and carefully place a switch guard, which is a small plastic or metal plate, over the switch in the “on” position. Reattach the cover, securing the switch guard in place.
This will prevent the switch from being inadvertently turned off while still allowing access to the switch if needed. Alternatively, you can bypass the switch by connecting the wiring directly. Remove the switch cover and unscrew the switch from the electrical box.
Carefully disconnect the wires from the switch, then use a wire nut to connect the hot (black) wires together, effectively bypassing the switch. Secure the wire nut with electrical tape, and carefully push the wires back into the electrical box. Replace the switch cover, or, if desired, install a blank cover plate to conceal the electrical box.
Whichever method you choose, it is essential to follow safety precautions and, if you’re unsure or inexperienced, consult a professional electrician to avoid potential damage or injury. By keeping a light switch always on, you can ensure that specific devices or fixtures receive a continuous power supply, preventing any accidental disruptions.
Required Tools and Materials
- Power drill and Phillips head bit
- Fluorescent light bulb (The kind that glows even when the power is off)
- Wire cutters and strippers
- Wire nuts
- A piece of scrap wood
A Detailed Guide on How to Keep a Light Switch Always on
Step 1: Determine How the Light Switch is Wired
Before attempting to wire a light switch to be always on, you need to determine how the existing switch is wired. The easiest and most surefire method is using a multimeter. First, please set it to AC voltage and plug the multimeter in. Next, touch one lead of your multimeter to the screw on one side of the light switch and touch the other lead to each terminal screw individually. It would be best if you got something like this:
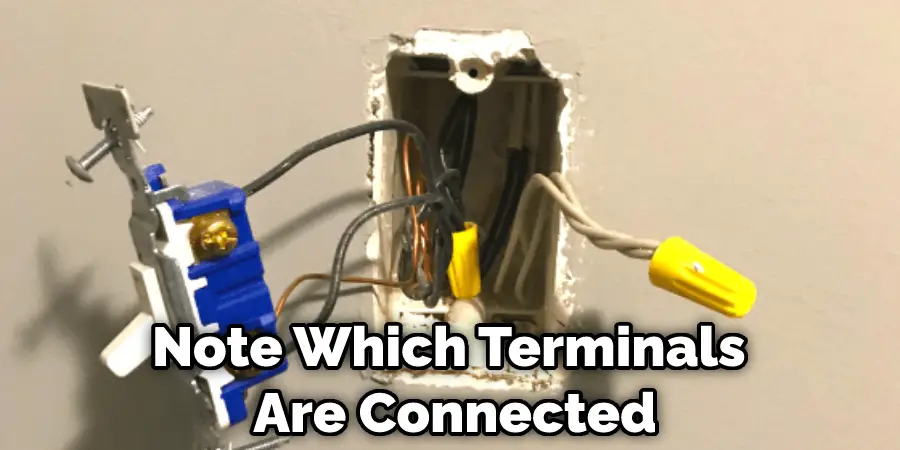
Please note which terminals are connected by touching both leads together at once (this means they both have power). This connection needs to be broken for our installation to work correctly. If any terminals aren’t connected when you touch them both together, they are either switched or not wired, which will make no difference to our project.
Step 2: Disconnect the Wiring in the Box
Now that you know how this particular light switch is wired, disconnect the wiring by unscrewing all of its screws and pulling apart any wire connections. Be sure to keep everything organized so when you rewire the new light switch, it’s easy to find what goes where. In our case, we have a black wire coming in from one side and a white wire going out from another side here.
With your wires disconnected from their current switch, pull some extra slack in them near where they connect so when they get reconnected later, it makes for a cleaner installation.
Step 3: Wire the New Switch to a Live Terminal
Now twist your colored wires together and screw on some wire nuts. This will keep them from touching or anything else they shouldn’t touch. Then, tape over that with electrical tape. In our case, we’ll connect the incoming black wire with the outgoing white one like this.
Next, you need to either connect another piece of stranded copper wire between these two or — much easier and more common — use an existing live terminal instead. This will ensure we have power running through our switch even when it’s off and allow us to control it remotely much more quickly than if we had cut its power completely.
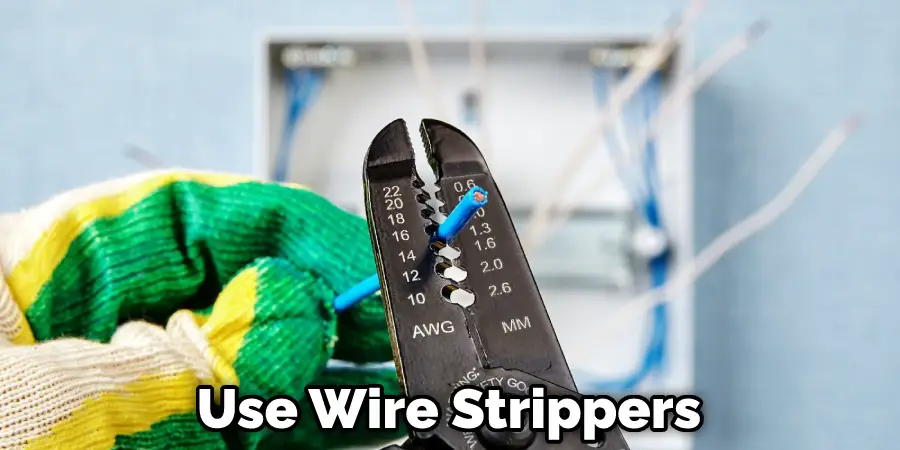
Just use your wire strippers and cutters to strip a little insulation off the end of the black and white wires and then twist them together and screw on a wire nut:
Step 4: Connect Your Solid Ground Wire
This is telling you how to connect the ground wire to the switch. You will need a screwdriver and a nut to secure it to the screw. The ground wire is usually green. If there is no green screw, you can connect the ground wire to the metal part of the switch.
Step 5: Prepare Your Fluorescent Bulb for Installation
Take apart something like an empty bottle or box that’s big enough to hold your fluorescent bulb and find or cut out a hole in it large enough for your base to fit through comfortably without touching anything inside. Please make sure you can quickly get at whatever power cord you’re using once it goes through!
Drill a small pilot hole first before cutting the hole to make sure you’re cutting in the right place. Next, cut a length of wire to reach from your switch box (wherever you put it) to where your cable attaches inside the base of your fluorescent bulb. Twist both ends together, strip the insulation back on one end (so there’s only bare metal touching), and screw them into an appropriate terminal on your light switch like this:
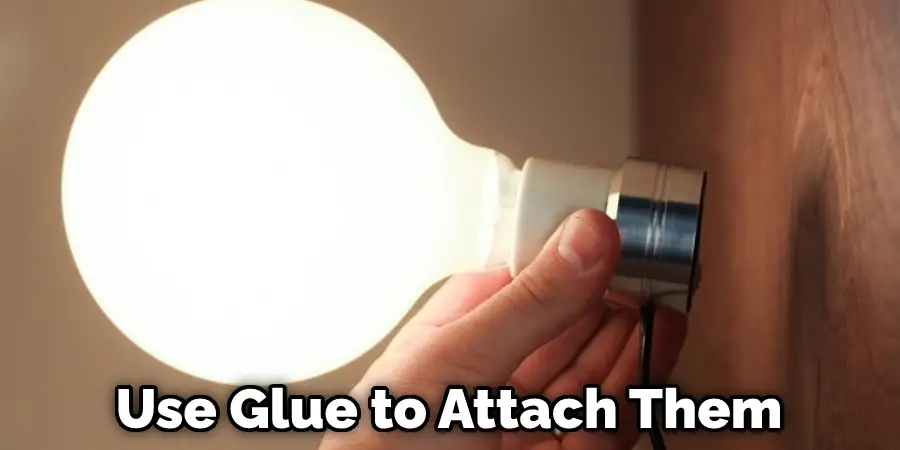
Not all light switches will have terminals for these wires or even allow them to be attached using screws. Sometimes they snap in somewhere, or sometimes you need to use something like glue to attach them without disassembling anything. Use whatever works best for your particular switch while still allowing these two wires to connect properly — insulate any bare parts with electrical tape.
Step 6: Reassemble the Light Fixture
Now screw your bulb into whatever lamp or other light fixture you’ll be using it in (keeping all wires well away from anything hot), reattach any parts to keep outside elements out of the inside, and then put everything back together again. How simple or complicated this process is will depend on your specific model of fluorescent light, its design, and how many pieces it’s broken down into — but it usually only takes a few minutes once you know what you’re doing.
Then push your new remote-controlled switch through the hole you made for it and attach it however best fits your needs with screws or glue or whatever else works for you! You can also use staples if need be; tape is a possibility too if it’s not going to get wet or bumped around a lot, etc. I used the screws that came with my switch. You can find cheap sets of various sizes of screws at any hardware store, usually in one of those big plastic bins full of other small stuff.
Finally, ensure your switch stays securely attached and in the proper position relative to the bulb’s base until you’re finished with this project. These steps will help in how to keep a light switch always on.
Precautions
Be very careful while following the article because electricity can be dangerous. If you don’t know what you’re doing, get help from someone who does.
Use common sense and healthy judgment when working with electricity. Take safety precautions and use safety equipment such as rubber gloves and rubber safety boots.
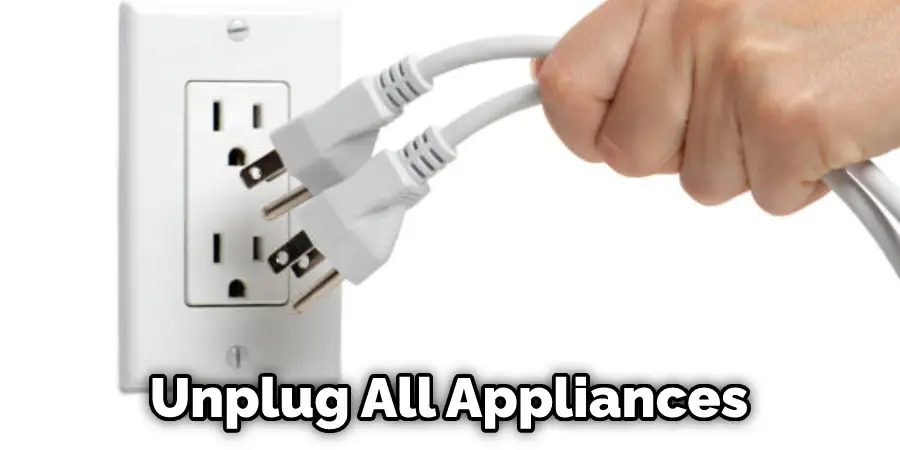
Don’t make live (L) connections and disconnections when working, and avoid touching wires and terminals simultaneously. Touching parts at different times provides critical safety protection for you by keeping potential electrical accidents to a minimum should something go wrong. Ensure that unplugged appliances and lamps are not connected to an electrical outlet. Unplug all appliances you will be working on before beginning this project.
You Can Check It Out: How Far Should a Light Switch Be From a Door
Frequently Asked Questions
Can You Lock a Light Switch?
First, make sure to turn off the power to your light switch before you lock it. This will prevent anyone from being able to turn on the lights by simply unlocking the switch. Secondly, use a keypad lock if possible instead of using an ordinary door knob or key. Thirdly, take pictures of your locks and keep them in a safe place so you can access them if needed. Finally, never leave valuables lying around when you’re locking up – just in case!
Can a Light Switch Turn Off on Its Own?
A light switch does not have the ability to turn off on its own. This is because a light switch operates using electricity, which is provided by an electrician or power company when you install it.
Why Does My Power Switch Keep Turning Off?
One reason is that there may be an issue with the electrical circuit, and in order to fix it, you will need to call an electrician. Another possibility is that there could be something blocking the switch from closing properly, so you will need to take action to clear any obstruction. And finally, if someone has been tampering with your electricity or going through your wiring without authorization, then they may have tampered with the power switch as well.
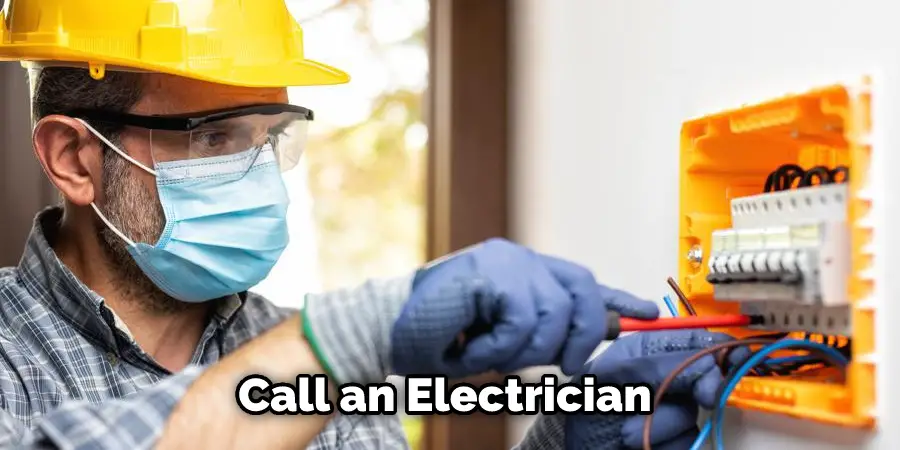
In each of these cases, you will likely need professional help in order for everything to get back up and running smoothly. If you’re unable to solve the problem on your own or when calling professionals fail miserably, consider installing motion sensors around your home or office in case anything unusual happens again.
Why Does My Light Switch Keep Blowing?
This can be due to a variety of reasons, including dirt or dust accumulations on the contacts, bad electrical connections, and poor insulation. If this problem persists despite attempts to clean the switch and fix any wiring problems, you may need to replace it.
One option for replacing a light switch is to use an electronic timer switch. This type of switch uses electricity only when activated by motion instead of requiring manual operation as traditional switches do. This eliminates the chance of accidental touches that could cause a wire within the circuit to short out. Additionally, these switches have longer lifespans than conventional ones and are easier to install since they feature fewer wire slots (connections between two areas).
Conclusion
We hope you have learned how to keep a light switch always on. So you never have to worry about whether or not the lights are on when you walk into the room. And if they’re not on, you know that all you have to do is flick the switch, and they will be. That’s the power of convenience. With a bit of effort, we can create convenience for our customers by ensuring our products are always available – no need to think about it, buy and enjoy.