Are you looking for a fun and colorful way to enhance your home décor? Look no further than making your own rainbow-inspired LED lights! With a few simple tools and supplies, you can create dazzling displays of color that will brighten up any room.
There is no denying that LED lights are popular for home décor. They are sleek and modern and can be placed nearly anywhere in your home. However, one downside to LED lights is that they often appear plain and boring. Fortunately, adding some fun and excitement to your LED lights is easy – by making them rainbow-colored!
This blog post will show you how to make your led lights rainbow with just a few simple steps. So get ready to have some fun with your LED lights!
What Will You Need?
You will need a few basic supplies to make your led lights rainbow. These include:
- A set of LED lights (these can be purchased at most home improvement stores or online)
- Colorful fabric die (available in a wide range of hues and patterns)
- Scissors or a rotary fabric cutter
- A container or bowl for mixing the fabric die
- A set of LED light bulbs that can be easily removed from their fixtures
- A ziplock bag or similar type of plastic bag
Once you have gathered these supplies, you are ready to get started!
10 Easy Steps on How to Make Your Led Lights Rainbow:
Step 1: Remove the Led Light Bulbs From Their Fixtures
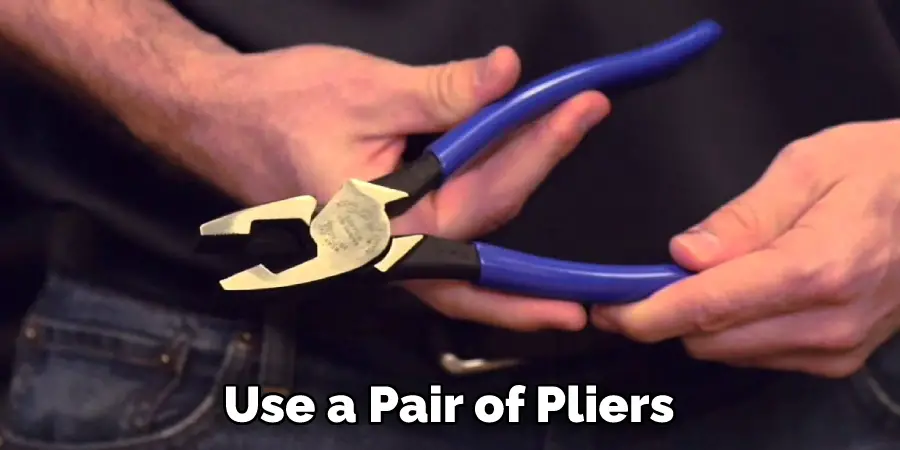
Remember that some LED lights may have a screwdriver slot on the base that allows you to remove them without using any tools. If this is the case, simply follow the instructions included with your lights to pop out each bulb safely. Alternately, if your LEDs do not have a screwdriver slot, use a pair of pliers or another sturdy tool to pry off the bulb from the fixture carefully.
Step 2: Mix the Fabric Die
Grab your container, and pour about half a cup of warm water into it. Add several scoops of fabric die, depending on how intense you want your rainbow colors to be. Stir well until all of the dye is fully dissolved in the water.
Step 3: Dampen Each Led Light Bulb
Carefully dunk each LED light bulb into the bowl or container of mixed fabric die and water. Gently rotate or move the bulb around so that it gets completely coated with the solution on all sides. Be careful not to touch the outside of the bulb, as this can cause your hands to get stained with fabric dye.
Step 4: Wait for Setting
Set the bulbs aside in a safe place where they can dry for at least several hours. During this time, make sure to keep your work area clean and free of fabric dye drips or splatters, as these can potentially damage or stain the surface of your home. If necessary, you can use a clean towel or paper towel to help absorb any excess dye that may drip off of the bulb.
Step 5: Remove Excess Dye
Once the bulbs are completely dry and set, use a pair of scissors or a rotary fabric cutter to carefully trim away any excess dye that may still be clinging to the outer surface of the bulb. Ensure that the bulb is free of all fabric to die, as this can cause staining or discoloration on other surfaces. Because of this, it is best to work in a clean and well-lit area when trimming the bulbs.

Step 6: Insert LED Bulbs Back Into the Fixtures
Once your bulbs are clean, dry, and free of excess fabric dye, carefully insert them back into their fixtures. Be careful not to touch the bulb’s surface once inserted into the fixture, as this may cause staining or discoloration that cannot be removed. You can also use a clean towel or tissue paper to gently wipe away any excess dye that may be visible on the surface of the bulb.
Step 7: Turn On Your Led Lights
Finally, turn on your LED lights and enjoy the beautiful rainbow colors that they create! You can use these lights to decorate nearly any room in your home – from a child’s bedroom to a living room or kitchen area. And with a little bit of creativity and imagination, you can even come up with fun DIY projects using LED lights, such as wall art or light-up displays.
Step 8: Maintain Your Led Lights
To ensure that your LED lights continue to produce vibrant, rainbow colors for as long as possible, it is important to maintain them regularly. This can include cleaning the bulbs with a damp cloth or towel and replacing any worn-out or damaged parts as needed. Remember to always unplug your LED lights before attempting any type of maintenance or cleaning work to avoid accidentally causing damage to yourself or your lights.
Step 9: Experiment with Different Fabric Dyes
Consider experimenting with different fabric dyes and solutions if you are looking for even more vibrant colors or unique LED light displays. For example, you may find that using neon dye or other specialty fabrics gives your lights an especially bright and eye-catching look. Moreover, you can also purchase different color filters or gels to customize your LED lights’ appearance further.
Step 10: Have Fun and Be Creative!
At the end of the day, remember that making your own LED lights rainbow is all about having fun and being creative. So don’t be afraid to get creative when choosing how to decorate your home with these beautiful lights. Whether you use them alone, as part of a larger display, or in fun DIY projects, they will surely add brightness and color to any space!
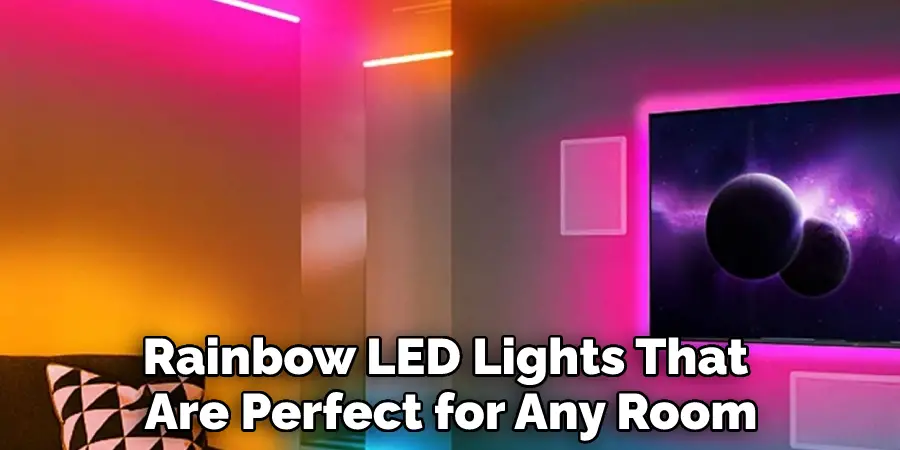
By following these simple steps, you can easily create vibrant, rainbow LED lights that are perfect for any room in your home. Whether you opt for a clean, minimal look or choose to decorate with them in more elaborate and creative ways, these lights are sure to add a fun and eye-catching touch to any space. So why wait? Start creating your own beautiful LED lights today!
5 Additional Tips and Tricks:
1. Opt for Higher-quality LEDs
While lower-quality LEDs might be cheaper, they often produce a more muted, less vibrant rainbow effect. Instead, opt for high-quality LED lights that will give you a more vibrant and eye-catching rainbow effect.
2. Experiment With Different Lighting Settings
Depending on how your LEDs are configured, there may be multiple ways to achieve a rainbow effect using the same set of lights.
3. Consider Adding Other Visual Elements or Effects to Enhance the Rainbow Look.
For example, you might add some decorative window cling stickers in complementary colors to make the rainbow pop even more vividly against the wall or ceiling where it is mounted.
4. Use Reflective Surfaces to Intensify the Effect.
For example, you might consider mounting your lights behind a mirror or other reflective surface to create a more dramatic rainbow effect.
5. Take Care of Your Leds and Replace Them as Needed
Over time, LEDs can fade, change color, or stop working properly, meaning you will need to replace them periodically to maintain a vibrant rainbow effect.
These are just a few tips and tricks to help you create the perfect rainbow effect with your LED lights. Whether you are looking for something subtle or bold, these tips can help you achieve the exact look that you desire.
Can You Put Sharpie on a Light Bulb?
There is no definitive answer to this question, as the suitability of Sharpie markers for use on light bulbs will depend on several different factors. For example, some types of light bulbs may be more suitable than others, and how you apply the Sharpie marker will also impact its durability and effectiveness.
That being said, it is not recommended to put Sharpie directly onto a light bulb, as doing so may cause the marker to become damaged or smear and can even negatively affect how well your lights function. As such, if you are looking for a more permanent or long-lasting way to customize your light bulbs, it may be best to consider using more durable options like colored vinyl stickers or paint instead.
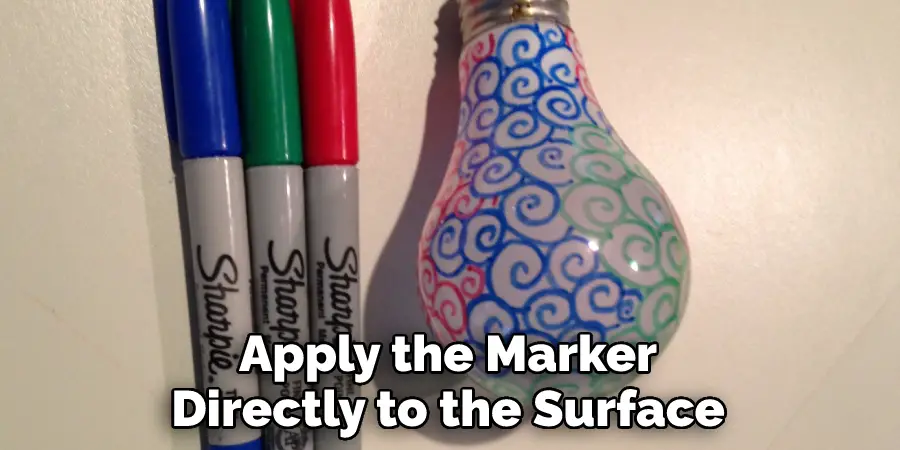
However, if you are looking for a quick, temporary way to change up the look of your lights, Sharpie may be a good option. To use it effectively, simply apply the marker directly to the surface of your light bulb and allow it to dry completely before turning on your lights. With proper care, your Sharpie-marked bulbs should remain bright and colorful for several days or weeks.
You Can Check it Out Install Aqualuminator Pool Light
Frequently Asked Questions
Can I Make My Led Lights Two Colors?
It depends on the type of LED light and how it is configured. However, if the LED light is a single color and you want to change its color, then you can likely do so by adjusting the light’s color temperature. This can be done by changing the bulb’s wattage or by using a color filter. If the LED light is a multiple color and you want to change its colors, then you will need to use an electronic controller to do so.
What Colour Leds Help You Sleep?
Different people may prefer different colors for bed lighting. Some people may find blue or green light helpful in inducing sleep, while others may prefer red or yellow light. It is important to experiment with different colors and see what works best for you. If you are still struggling to get a good night’s sleep, it may be a good idea to consult with a sleep specialist who can help you find the right color and light intensity for your needs.
How Do You Mix Led Lights With Colors?
To mix Led lights with colors, you will need to create a color wheel. The color wheel consists of five primary colors (red, yellow, green, blue, and indigo) and three secondary colors (purple, pink, and orange). By mixing the primary and secondary colors together, you can create any other color. To mix Led lights with colors, start by selecting a color on the color wheel that you want to use as the basis for your mix. For example, if you want to mix blue and red lights together, you would select blue as the primary color and red as the secondary color. Next, add the appropriate amount of each light color to get the desired result. For example, if you want to mix blue and red lights together to create a purple light, you would add 1/3rd of a blue light and 2/3rds of a red light to get the desired result.
Can Rgb Led Make Orange?
The color of an LED light can depend on a variety of factors including the color temperature (CT) of the LED, the color of the light source, and the viewing conditions. In general, however, RGB LED lights are capable of producing a wide range of colors, including orange.
Conclusion
There are a lot of ways to make your led lights rainbow. You can use an RGB Bulb, get a Color Changing LED Strip, or add a remote control to your light switch. No matter what method you choose, making your led lights rainbow is a fun and easy way to add some personality to your home. So, with so many options available, you can find the perfect one for your needs.
Wow! You can now make your led lights turn into a stunning rainbow. This is perfect for any room or space in your home, office, or store. All you need is a controller and some time to set it up. With these simple steps, you’ll have an amazing light show that will brighten up any room.
Thanks for reading, and we hope you enjoyed this tutorial on how to make your led lights rainbow.