There may come a time when you need to replace the light bulb in your under cabinet lighting. Rather than trying to guess which type of bulb to buy or how to get up into the cabinets to replace it, we’ve got you covered. This article will show you how to replace under cabinet light bulb. Plus, we’ll give you some tips on what type of light bulbs to use for under cabinet lighting. So read on and learn how easy replacing your under cabinet light bulb is!
Under-cabinet lights are designed to fit within the confines of your kitchen cabinets. So it would be best if you had a light bulb that would fit into your specific under-cabinet lighting fixtures. You can replace them with various sizes of CFL or LED bulbs, so see which one works in your current fixture and buy accordingly.
Summary: Replacing an under cabinet light bulb is a simple task that can be completed with minimal tools and expertise, restoring the functionality and aesthetics of your kitchen or workspace. Begin by gathering the necessary materials, such as a screwdriver, replacement bulb, and a soft cloth or towel. Ensure that the power to the under cabinet light is turned off, either by unplugging the light or switching off the corresponding circuit breaker, to prevent potential hazards.
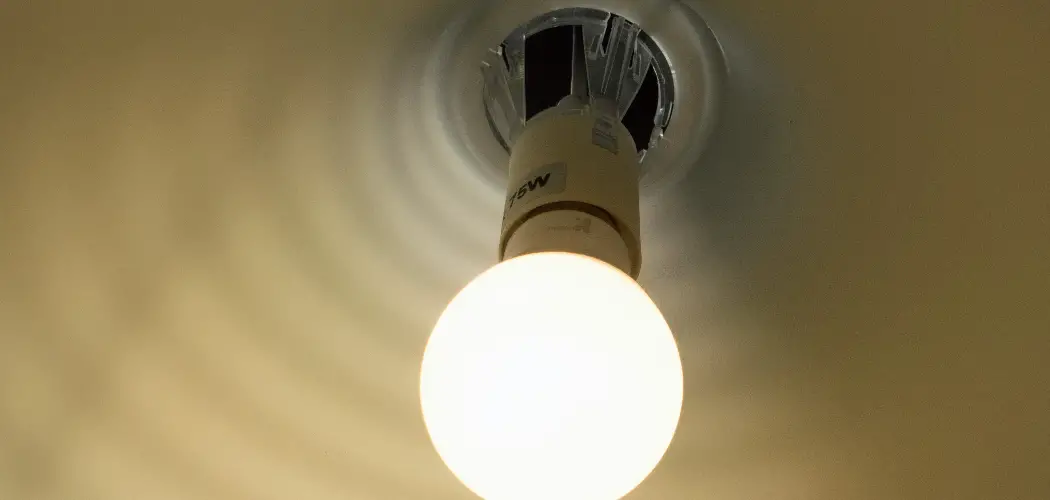
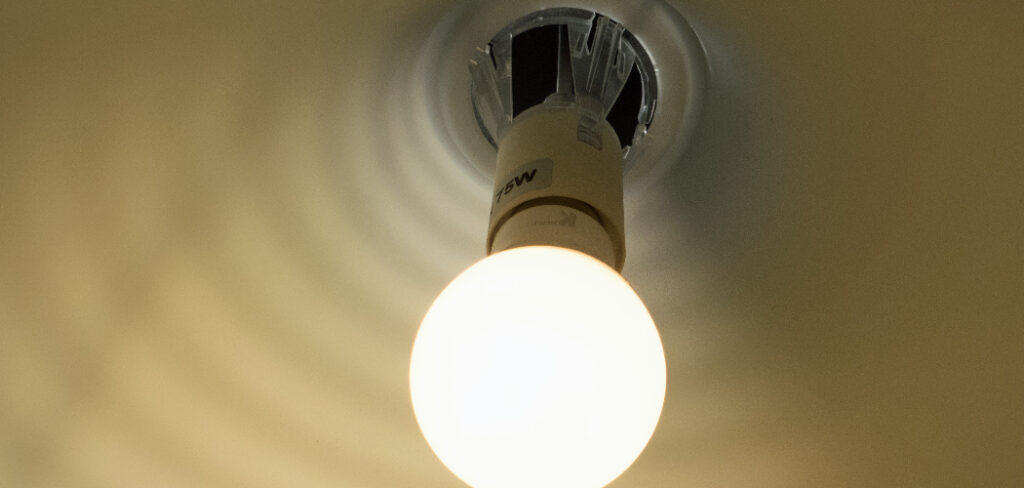
First, locate the light bulb within the under cabinet light fixture. Depending on the design of the fixture, you may need to remove a cover or diffuser to access the bulb. This can typically be done by carefully prying the cover off with a screwdriver or unclipping it from the fixture.
Once the bulb is exposed, carefully remove it from the fixture, either by unscrewing it or gently pulling it straight out, depending on the type of bulb (incandescent, halogen, or LED). Be sure to handle the bulb with a soft cloth or towel to avoid damage or fingerprint smudges. Replace the old bulb with a new one, ensuring that it is the correct type and wattage for the fixture. Reinstall the cover or diffuser, if applicable, and restore power to the under cabinet light. Test the new bulb to ensure it is functioning properly, and enjoy the restored lighting in your space.
Tools and Materials
- Small flat-head screwdriver
- Replacement light bulb
- A stool or ladder to climb on to reach the cabinets in your kitchen.
A Step by Step Guide on How to Replace Under Cabinet Light Bulb
Step 1: Determine Whether to Replace or Repair the Light Bulb
Before you go through the trouble of replacing a light bulb, it’s essential that you first determine whether or not your light bulb is broken. If there are no cracks in the glass casing surrounding the filament, then your current issue might be caused by burnt-out filaments. Replacing this light bulb is usually very simple and only takes about 5 minutes. You can tell if your filament is burnt out if one or more sides of the lights inside are blackened when you get close enough to take a look.
This means that heat has been building up inside, causing some parts to get hotter than others until they eventually burned out. To fix it, all you have to do is remove the light bulb’s casing and replace the filament.
Step 2: Turn Off Power
Before you attempt to remove the burned-out bulb, it’s essential that you first turn off the power going to your under cabinet lights. Your circuit breaker might have a switch specifically labeled “cabinet lights” or something like that. Turning this switch off will ensure that there is no current running through the wires of your cabinet lighting system and will prevent any accidents from occurring.
Step 3: Remove Bulb Casing
The casing surrounding most light bulbs made for use over countertops is usually held in place by small screws on either side of the light. The number of screws depends on where you bought them and how old they are. People who purchase recessed lights find loose casings that can be removed entirely without taking anything apart. Other people might need to remove the screws on the back of their light bulbs.
Simply test it out and see! If you try to remove a single screw and your casing doesn’t budge, then you’ll have to take apart the other side as well.
Step 4: Remove Bulb from Socket
The thing you’ve been trying to get at with a screwdriver is what’s holding the filament in place inside of your lighting fixture. In some cases, this piece is also attached directly to the electrical wires that power your lights, as well as a metal plate that allows electricity from those wires into those very same lights.
The thing you’ve been trying to get at with a screwdriver is the thing that is holding the filament in place inside of your lighting fixture. In some cases, this piece is also attached directly to the electrical wires that power your lights, as well as a metal plate that allows electricity from those wires into those very same lights.
Step 5: Replace Bulb
If you need to replace a light bulb, first make sure the old one is completely cool before touching it. It’s also a good idea to replace the old bulb with a new one of the same brand and wattage. You can also buy universal light bulbs which fit into most fixtures. Once you have your replacement light bulb, follow these last few steps:
Step 6: Reassemble Your Lights
To fix a broken light bulb, you will need to unscrew the casing around it, replace any metal plates or pieces, and then screw the casing back together. Only do about half as many screws as you took off, so you don’t put them in crooked or tighten them too much. Then, turn your power back on and test your light bulb! If it doesn’t work the first time around, try switching out the new filament with a different one before making any other significant changes.
If neither of those work, then you probably have to take your lights into a repair shop because something more complicated is wrong with them.
Step 7: Reroute Wires
If you are attaching a new lightbulb, be sure to move any wires that could get in the way. Make sure the wires are pushed back as far as possible so you can easily screw or latch on the new light bulb casing. It is recommended that you hold the two metal pieces of the light together with one hand while tightening the casing with the other, just in case the filament breaks again.
You can check it out to Bypass Hazard Light Switch
Step 8: Clean Up the Area and Power On
If you need to replace a light bulb in your cabinet, first make sure the power is turned off. Then, unscrew the casing around the light bulb and carefully remove it. Put in the new light bulb and screw the casing back on. Finally, turn the power back on and check to see that everything looks good.
Precautions
- Carefully turn off the electricity to the light at the circuit breaker box. If necessary, ask someone to help you, so you don’t get shocked while changing the light. Next, use a small ladder or step stool to climb up and reach the fixture’s cover plate screws. Once these are removed, grasp one edge of the cover plate with both hands and gently pull away from the fixture until it comes free.
- Look for an exposed wire connected directly to one of two wires inside the electrical box. The head of each screw also should have wire insulation wrapped around its threaded portion. One or both wires may be white, and the insulation will be white or off-white.
- Take this wire in your hand and gently tug it to make sure it’s secure before you unscrew it from the light fixture. The wire should slide right out once you’ve loosened it with a screwdriver. Then wrap the end of a new pigtail wire around it and tighten the screw securely.

- Attach the other end of the pigtail to one of two screws on top of the light bulb socket, which should already be visible inside the fixture housing. If there is only one screw on top of the socket, attach the pigtail ends to that single screw. It doesn’t matter which you use as long as both ends are securely attached. Once the pigtail is attached, loosen it to release any slack.
- Turn the electricity back on at the circuit breaker to test your changes. If the light isn’t working, check all wire connections to make sure they are secure before calling an electrician for further assistance.
How to Choose Under Cabinet Lighting?
Under-cabinet lighting is a great way to add both functionality and ambiance to your kitchen or workspace. Here are some tips on how to choose the best under-cabinet lighting that suits your style:
- Consider the lighting type- Different types of under-cabinet lighting options exist, such as LED, fluorescent, and xenon bulbs. LED lights are energy-efficient and the most popular option nowadays.
- Choose the appropriate color temperature – The color temperature of the lights you choose can greatly impact the ambiance of your room. Choosing a cool white or daylight temperature range is advisable, as this range offers the best visibility while also giving off a bright and warm light.
- Assess the areas where lighting is needed – Take note of the areas where you will need the lighting and the amount of light required in each area. Determine if you want to light up specific parts of your kitchen or workspace or if you want to provide a more uniform level of lighting throughout the room.
- Match the light output to your needs – Depending on your needs, the light output of your under cabinet lighting system may vary. If you require bright task lighting, ensure that the lighting system delivers high-lumen output. For ambient lighting or mood lighting, go for lower light output options.
- Choose a suitable installation method – There are several methods of installing under cabinet lighting, such as a plug-in, direct-wire, or battery-operated. Choose one that best suits your lighting needs and installation requirements.
By considering these factors, you can successfully choose the best under-cabinet lighting that will suit your needs and enhance the functionality of your living spaces.
How Can I Tell if My Under Cabinet Light Bulb Needs to Be Replaced
Metal filaments are usually held in place by two metal plates on either side of the flat strip that holds it all together. These strips are generally about an inch long, and can be slid out easily once you’ve taken apart enough parts to get to them. This is a crucial step in how to replace under cabinet light bulbs.
Under-cabinet lights are a great way to add some extra light to your kitchen. They attach to the underside of cabinets above countertops and commonly use halogen bulbs. The lifespan of these bulbs depends on how often they are turned on and their proximity to items that could raise their internal temperatures, such as ovens or dishwashers. The temperature of your under-cabinet lights can also vary depending on what kind of material is used for your cabinets.

For example, wood cabinets will raise the temperature more than metal ones and may also crack if exposed repeatedly to very high temperatures. How often your cabinet lights are turned on varies among households, with lighting becoming more necessary during meal preparation hours or in homes where children start doing homework after dark.
Frequently Asked Questions
Do You Need to Turn the Power Off to Change a Light Bulb?
There are a few ways that you can do it without even leaving your chair! One of the most common methods is using a ladder or step stool. By standing on the top rung and reaching down toward the lightbulb with an extension cord, you can easily replace it without having to get down on all fours like you would when changing a fuse.
Another easy way is to use a coin-operated flick switch. Just place one end of the wire into either terminal and twist until it clicks into place. Then reach up from below and unscrew the old bulb while holding onto its socket for protection.
Can You Change Light Fixtures Yourself?
Changing light fixtures can be a fairly simple task, depending on the type of fixture you’re working with.
For standard light fixtures that use round bulbs, most people can twist them off and replace them with standard bulbs. For more complex or custom fixtures, such as chandeliers or pendant lights, it may be necessary to hire a professional.
In any case, always consult the manufacturer’s instructions before attempting to replace a light fixture.
Why Won’t My Fluorescent Light Come Out?
Fluorescent light bulbs are designed to emit a specific wavelength of light, and when they don’t do this correctly, it can cause them to break.
There are several things that you can try if your fluorescent light bulb doesn’t seem to be working properly: First, check the cord for damage. If there is none, then you might need a new bulb.
Second, make sure that the fixture is plugged into an outlet that is on the same circuit as the other lights in your house. Third, try swapping out one of your fluorescent Light Bulbs with another type (like an LED) that matches what’s being emitted by your fixture.
Finally, if all else fails and you’re still having trouble getting your fluorescent light to work properly, contact a professional technician who will be able to diagnose and fix the issue accordingly.
What Is a Bayonet Bulb?
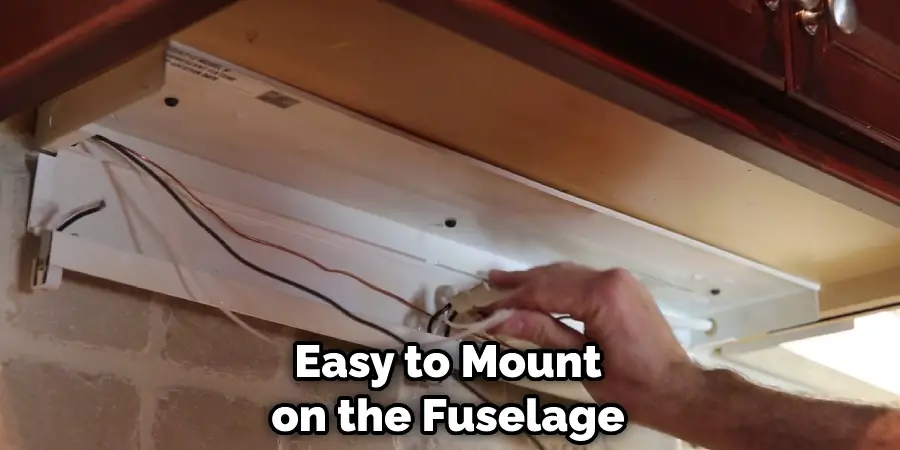
Bayonet bulbs are a type of lightbulb that was originally designed for use in aircraft. They have a special flat design that makes them easy to mount on the fuselage or wings of an aircraft. Bayonet bulbs are used primarily in low-light conditions, such as at night or when visibility is limited during landing proceedings.
Conclusion
We hope you have learned how to replace under cabinet light bulb. Just like any other type of bulb, under cabinet lights need to be replaced periodically. It is essential to make sure the cord isn’t too close to anything that could cause it to short or arc with an electrical current. You should also be aware that different kinds of under-cabinet lights have different life spans and may need to be replaced more or less frequently depending on the type.
You Can Check It Out To Remove 4 Pin Light Bulb