
If you have a ceiling light cover that you want to take off, there are some things you need to know to do it safely. This article will walk you through how to take off ceiling light cover safely. We will give you tips on avoiding injuries, and we will also provide instructions on how to remove the body without damaging it. Read on for more information!
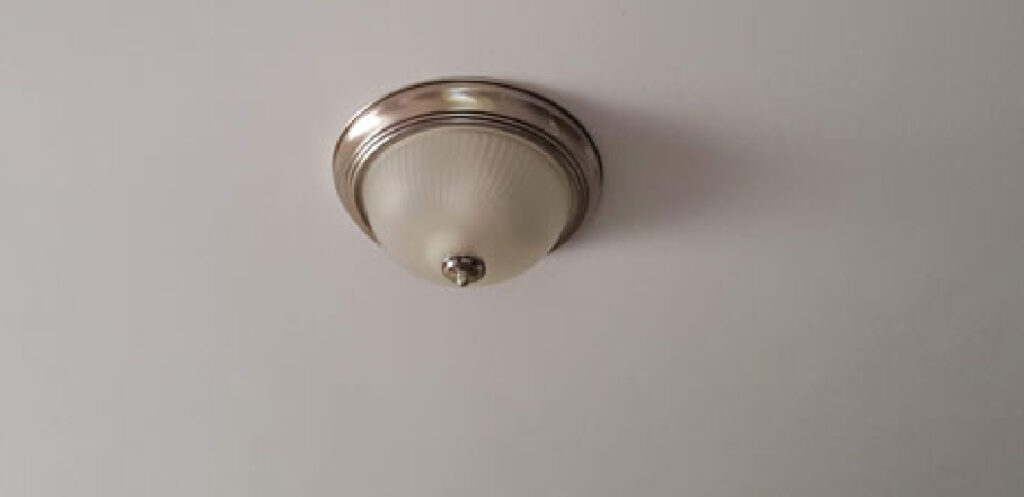
Ceiling light covers are there for a reason – to cover the ceiling light fixture. Many of them are made from fabric, but some may be metal or plastic. You want to take off the cover because you need access to the light bulb.
Summary: There is no need to remove the light cover completely in order to take it off. The easiest way to do this is to use a pair of scissors and cut around the perimeter of the cover. After the cover has been cut, lift it up and pull it off.
Required Tools and Materials:
– Step Ladder or Stool
– Screwdriver (medium or large)
– Ruler or measuring tape
– Gloves
A Step by Step Guide on How to Take Off Ceiling Light Cover
Step 1: Turn Off the Electricity
Make sure to turn off the electricity before taking your ceiling light cover off. Getting shocked is not good, especially when dealing with old wires. Also, the whole house would be dark, so you will have to go downstairs or outside or wait until it turns back on, which would take an hour at most probably. If something goes wrong, you don’t have to worry about anything besides yourself.

Step 2: Place Your Ladder or Stool Under the Light Fixture
Place your ladder or stool near the ceiling so you can reach up with ease and gracefulness. Once comfortable, climb on top of the ladder or step stool. Make sure it is sturdy enough to hold your weight before trying anything else because if not, you could fall, which would be tragic.
Step 3: Remove the Glass Shade
The glass shade can be removed by pulling it off. It should come out like a birthday candle when someone blows it out in one quick motion. You might have to wiggle it around or twist it to get an edge started, but you should be good after that.
Step 4: Remove the Metal Cage
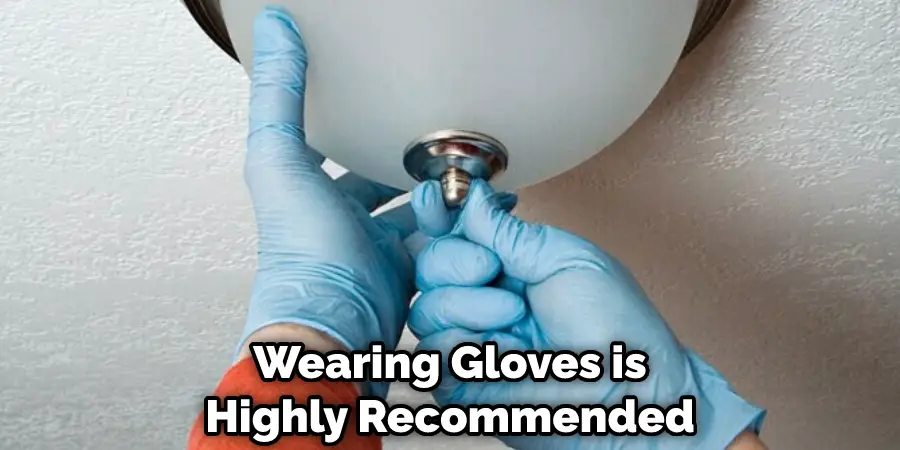
This part is much more complex than taking off the glass shade because if you ignore what you are doing, you could cut yourself on the tiny metal pieces that stick out. Thus, wearing gloves is highly recommended, so you don’t get any cuts or scratches.
To remove the cage, you must first unscrew the screws on each metal frame corner that holds it together. You can tell which ones these are because they will be slightly more significant than the rest and have a thin line around them. Once all four screws are removed, you should be able to pull apart these pieces by pulling maybe a little too hard but not too much. Just enough to where they move apart, revealing the bulb inside.
Step 5: Remove Bulb
Now take off your gloves to get an excellent natural grip on this thing and take out the light bulb carefully with your bare hands. If you do not see a lock mechanism holding it in place, give it a firm twist, and it should break free.
After removing the light bulb, make sure to throw it out or recycle it because it is a hazardous object and can cause severe injuries if not dealt with properly. If you have small children running around the house, be sure to put this thing in a safe place where they cannot get their mitts on it no matter how long they sit there thinking about that stupid lamp post from Mary Poppins.
Step 6: Replace Bulb or Clean Off Dust
Once you have taken your old bulb out, put the new one in. If it does not fit or will not go in, try turning it around so it looks like an N instead of a Z. For some reason, I’ve never seen this type come with a backward Z option, but you can always try that. It’s worked before.
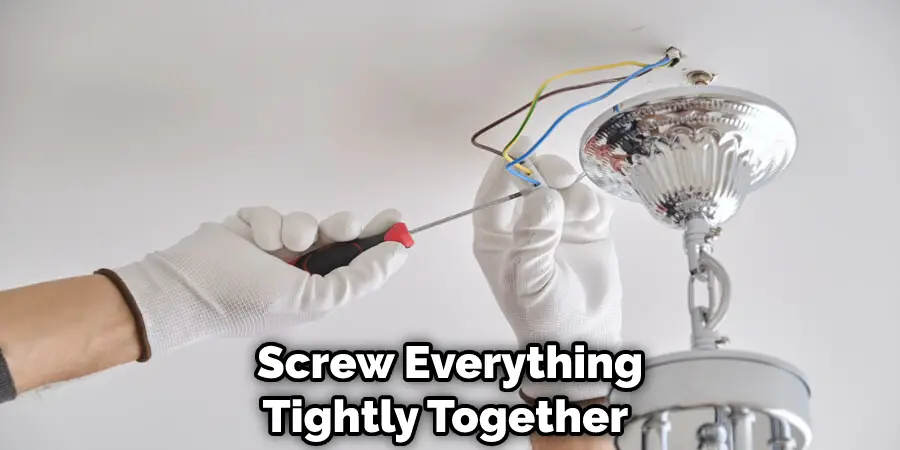
Once everything is back into place and your light fixture is ready to shine again, remember to screw everything tightly together so there are no awkward bumps once the light turns on. It should look good as new if done correctly, even though it’s just a dusty old ceiling light cover that should have been changed five years ago, at least maybe more, maybe less.
Step 7: Put It Back Together
Once you have all the pieces, it’s time to piece everything back together. To help you out with this, I will list each piece and what order they go in, so hopefully, it will be easier for you.
Put the glass shade back on by sliding it into place from below. It has a little sort of hook that hangs onto the metal frame, so make sure to line it up with where it needs to go and push it down until it is secure.
Next, screw in all four screws on the corners of the metal frame, so nothing weird happens when someone turns on the light switch later tonight or tomorrow morning, depending on when they decide to tackle this project.
After that, put the metal cage back in place by sliding it over the glass shade and screwing in all four of the screws on each corner.
To remove a ceiling light cover, first put on a pair of gloves. Then, unscrew the light bulb from its socket and remove it from the fixture. Next, unscrew the fixture from the ceiling and carefully remove the cover. Finally, put the light bulb back in its socket and screw the fixture back into place.
If you look at the ceiling light fixture right now, you will see that it is still dark. You are reading this in your basement, where the only light source is a dirty mouse hole in the wall. I can see you crouched over your keyboard with your face lit up like a Christmas tree because, if memory serves me correctly, there’s no window in front of you.
To make sure, though, why don’t you check outside and make sure the sun hasn’t set yet before continuing this mission impossible-looking adventure into taking off ceiling lights covers that somehow got into your head for no reason whatsoever. Speaking of reasons, why don’t you take a look at some to see if any of them fit you?
You Can Check It Out to Replace Pull Cord on Ceiling Light
Precautions:

1. Make sure you have turned off the electricity to the ceiling light, either at the breaker box or by unscrewing the fuse in your fuse box.
2. Don’t use a ladder; instead, stand on a sturdy stepladder and hold onto something such as a countertop close by. Or hang onto your safety harness if you’re doing this alone and don’t mind spending extra time working out the kinks at the end of an energy-absorbing nylon rope!
3. Wear protective eyewear (you may need prescription glasses) and heavy gloves (rubber or leather) because it’s possible for broken glass to fall from lights with cracked covers when they are removed.
4. Close the doors leading out of the room to prevent a draft blowing out a candle.
5. Position a fire extinguisher nearby if there is a fire while replacing your cover or repairing your ceiling light.
6. Make sure all family members know what you are doing and where you are working before beginning this project.
7. To be extra safe, put on some music and turn off the ringer on your phone!
FAQs
Do I Need Any Special Tools or Equipment to Install a New Ceiling Light Cover?
This simple household task doesn’t require any special tools or equipment. Of course, you will need a ladder, but that’s it. The only other thing you may want to keep on hand is a small flat head screwdriver that you’ll use to pry up the metal tabs holding your current ceiling light cover in place to remove it and replace it with your new one.
Is it possible to replace the ceiling light cover without taking it down first?
Yes, new ceiling light covers can be added to existing lights without taking them apart. This is a great way to update the room’s look while keeping an old fixture that works well in place. Ceiling lights are also relatively easy to take down if you need or want to replace them entirely with a brand-new fixture.
You Can Check It Out to: Remove Ceiling Light Cover No Screws
Conclusion:
Suppose you want to take off your ceiling light cover. You can do it with a few simple steps. First, turn the power to the room on and remove any furniture from under the fixture so that you can access all four sides. Next, find where the screws are located that keep the canopy in place and use an electric drill or screwdriver (depending on what type of screws they’re using) to unscrew them one at a time until there is only one left holding each side down. Then pull up gently and watch as your old ugly light cover comes right off. We hope you find this article on how to take off ceiling light cover helpful.