There is nothing more frustrating than trying to change a light bulb and not having proper access. Unfortunately, this is often the case with light bulbs located on stairs. This blog post will show you how to change light bulb over stairs, even if you don’t have any help. Stay safe and save time by following these simple steps!

It’s very important to change the light bulbs over stairs because leaving a light bulb in that position can be very dangerous. If the light bulb breaks, it could cause a fire, and if it falls out of the socket, it could injure someone. However, you can change the light bulb safely and quickly by following these simple steps!
Summary: Changing a light bulb over stairs can be a challenging and potentially dangerous task due to the height, uneven surface, and limited access to the fixture. Ensuring safety and using the appropriate equipment is crucial to avoid accidents and effectively replace the light bulb. Before starting the process, gather the necessary tools, such as a sturdy ladder, an A-frame ladder with adjustable legs, or a specialized bulb changer with an extension pole to reach the light fixture.
Begin by turning off the power to the light fixture to minimize the risk of electrical shock. Set up the ladder on a stable surface, ensuring its legs are fully extended and locked in place. If using an A-frame ladder with adjustable legs, make sure the legs are set at the correct length for the stair height to provide a stable platform. Carefully ascend the ladder, maintaining three points of contact at all times.
Once you have reached the light fixture, unscrew the old light bulb by turning it counterclockwise. Keep the bulb securely in hand or use the bulb changer’s suction cup or gripper attachment if utilizing an extension pole. After removing the old bulb, screw in the new one by turning it clockwise until it is snug. Avoid over-tightening to prevent damage to the bulb or fixture. Descend the ladder cautiously, and then restore power to the fixture to test the new bulb. By following these safety precautions and using the appropriate equipment, you can successfully change a light bulb over stairs.
Things You’ll Need
- A table or chair to stand on.
- An old clean towel to protect the floor and nothing else.
- The ladder or stepladder for safe access, if possible. If not, you can always use a step stool or a stack of books or magazines as a makeshift stepladder.
A Step by Step Guide on How to Change Light Bulb Over Stairs
Step 1: Turn Off Electricity
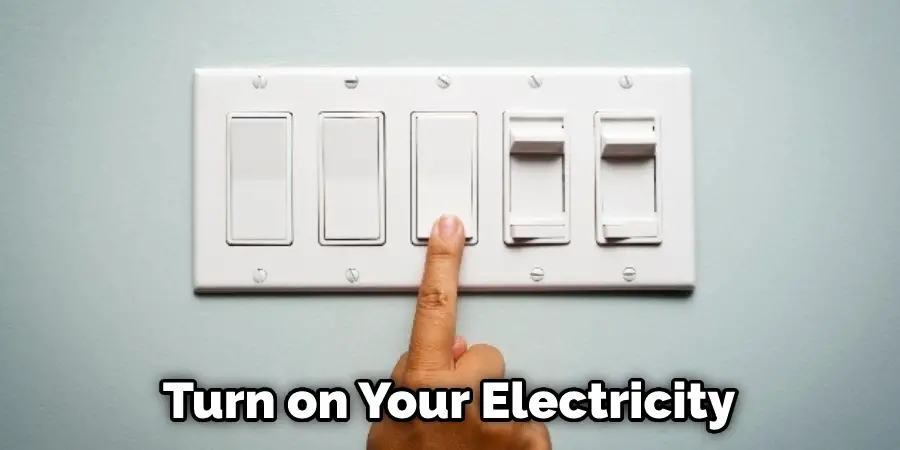
It is very dangerous to remove the light bulb when the electricity is on. The main power switch may be located in your basement where there are no stairs, but sometimes it can be located high above stairs or at another location in your house that is hard to access. Turn off the electricity first by flipping all switches involved to turn off the electricity. If you are unsure how to do this, seek professional help before proceeding further.
Step 2: Choose Right Bulb for Stairs
When choosing string lights, another thing to consider is how much light you need in the room. If you need a lot of light, opt for lights that give off a brighter light. If you don’t need as much light, you can choose lights that give off a softer light.
Step 3: Get Equipped:
1. Use Gloves
Before you go up the ladder, put on gloves to prevent injury. It is always better to be safe than sorry.

2. Use Helmet
If you are not too confident with your balancing ability, putting on a helmet can be wise. You may fall once or twice, but it’s better to face the consequences than to be sorry for the rest of your life.
3. Use Ladder
First, put the ladder against the wall where you want to change the light bulb over the stairs. Ensure that the ladder is at least 3 feet away from the staircase handrail. Once your ladder is ready, stand on it and hold the bulb in one hand.
4. Use Screwdriver
You will need a screwdriver to remove the light bulb, so be sure to have one with you before proceeding. The screwdriver should be able to fit in the screws on the light fixture’s strap; if this part of how to change a light bulb over stairs is not clear to you, then seek professional help.
5. Use Gloves
Before removing the light bulb from its fixture, put on gloves to avoid injury and hold the bulb in one hand. Use your other hand’s index finger to rotate the screws of the strap holding the bulb.
Step 4: Remove Bulb
Remove the bulb by pulling it outwards, slowly and steadily. Once you have taken out the old light bulb, put on gloves again before removing the protective cover if your new light bulb has one. The protective cover prevents exposure to air which can cause premature aging of your new light bulb.

Step 5: Clean Up or Wait:
If you just removed a CFL or fluorescent bulb, wait at least 15 minutes before turning on the electricity. If it was a regular light bulb, clean up the glass and debris with a paper towel. Put on gloves again after cleaning up to avoid injury from little shards of glass that may break off while handling your new light bulb.
Step 6: Prepare the New Bulb:
1. Remove the Protective Coating
Remove the protective coating from your new bulb slowly and carefully. The protective covering can be made of plastic or rubber, and sometimes it may require you to use a pair of scissors.
2. Screw in Your New Bulb
Slowly and steadily screw in your new light bulb while holding your ladder steady with the other hand. Make sure that the new light bulb you have chosen is of higher wattage than your previous one, so it illuminates better.
3. Test
Turn on your electricity by flipping all the switches involved and test whether your light bulb is working fine or not. If it does not work, check if its switch is on or off by looking at its base to see which one has a little metal pointing upwards (on) and a little metal pointer sideways (off).

Step 7: Clean Up
Once you are sure that your light bulb is working, clean up the glass and debris of the old light bulb with a paper towel. Put on gloves again to avoid injury from broken shards of glass. Turn off the electricity before putting away your ladder.
Step 8: Turn On the Light and Enjoy:
Once you have turned on the light switch, turn off the light in the room and use a dimmer switch to adjust how much light is illuminated in your house. Turn it down until there is no more need for a hand-held flashlight to move around.
Tips & Warnings
1. Do Not Touch Bulb with Glove-covered Fingers
Be sure not to touch your new bulb with your gloved fingers. It would be nice to remove the glove once you are done screwing in the bulb, but it is safer to leave them on until you switch off the electricity at your home’s main panel box or circuit breaker box. Taking them off too soon would expose your bare fingertips to the light bulb, which carries a high voltage charge for some time after being turned off.
2. Turn on Electricity with Care
Use caution when turning on electricity as even if the power is off, your new lightbulb may have a protective coating that keeps it safe from air elements that can cause premature aging. Also, if your bulb is a CFL or fluorescent light, wait at least 15 minutes before turning on the electricity to allow time for the mercury to dissipate into the air.
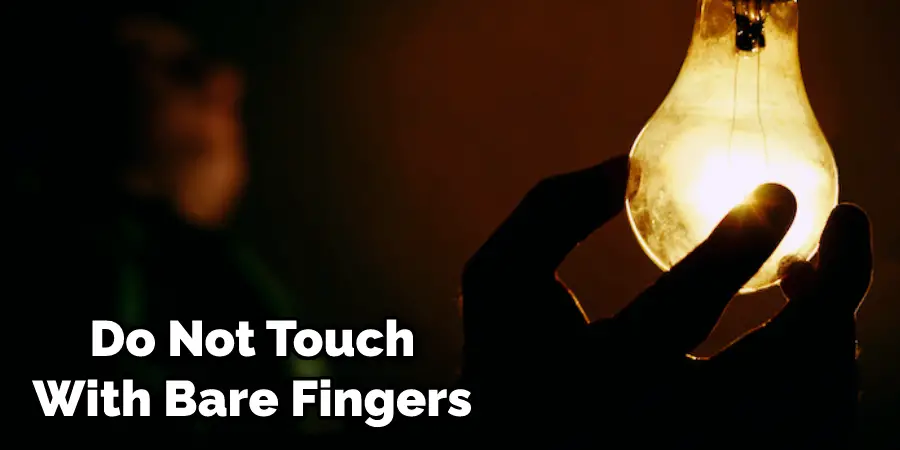
3. Do Not Touch Bulb with Bare Fingers EVER
Do not touch your new bulb with bare fingers even if it’s off, and do not touch it with your gloved finger. The best way to protect yourself from touching a light bulb is by using a towel and wrapping it around the base of the new light bulb before removing the protective covering.

How Do I Change a Light Bulb Over Stairs
If you need to change a light bulb over stairs, you will need to use a ladder or stool to reach the light bulb. Make sure that the ladder is stable before reaching for the light bulb. If you are using a stool, make sure that it is sturdy and that you are able to reach the light bulb.
Once you have reached the light bulb, twist it counterclockwise to remove it from the socket. Be careful not to touch the glass part of the light bulb with your skin.
Insert the new light bulb into the socket and twist it clockwise until it is secure. Be careful not to touch the glass part of the new light bulb with your skin.
Make sure that the light bulb is properly secured before turning it on.
Turn the light switch on to test whether or not this new bulb works. Turn it off before climbing down the ladder or stepping off of the stool. Keep reading for more information about how to change light bulb stairs.
Frequently Asked Question
Is It Safe to Hang the Light Bulb from The Ceiling Using the Chain and Hook?
Yes, it is safe to hang the light bulb from the ceiling using the chain and hook. Make sure that the light bulb is properly secured before turning it on.
What Tools Should I Use to Change a Light Bulb Over Stairs?
If you need to change a light bulb over stairs, you will need to use a ladder or stool to reach the light bulb. Make sure that the ladder is stable before reaching for the light bulb. If you are using a stool, make sure that it is sturdy and that you can reach the light bulb. Once you have reached the light bulb, unscrew it and replace it with a new one.
Is It Safe to Hang the Light Bulb from The Ceiling Using the Chain and Hook?
Yes, hanging the light bulb from the ceiling is safe using the chain and hook. However, make sure that the light bulb is properly secured before turning it on.
What Tools Should I Use to Change a Light Bulb Over Stairs?
If you need to change a light bulb over stairs, you will need to use a ladder or stool to reach the light bulb. Make sure that the ladder is stable before reaching for the light bulb. If you are using a stool, make sure that it is sturdy and that you can reach the light bulb.
You Can Check It Out to: Ground a Fluorescent Light Fixture
Conclusion Paragraph
This quick and easy DIY project will save you money on your electric bill. Keep reading to find out how to change light bulb over stairs!
